Tip!
This option is only available to those with System Administrator permissions
Navigation #
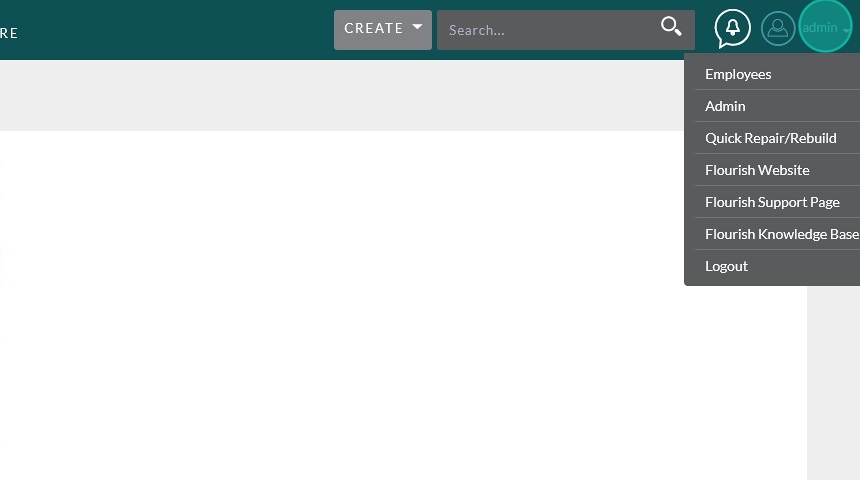
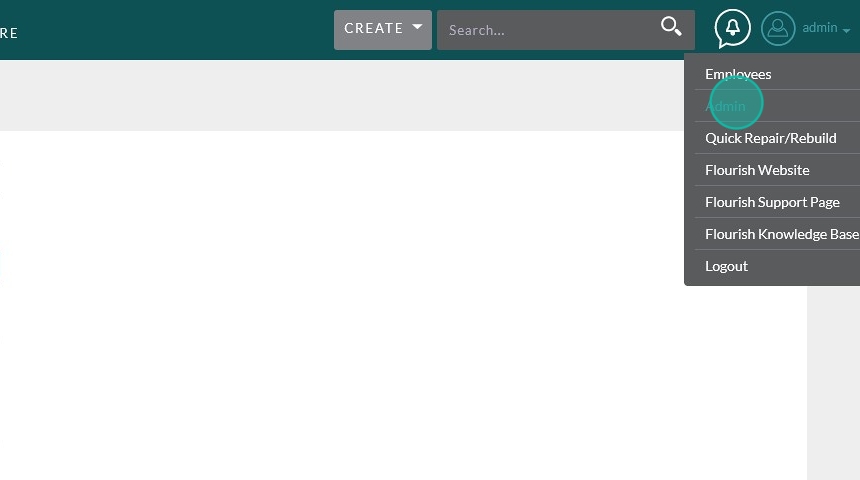
Click on your username in the upper right corner, then choose “Admin” from the drop-down.
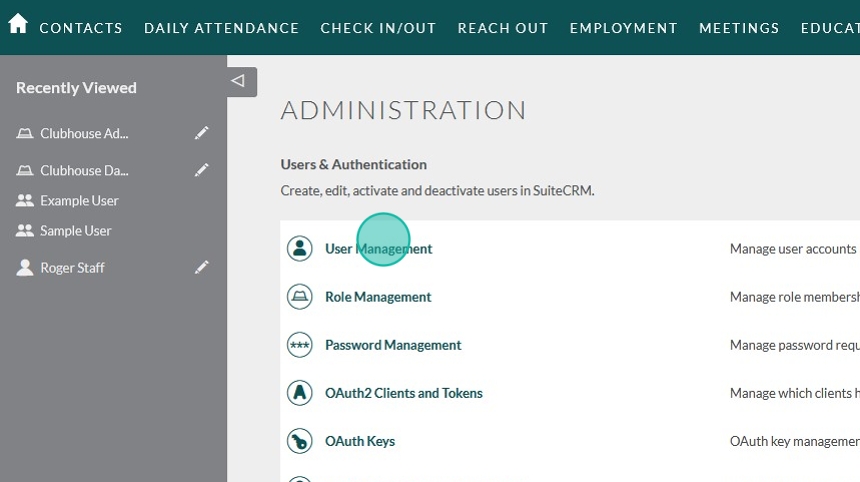
Click on User Management
On the sidebar click Create New User
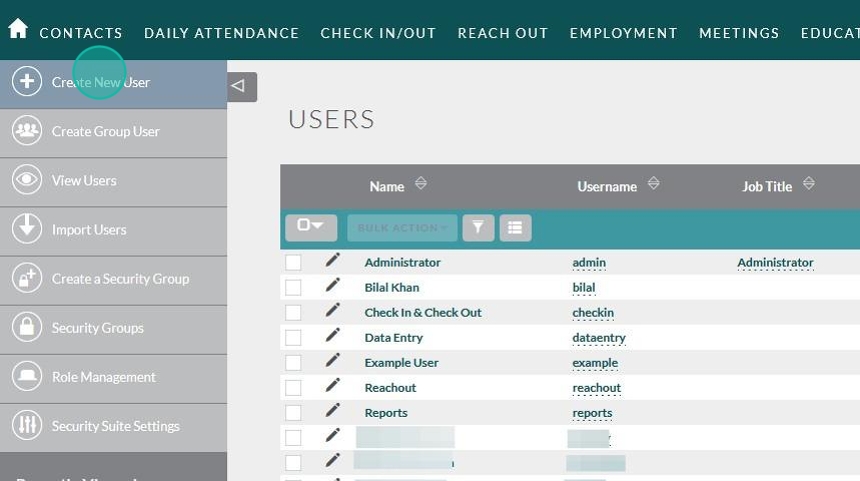
Tip!
If you do not see the sidebar, click on the gray tab to expand it

Creating the User #
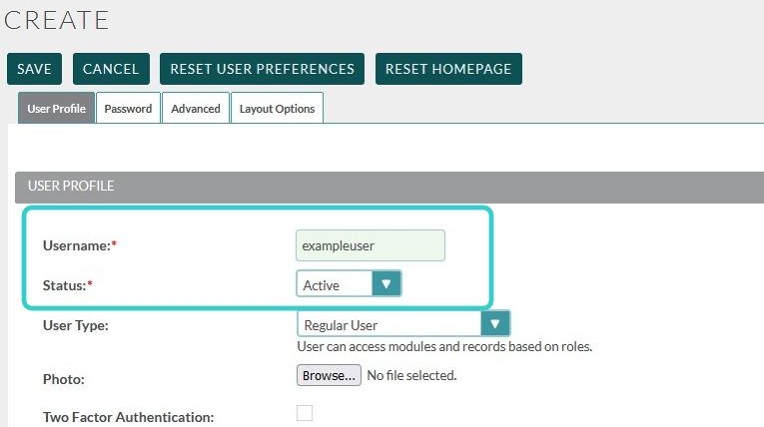
Assign a Username
Leave Status as “Active”
We’ll come back to User Type
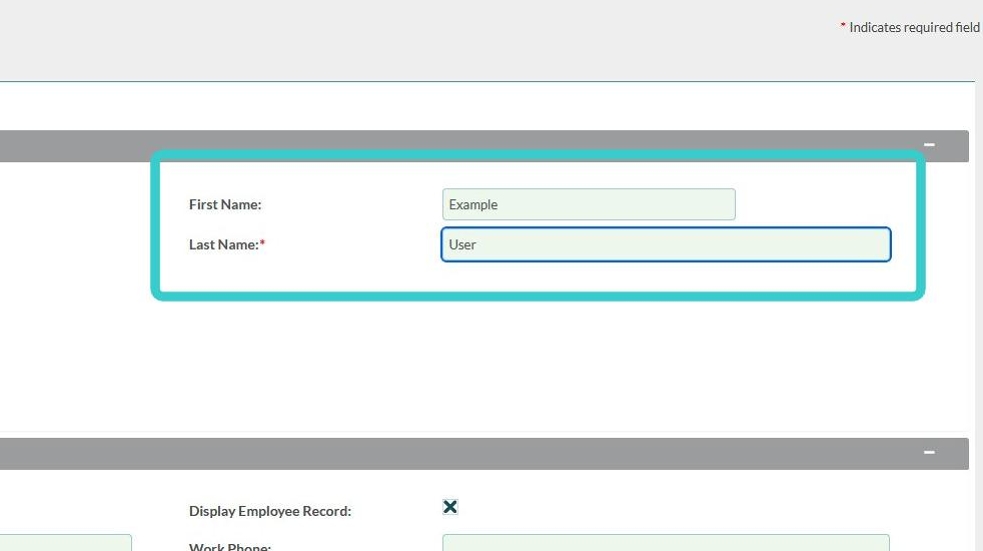
Enter the user’s First Name and Last Name
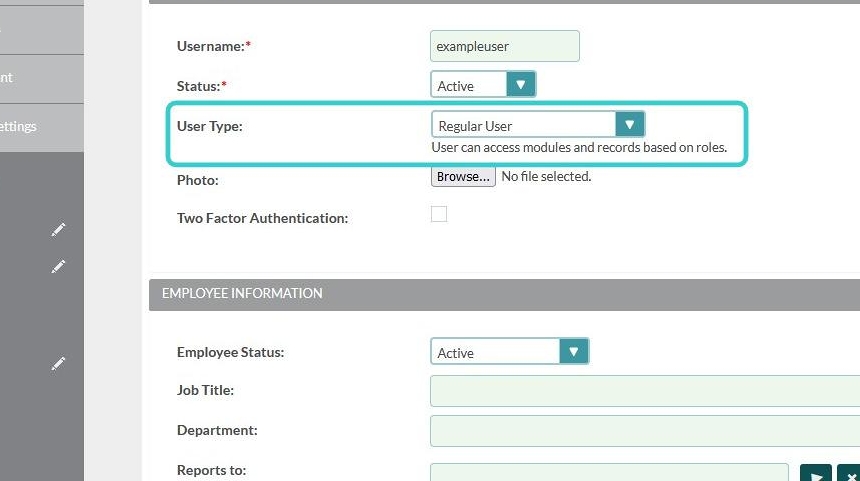
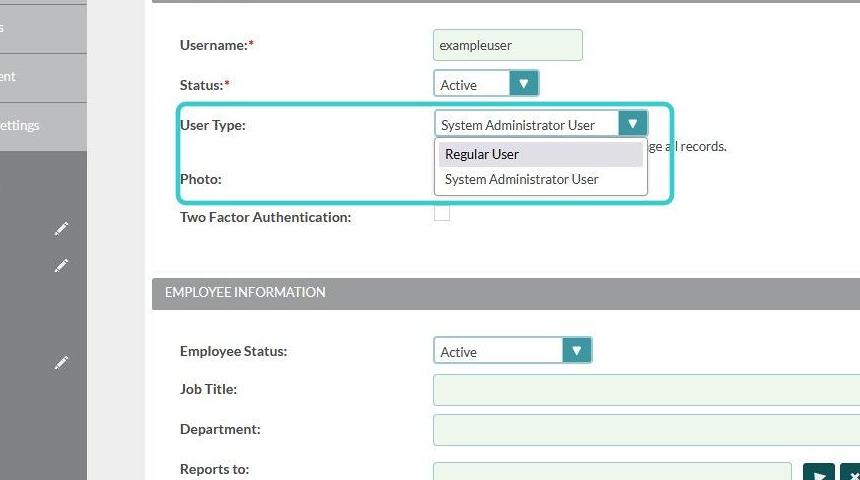
Now you need to choose the User Type
You have 2 options:
System Administrator User:
This user has access to ALL Data, as well as the ability to change system settings. Only assign this role to your most trusted users. The only way to limit a user with this role is to change them to a Regular User.
Regular User:
This is your more general type of user. It can be assigned various permission roles. This should be the most common type of user you have.

After assigning a User Type, scroll down to the bottom of the page and enter an email address for the user.
NOTE:
This is a required field. An email is needed to retrieve passwords should they be forgotten. You will not be able to save the record without an email address filled in.
If you are creating an account for an member who does not have a regular email address we recommend using the email of a Clubhouse Admin or Staff Member. The same email can be used across multiple accounts.

Lastly, scroll back up to the top and click the Password tab
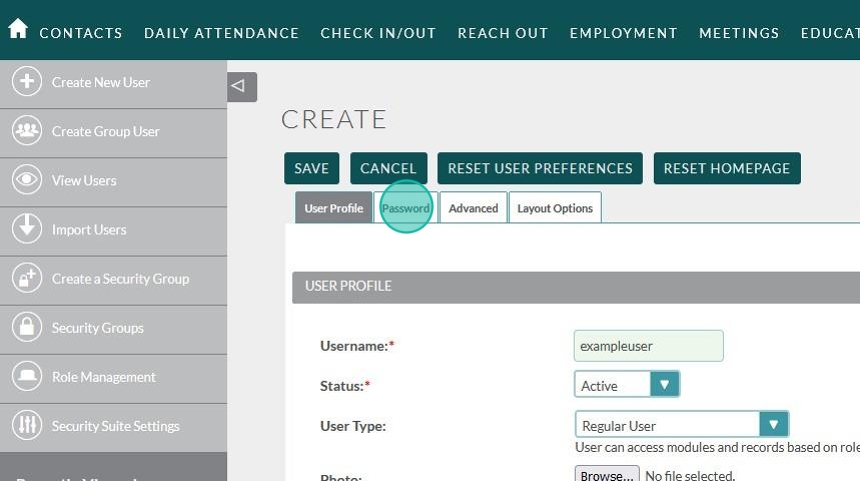
Type your new password twice, then click “Save”
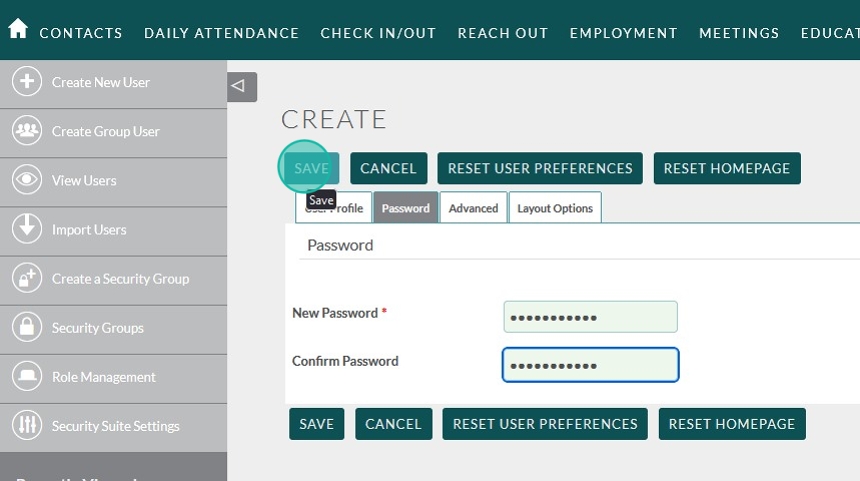
Tip!
If your user is not present when you’re creating the user account we recommend you assign a random secure password. The user will be able to reset their own password later using the “Forgot My Password” option.
Assigning User Roles #
To Set and assign User Roles follow this tutorial:
https://clubhousedata.org/docs/setting-roles-access-permissions-in-flourish
To skip straight to
If you’re already familiar with the user roles you can assign them from within the member profile.
After saving the new user, scroll to the bottom of the page and click the arrow next to “Create”
Choose “Select” from the expanded menu

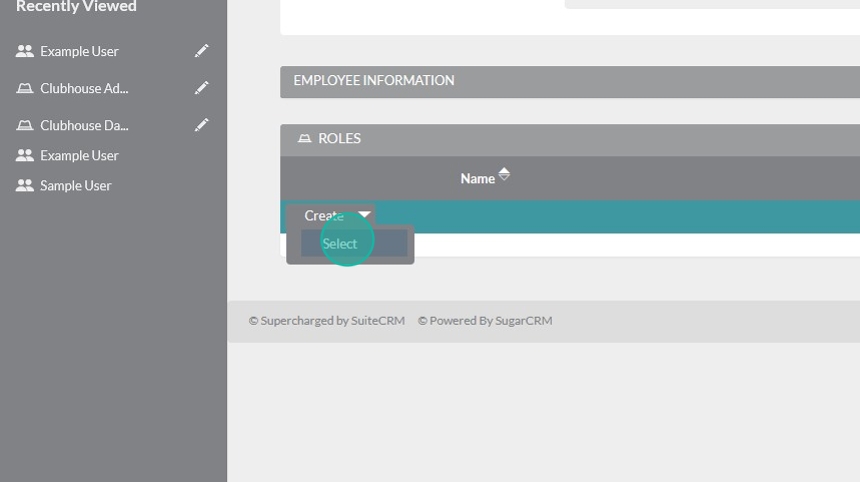
A new window will pop up with a list of the User Roles
To assign a role, click on the name of your chosen role
That’s it! Your role is assigned! You might need to refresh to see it.

Assigning User Roles: Option 2 #
Use this option if you’re not yet familiar with all of the details of each Role.
While in the Admin Menu:
In the left navigation panel, click Role Management
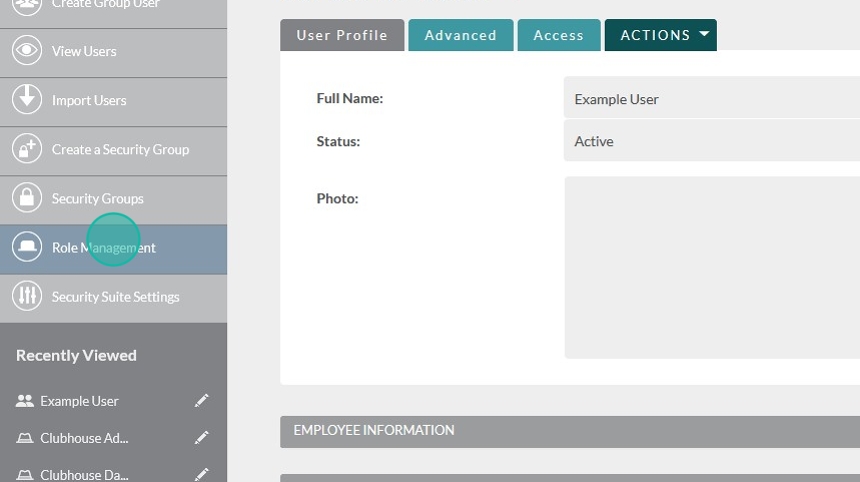
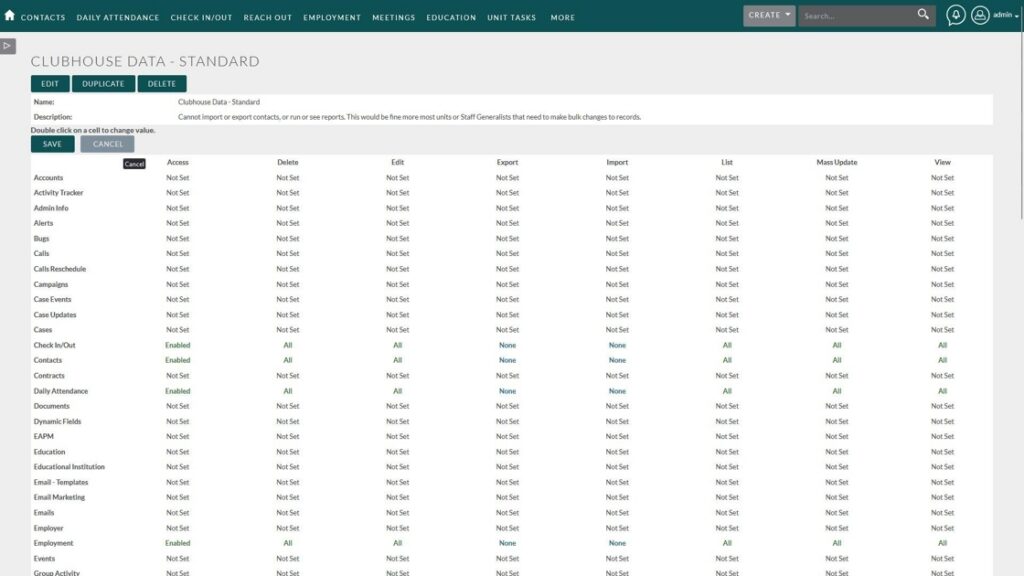
To see the details of each role’s permissions, click on the role name
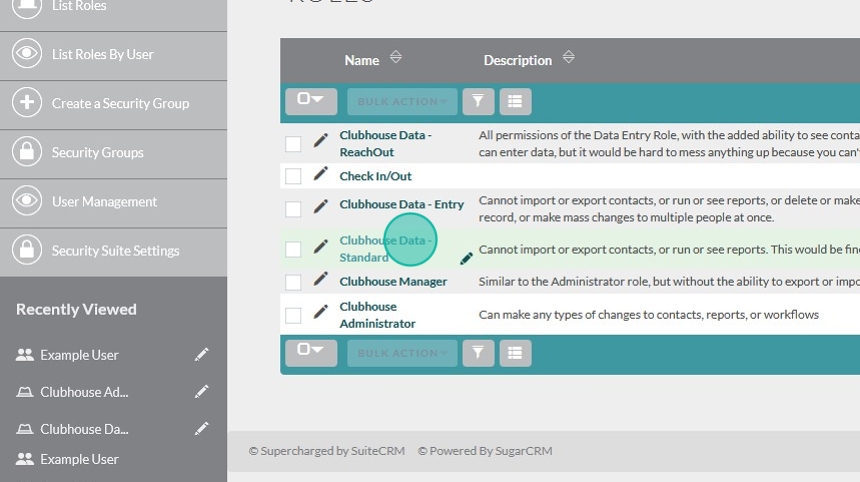
Here you can read over the exact permissions assigned to each role
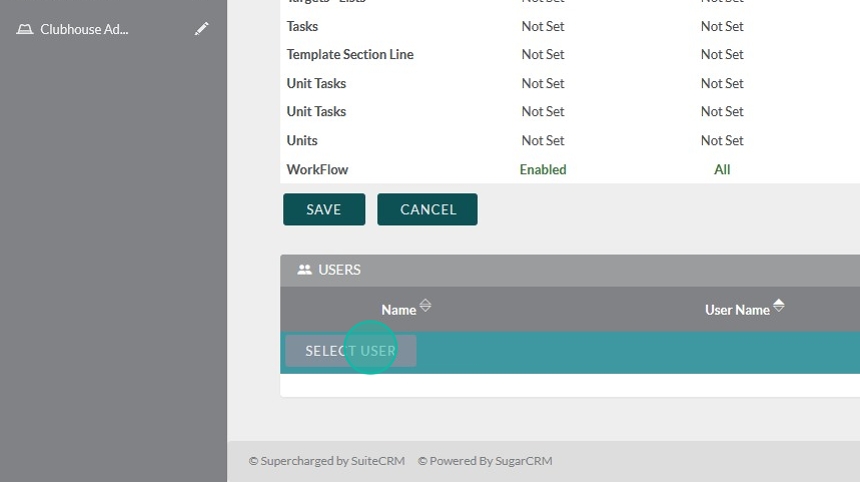
Once you’re sure this is the appropriate role for the user, scroll to the bottom and expand the Users subpanel.
Click Select User
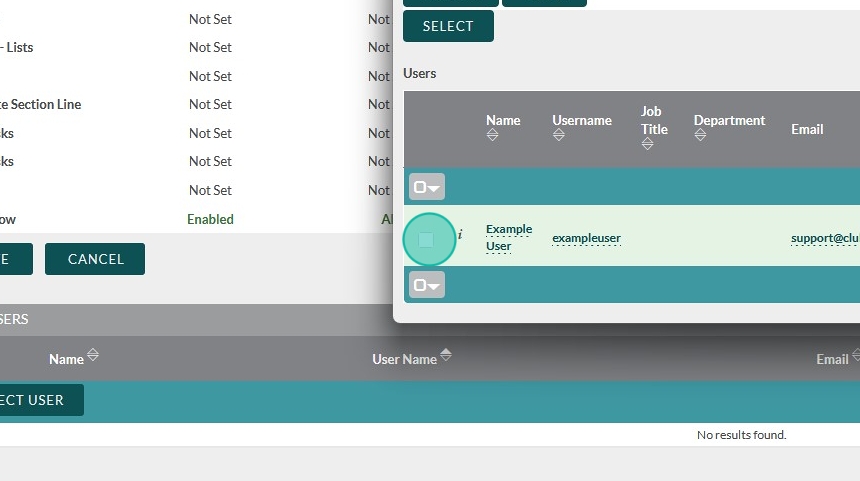
A new window will pop up, with search options. There will also be a full list of users at the bottom.
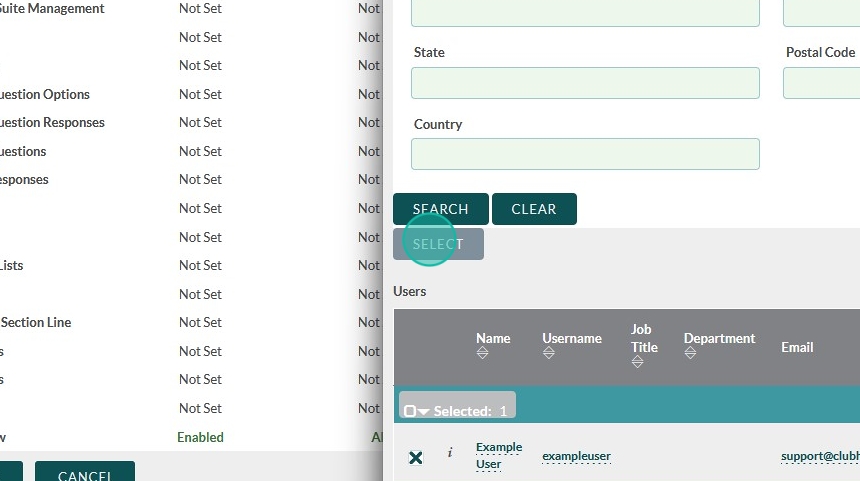
To use the Search feature, enter a few identifying details, and then click “Search”
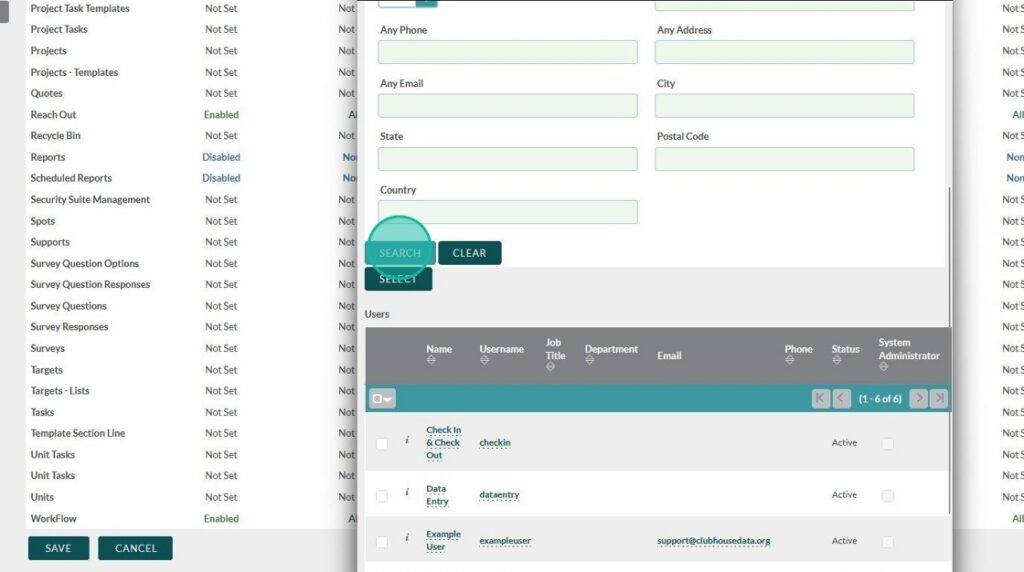
Once you have found your user(s), click the checkbox next to their name
After you’ve chosen your user, click “Select”
Click here

That’s it! You’re done!
We know that these roles can be confusing. Please reach out to Flourish Support at support@clubhousedata.org if you need assistance with assigning, editing, or creating roles.
We’re happy to help!
For more about User Roles, check out this tutorial: