Note: This is an advanced user tutorial. It may take some trial and error to master.
If you are unable to master generating surveys after following this tutorial a few times please submit a Training Request via the Flourish website
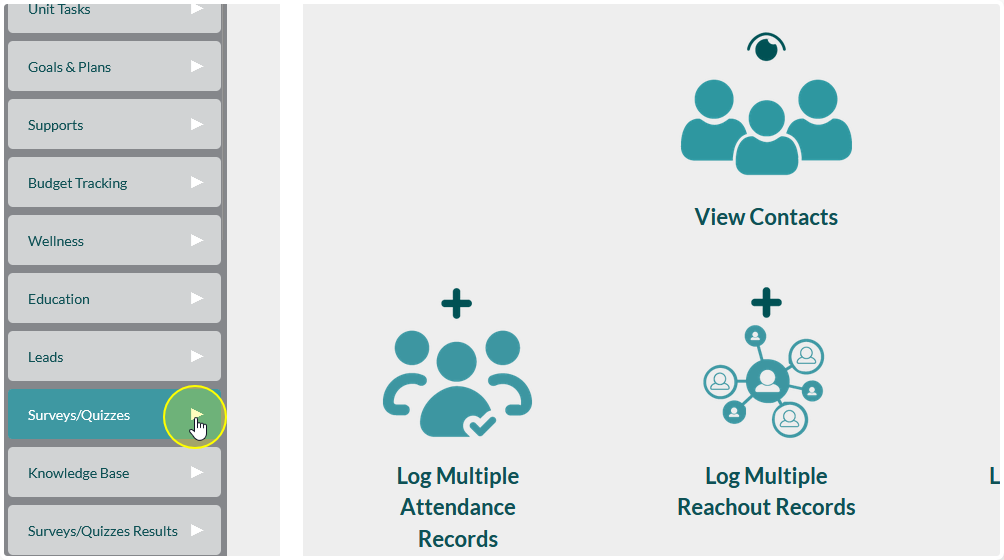
Navigation #
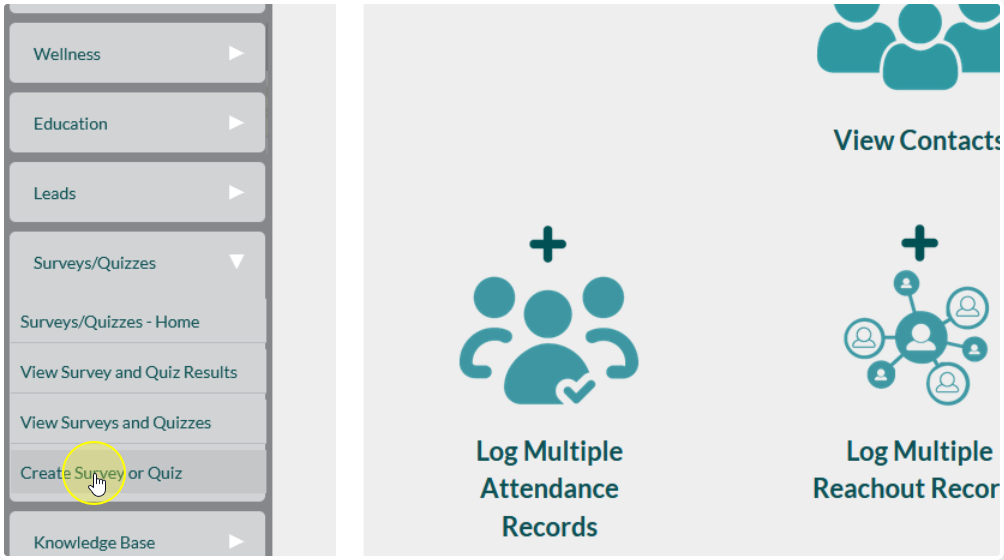
Locate Surveys/Quizzes on the sidebar and expand the menu
Click Create Survey or Quiz
Creating the Survey Framework #
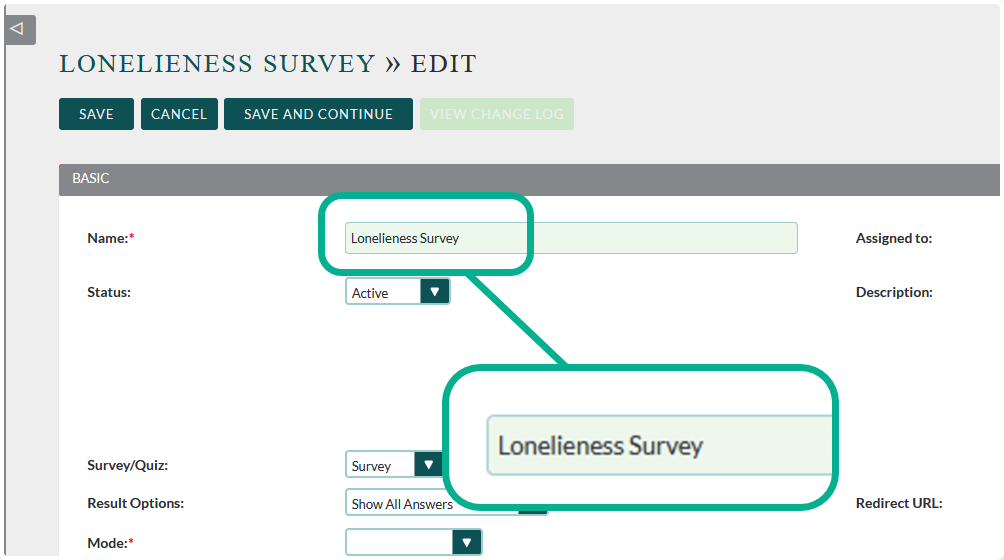
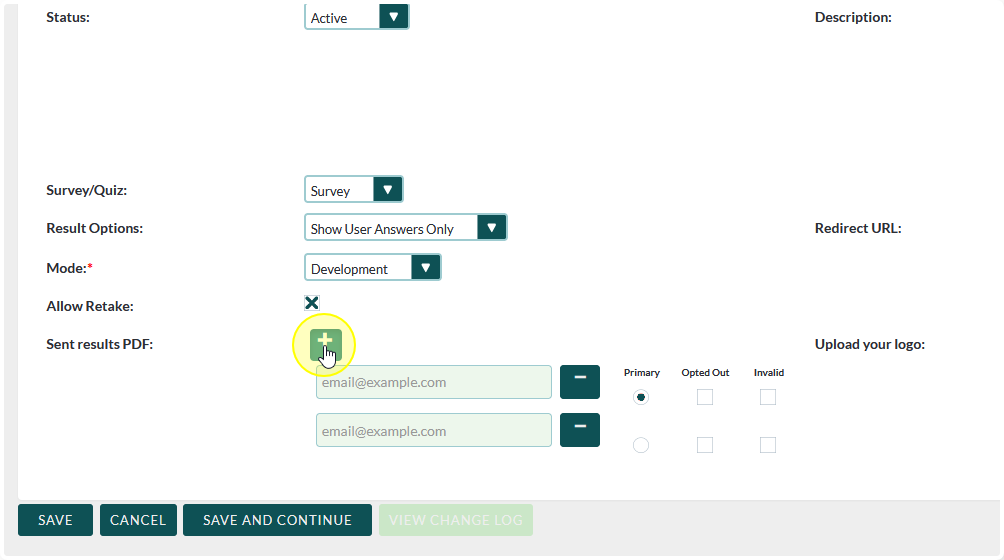
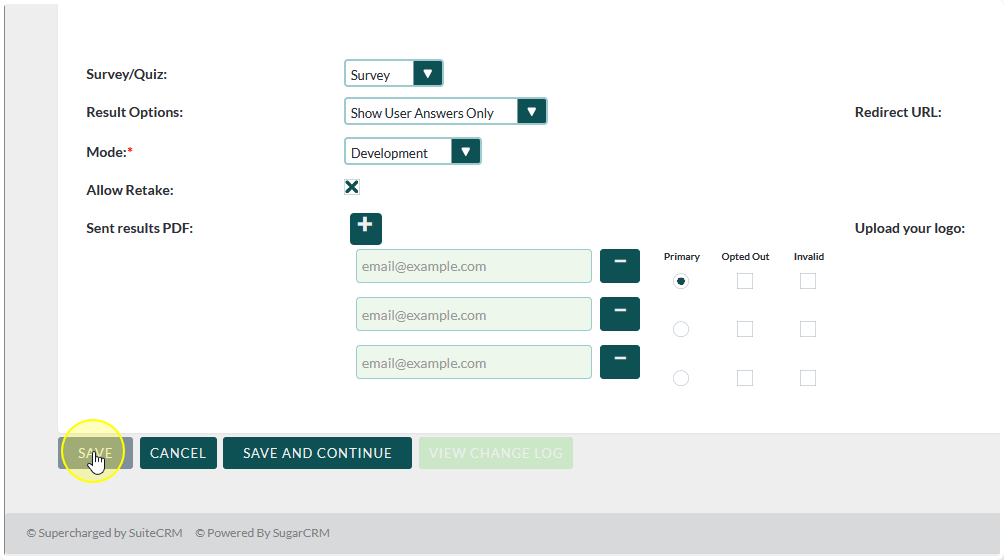
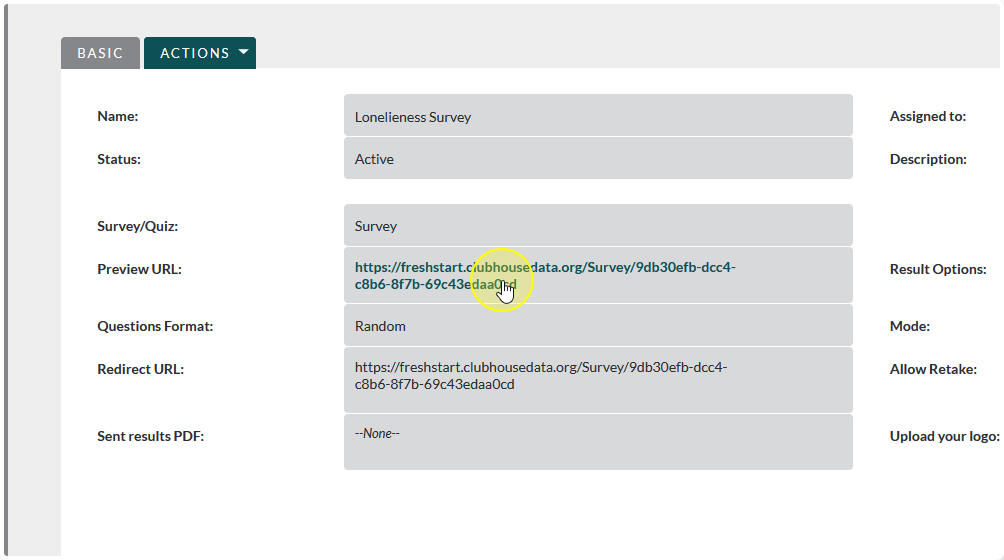
Begin by giving your survey a name
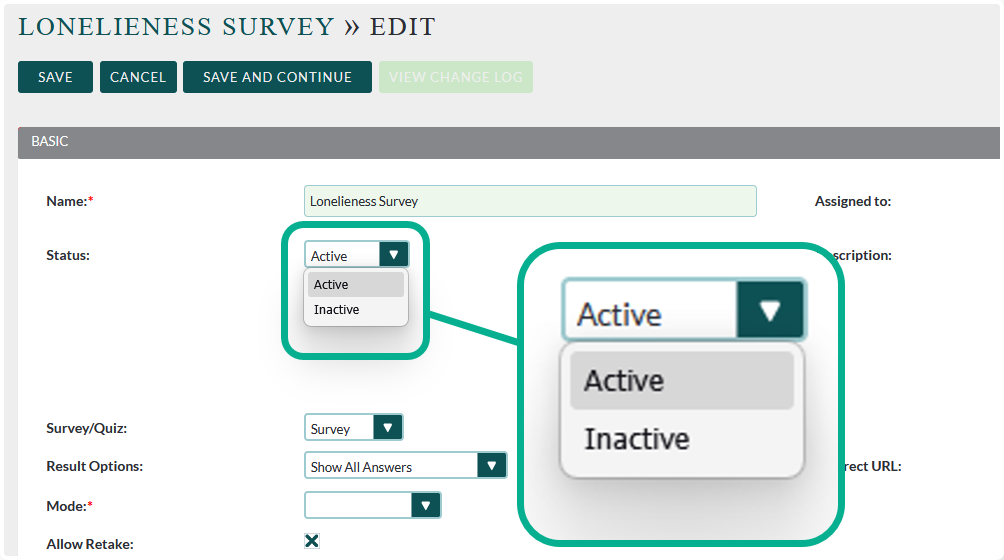
Change the status to match your needs:
Active: The survey has working links and can be taken
Inactive: The survey links do not work and it cannot be taken, even for testing
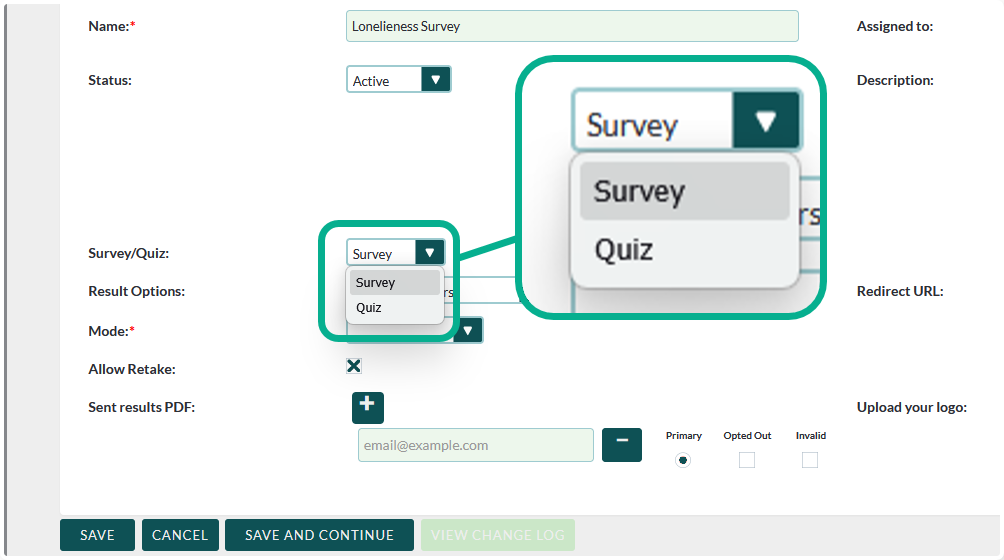
Make sure that it is designated as a Survey
We will cover quizzes in another tutorial
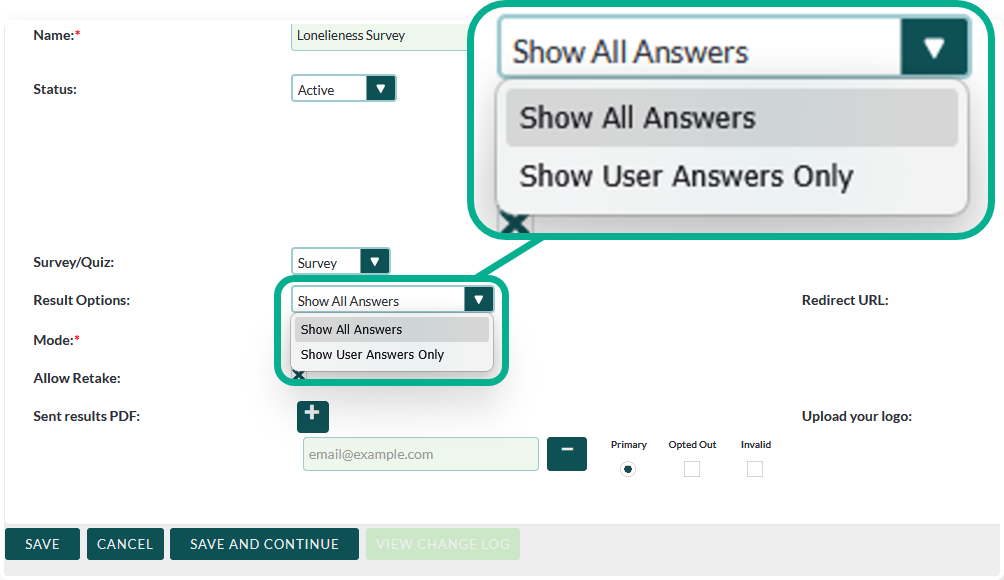
Decide how you would like the results to display:
All Answers: All possible options available are displayed and the user answer is highlighted
User Answers Only: Only the option that the survey taker selected will be displayed
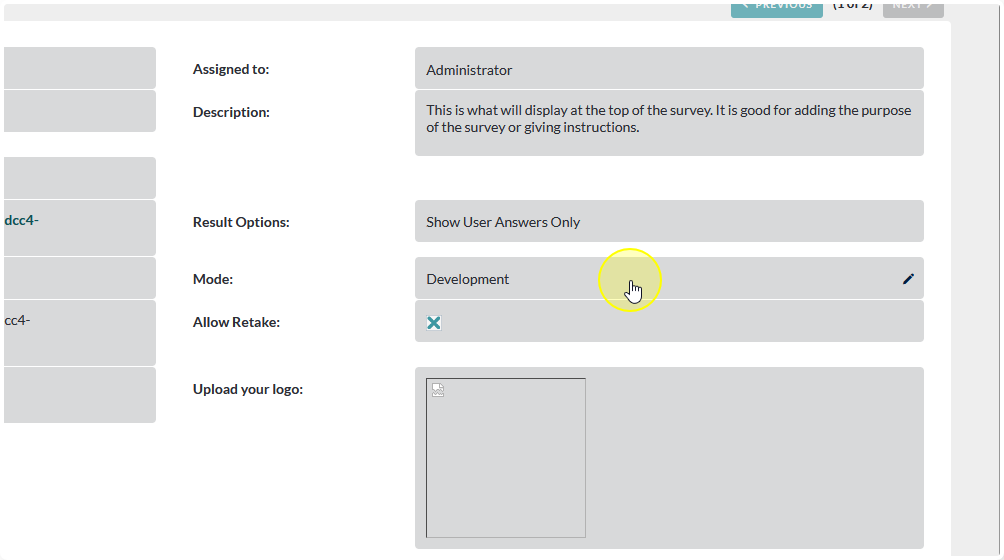
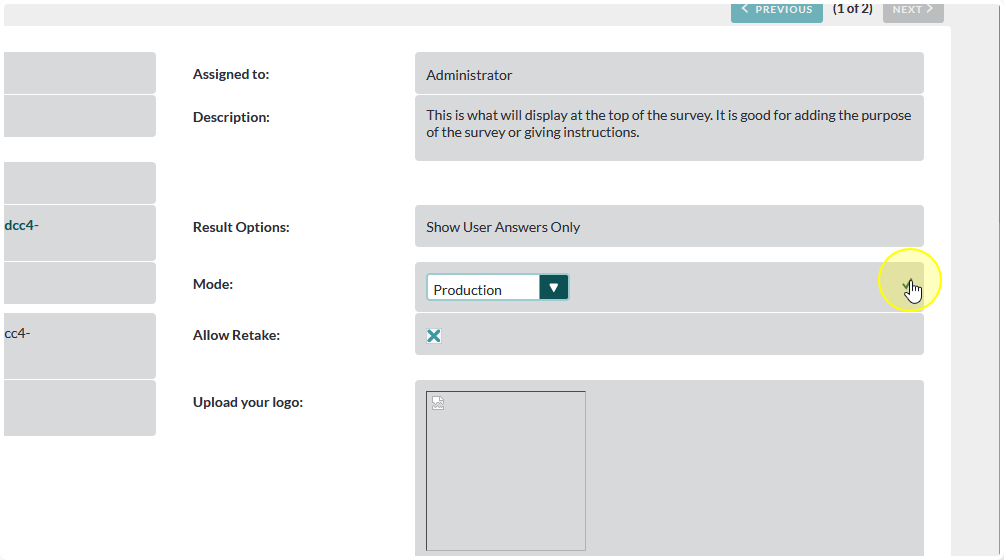
Set the Mode:
Production: The survey is ready to be taken
Development: The survey is still in planning/development stages
Setting the survey to Development will allow you to keep test submissions and actual submissions separate from one another
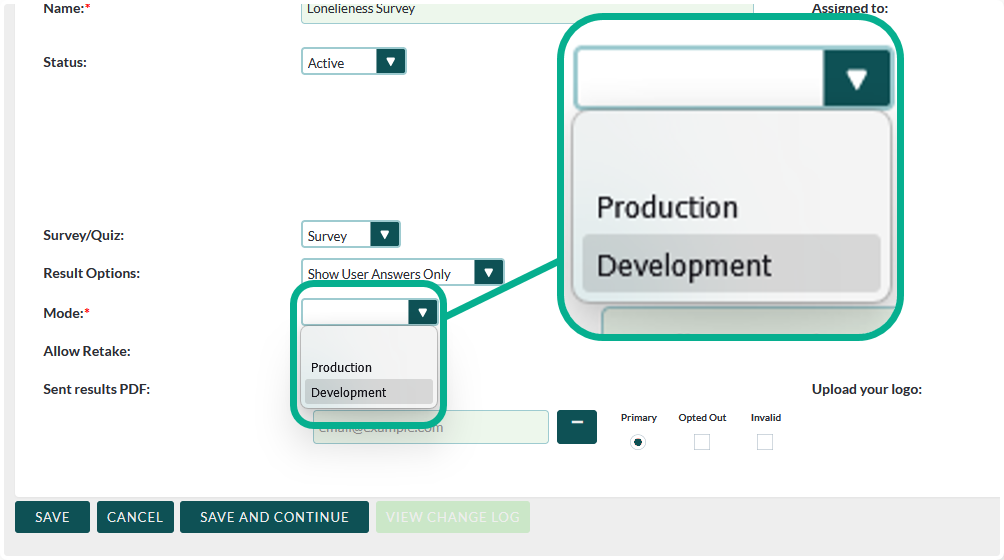
Tip: Best practice is to start all surveys off in Development Mode
Decide if you would like to allow retakes of the survey
Checked: The survey can be retaken any number of times
Great for surveys where you need to compare the results back to a previous submission
Unchecked: The survey can only be taken once by each contact

Note: This field only applies when a survey is connected to a contact.
Surveys that are not attached to a contact can be taken multiple times, even if this is unchecked.
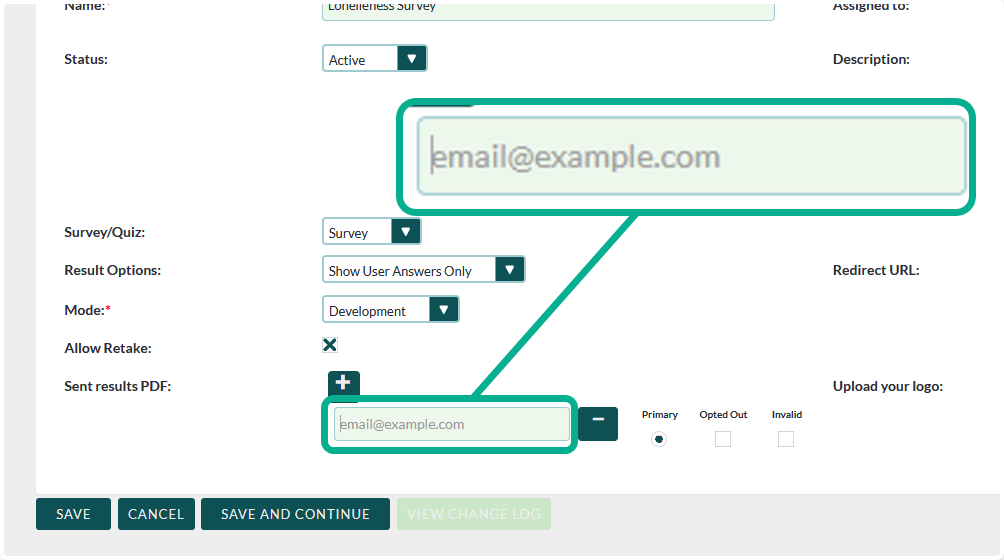
Enter the email addresses of the individuals who you would like to receive a copy of ALL submissions of this survey
You can add multiple email addresses by clicking the plus sign (+) at the top of the field

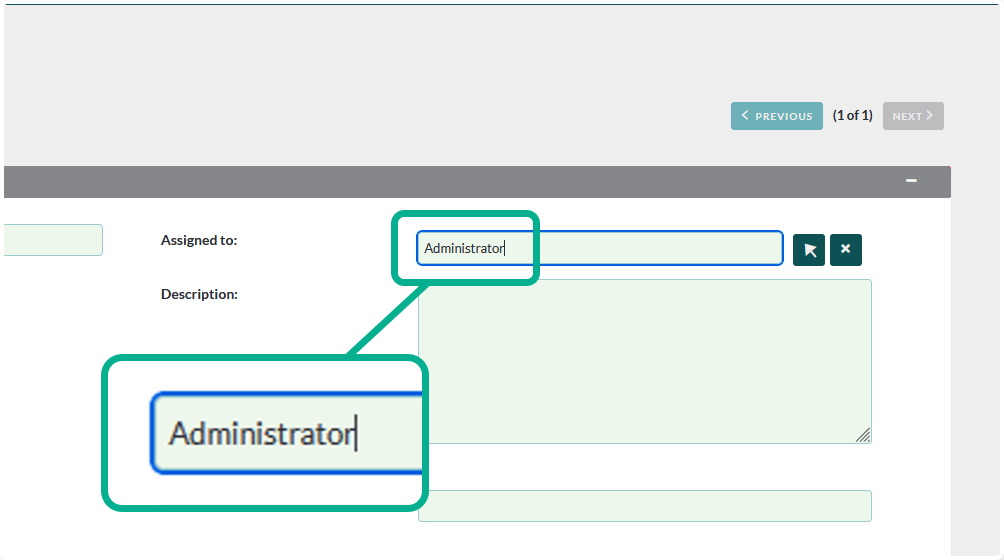
Optional: You can assign ownership of this survey to a specific user.
This doesn’t affect much other than potential editing rights, dependent on your security settings.
Optional: Add a description of the survey.
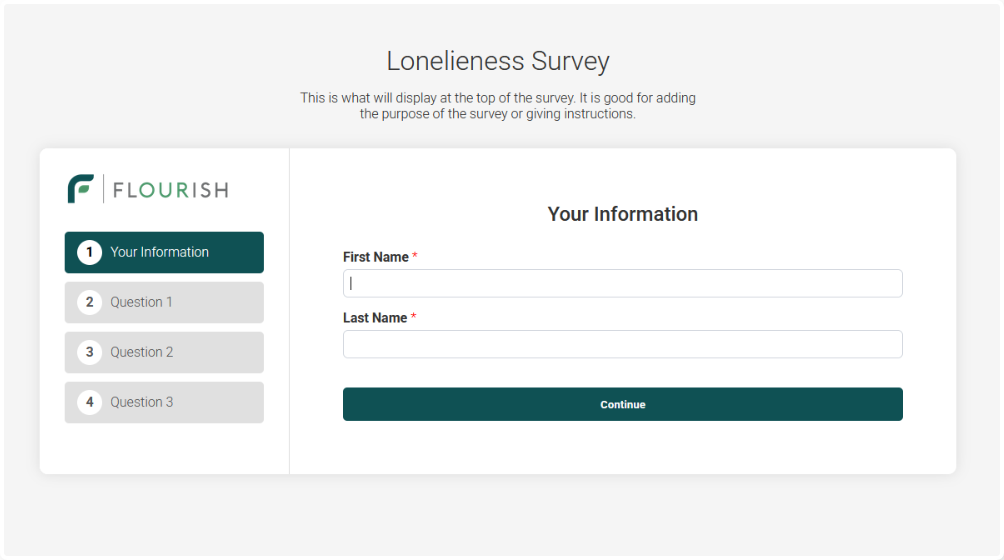
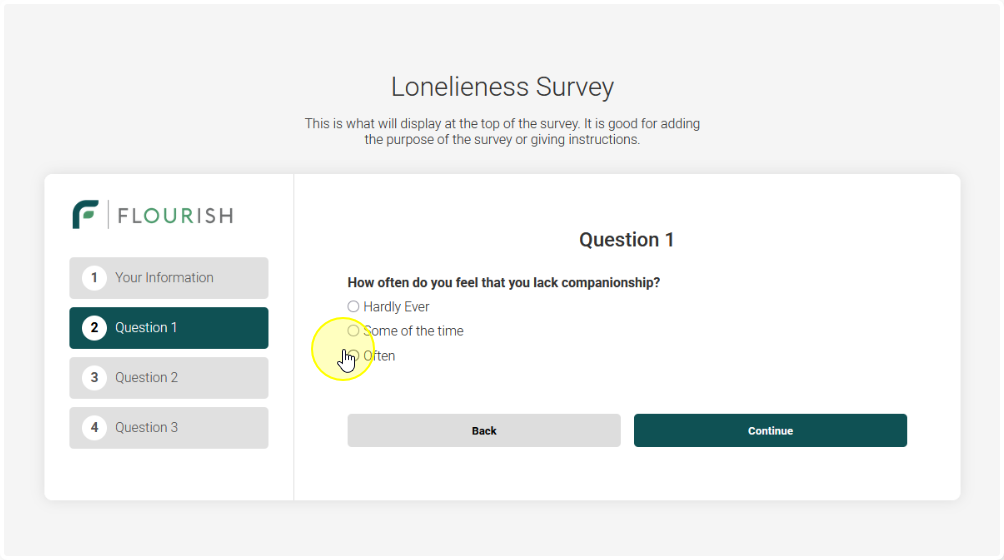
This is what will display at the top of the survey. It is good for adding the purpose of the survey or giving instructions.
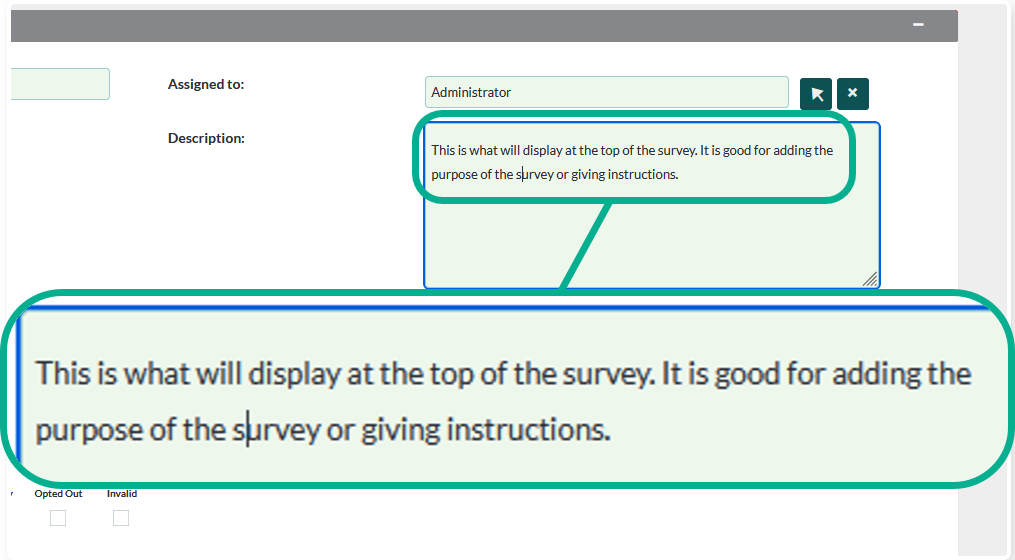
This is how it will look in the live survey

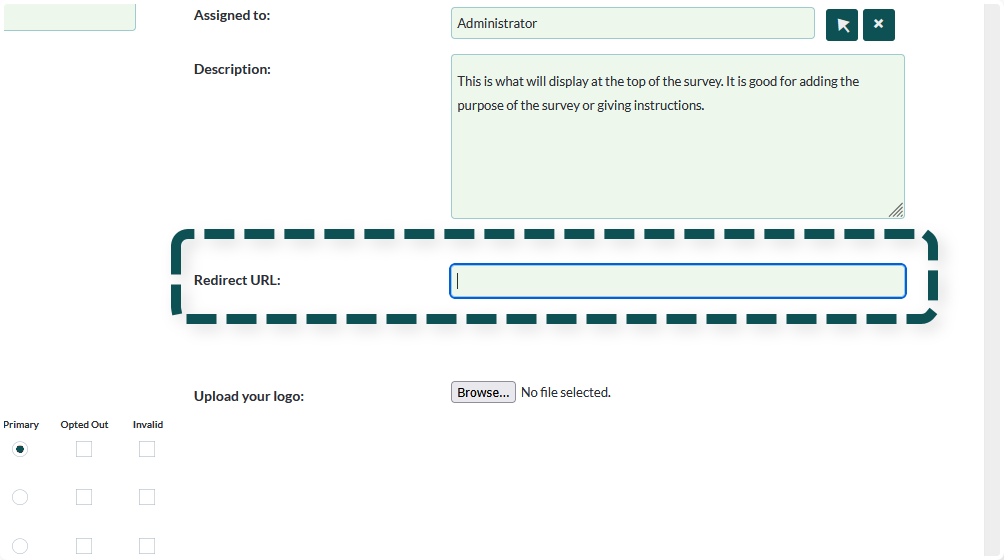
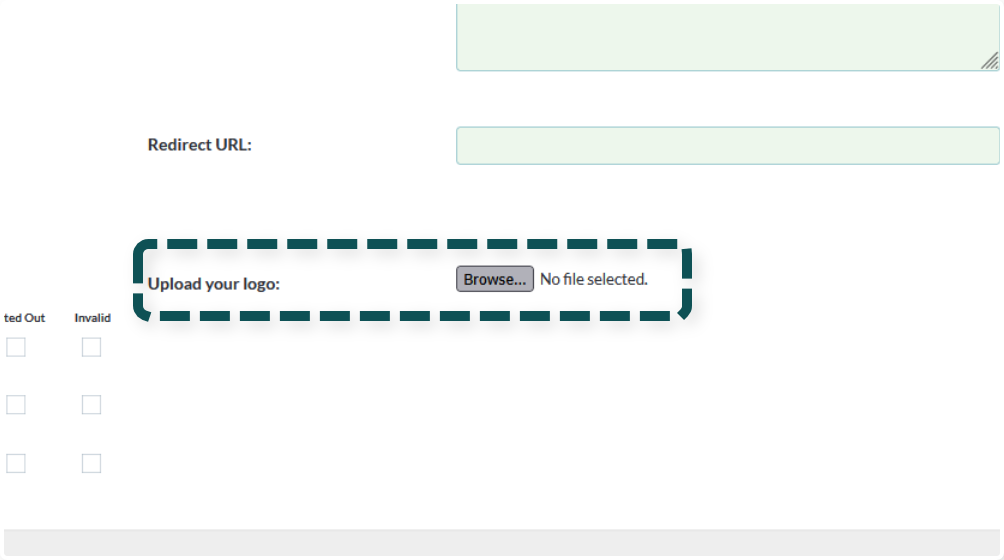
Optional: Set a custom redirect URL. After users complete the survey it will navigate them to the URL you set here.
If you leave this field blank it will default back to the beginning of the survey
Note: If you choose to have it default back to the beginning of the survey, it will use the URL for the unattached survey link.
This means contacts who take a survey that is attached to their account will also be redirected to the blank, unattached survey link.
Optional: Add a custom logo to the survey. This should accept most common image file types (.png, .jpg, etc.)
If you do not upload a custom logo it will default to the Flourish logo
Once you have set all of the survey settings click Save
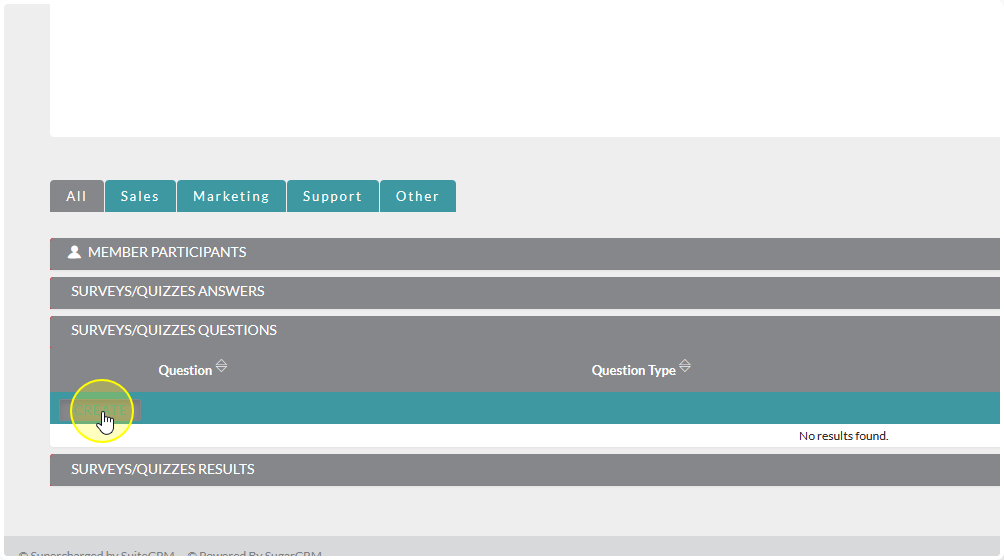
Generating Questions #
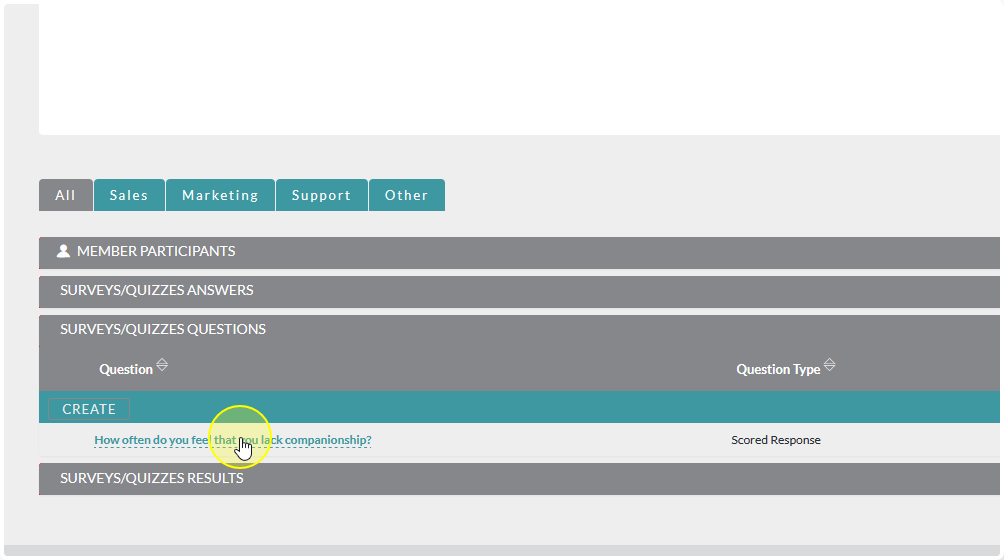
If it is not already expanded, click on the Surveys/Quizzes Questions sub-panel to expand it

Click Create
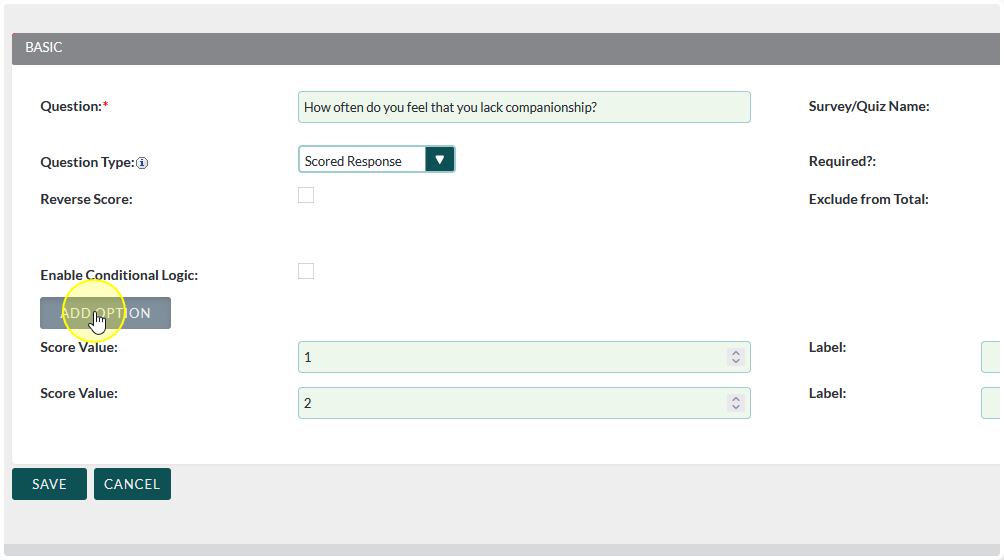
Type your question into the Question field
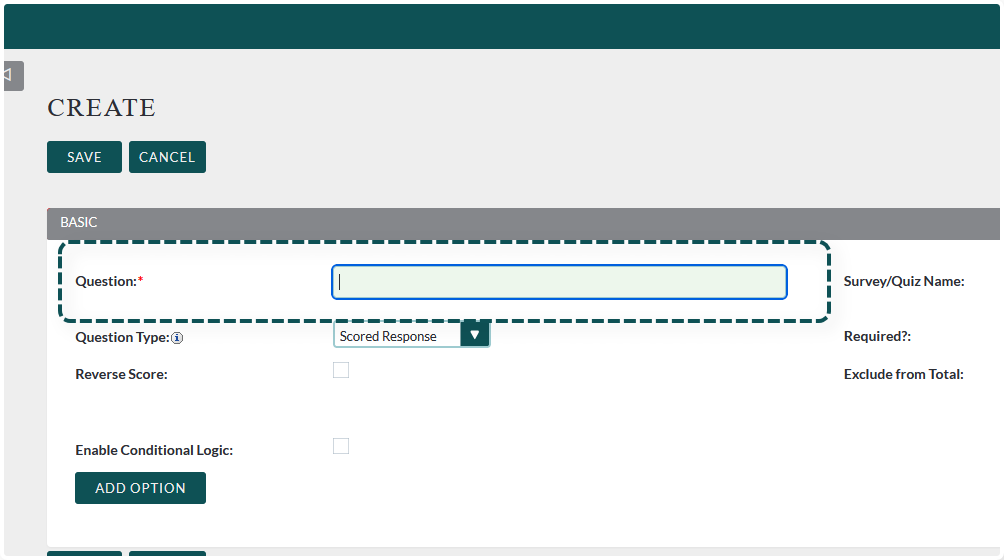

Tip: This field is best for short questions. If you have a really long question please see our Question Type Tutorial for the best way to add long questions to a survey.
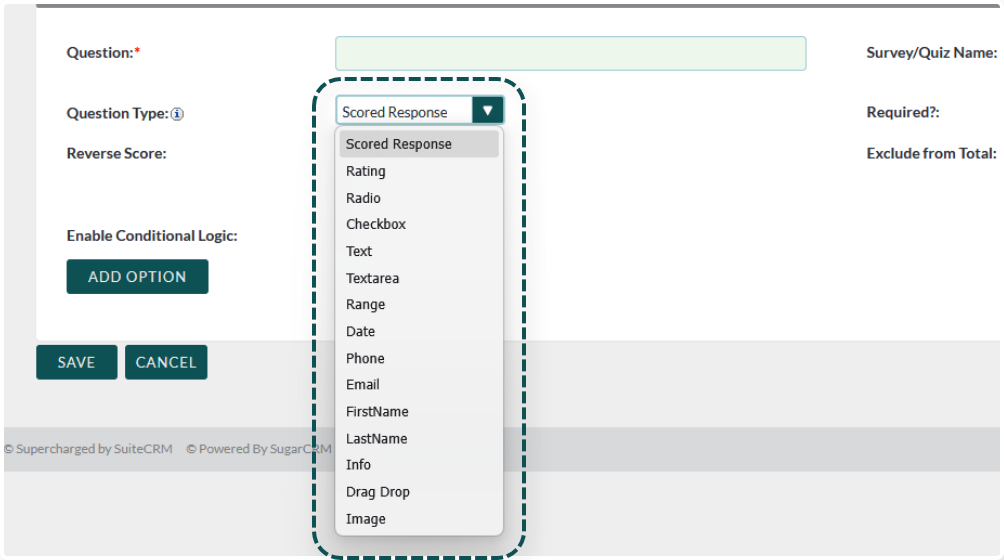
Choose your question type.
We will go over all of the question types in the Question Type Tutorial. For this example we are using Scored Response.
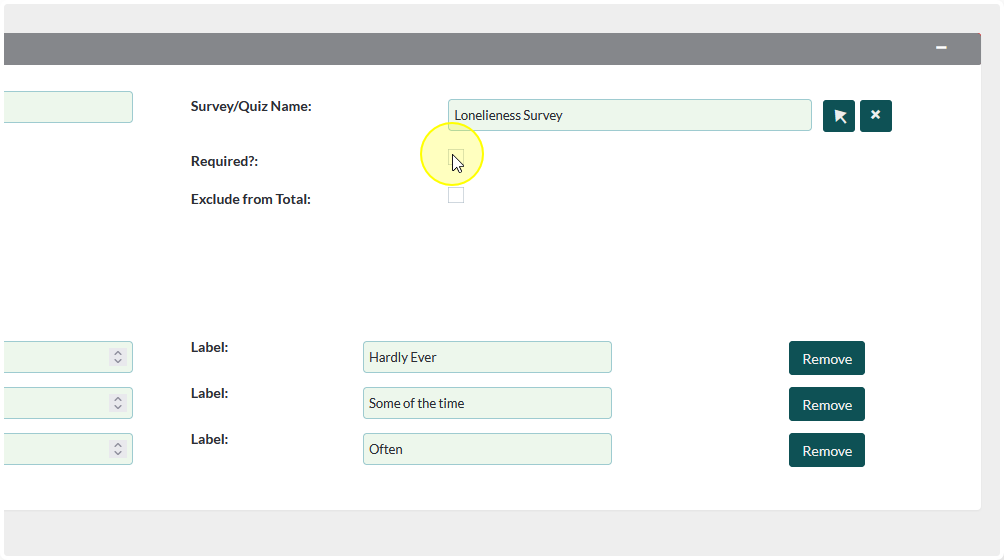
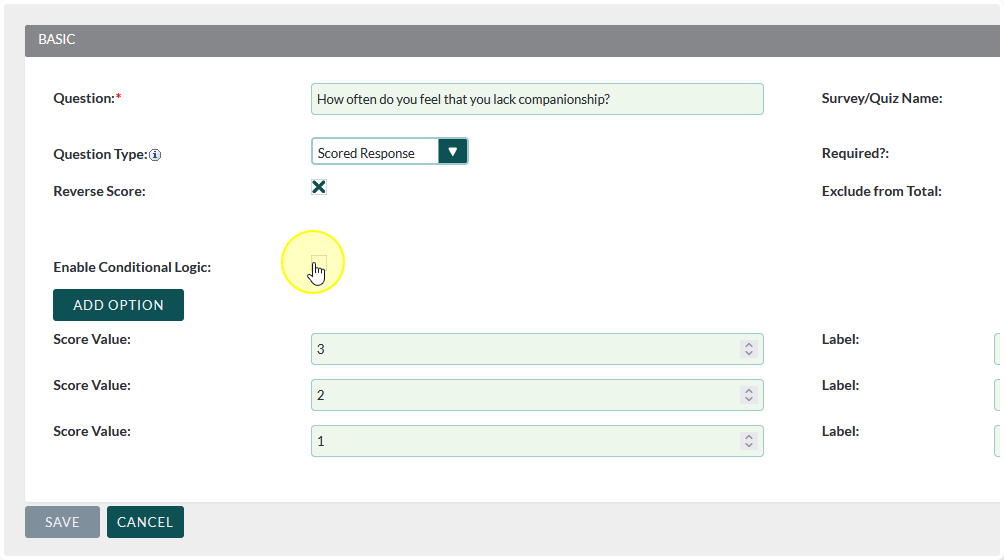
Set all of your question specific settings and (if applicable) add the question options


Decide if you want the question to be required or not
Checked: The survey taker cannot move on and/or submit the survey until they have answered the question
Unchecked: The survey taker can submit a survey without answering all questions
Optional: If applicable, Enable Conditional Logic and set the Conditions
A question with Conditional Logic enabled will only show up when the conditions are met
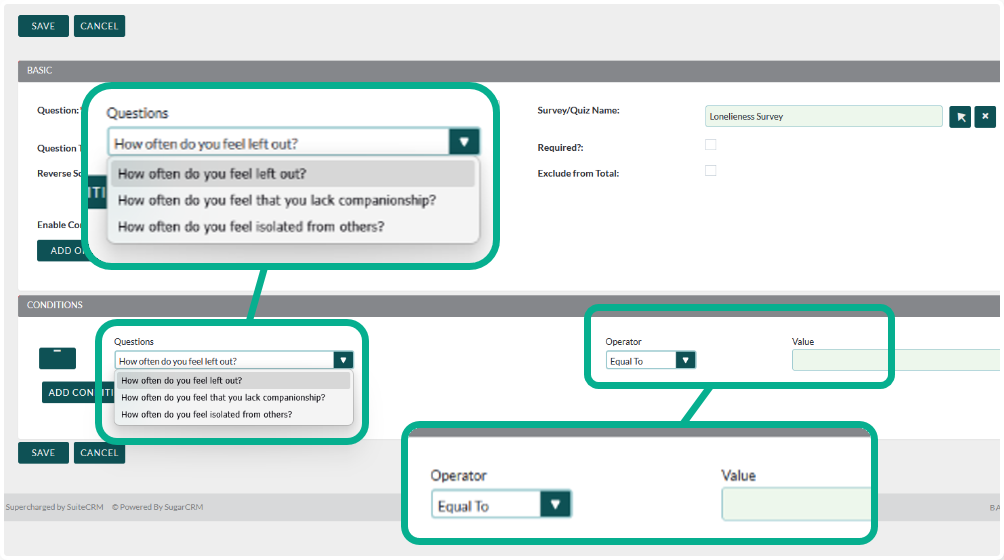
Conditional Logic will be covered more in the Question Type Tutorial
Once the all question settings have been set Save the question

Continue creating questions until you have all that is needed for the survey
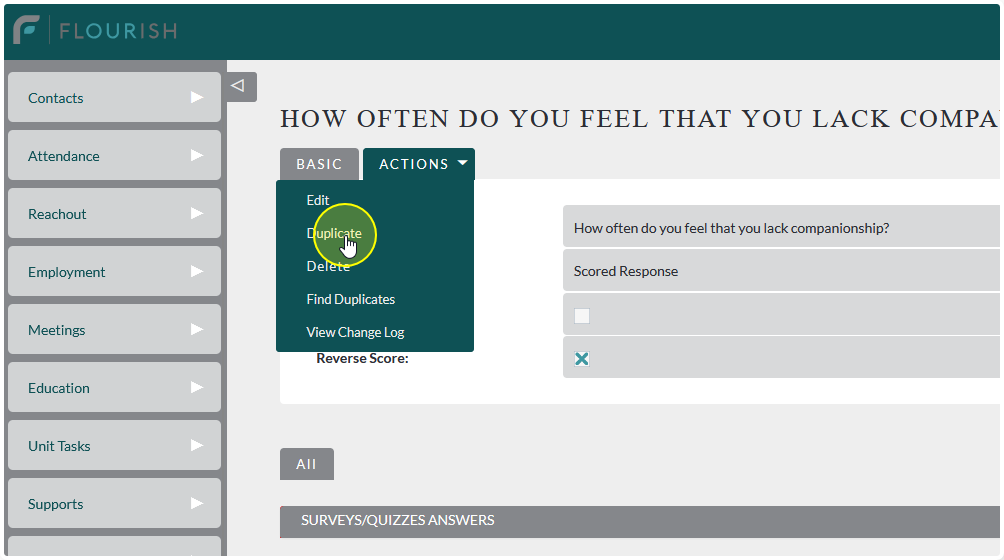
Tip: If your questions are similar in nature you can save some time by duplicating the original question and modifying only what needs changed.

Setting the Layout #
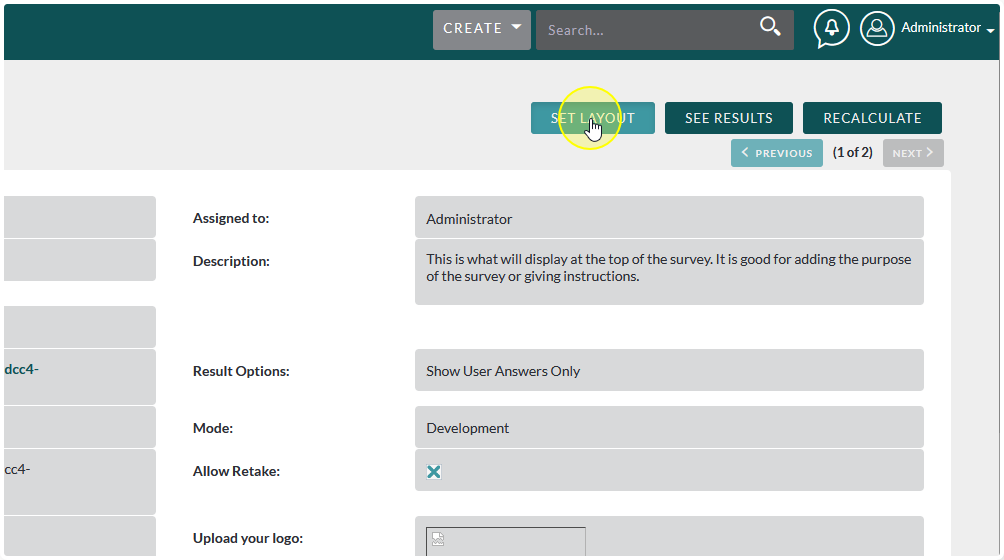
Once all of your questions have been generated, return back to the main survey page and click Set Layout
The layout follows a very basic drag and drop formula:
Add Page: This generates a new page in the survey.
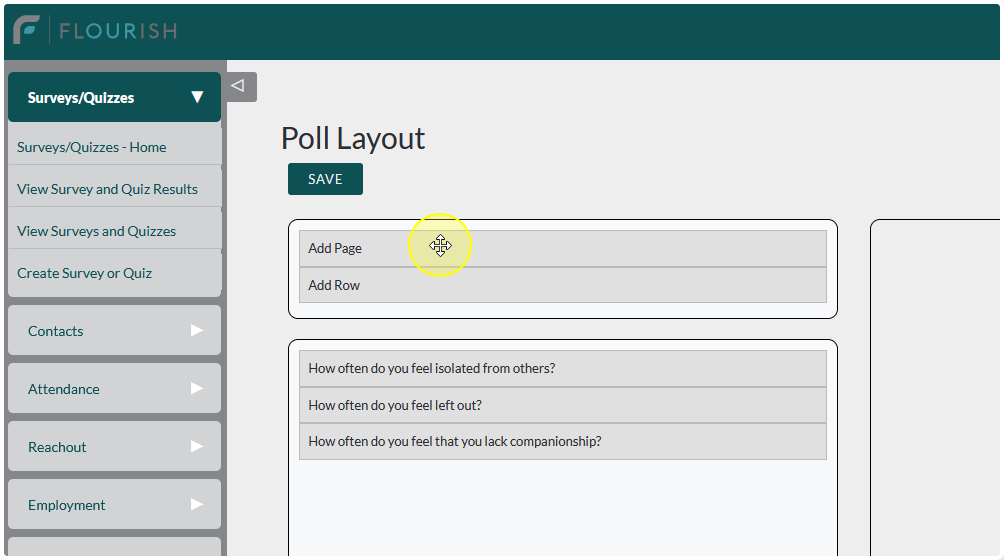

Add Row: All rows below a page will populate on that page


Add Questions: Move the question to the row you would like it to be on
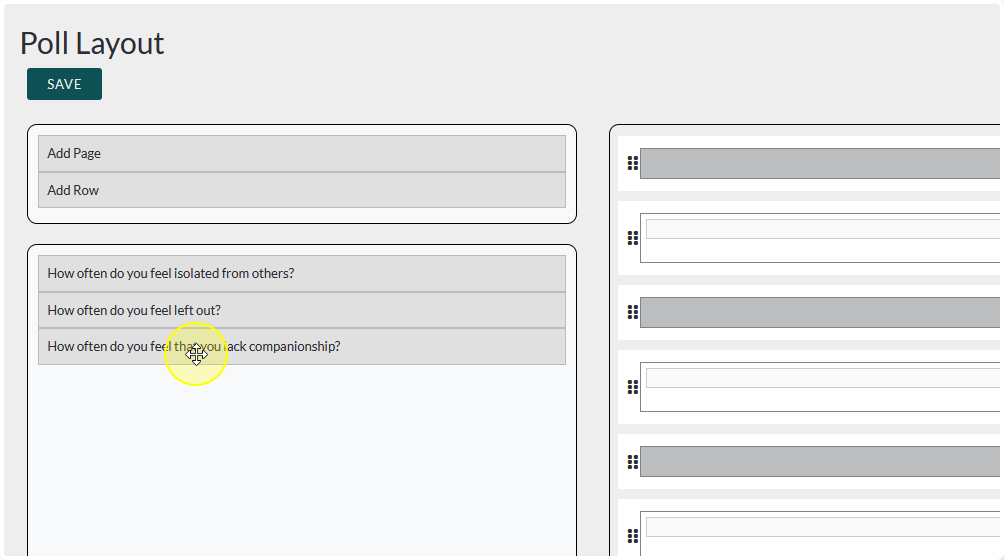
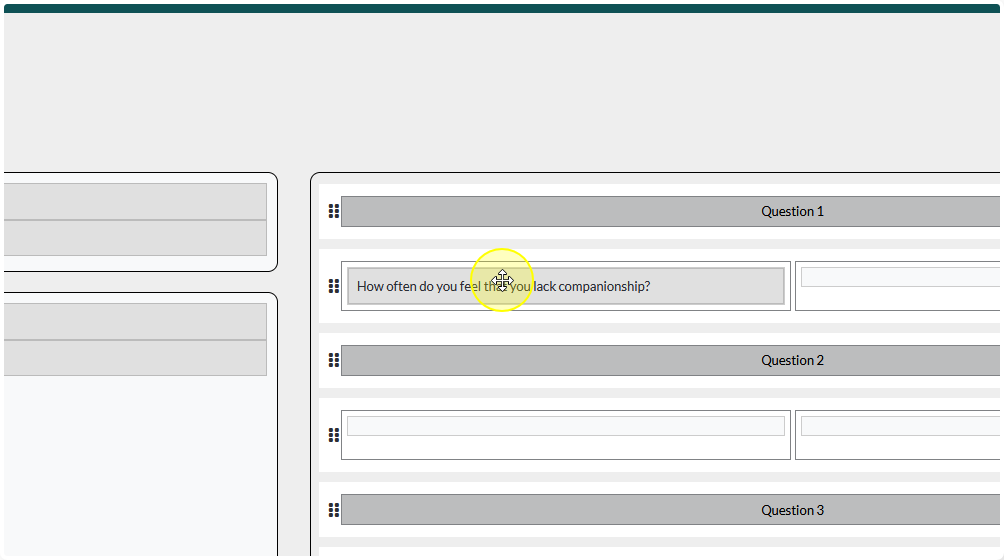
You can further customize the layout by adding page titles and adding/removing columns
To add a page title double click on the text and change it to your desired page title

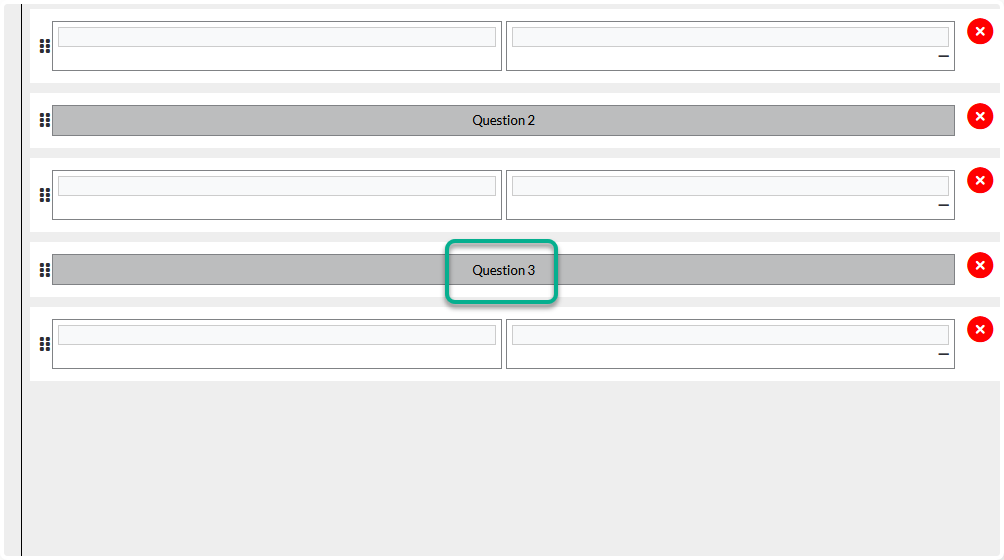
The rows default to having 2 columns. You can change them to a single column by clicking on the minus sign (-) at the bottom of the row

To re-add the second column click on the plus sign at the bottom of the row
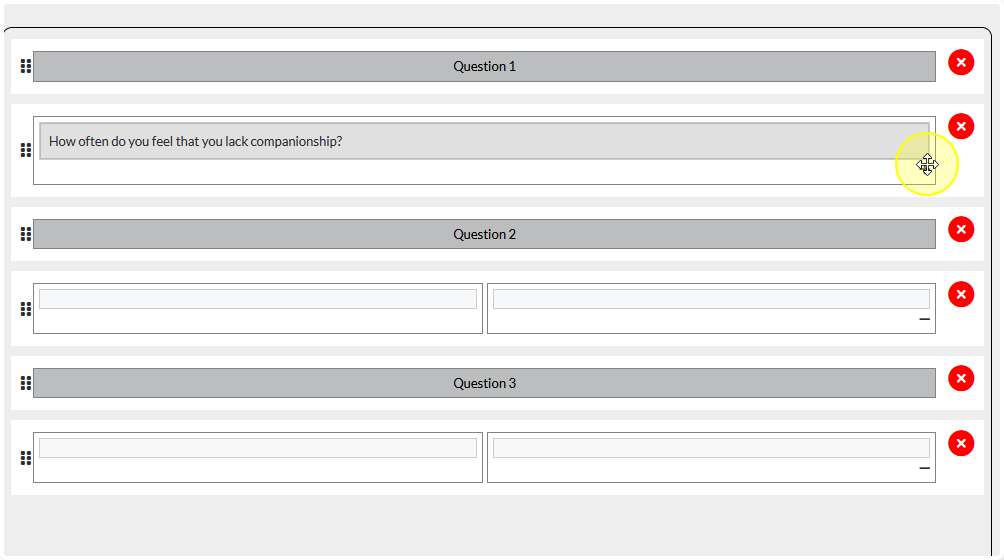
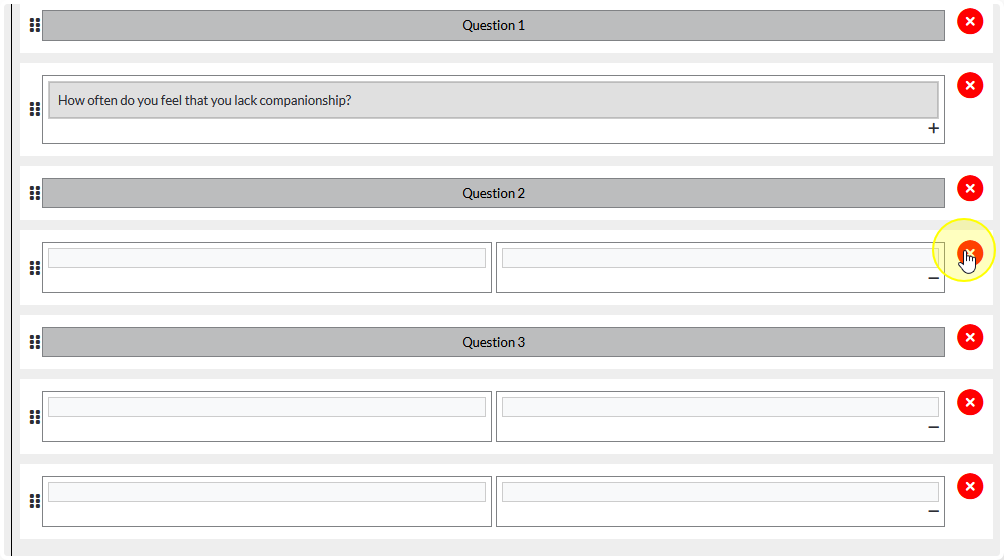
To remove a row or page click on the red “X” to the right of it
Tip: Experiment with different page/row number combinations to figure out what works best for your particular survey.
A good general rule of thumb is to keep each page 3-5 questions long to help the user keep track of what they have and haven’t answered
Once you are happy with the layout click Save to set it.
Testing the Survey #
To test the survey click on the URL at the top of the page
Surveys that are not attached to a contact will automatically add a page to collect the name of the survey taker
Work your way through the survey to make sure you’re happy with the flow of it

After you submit your test survey make sure that the results page looks correct for the questions/answers given.
If the survey results are not as expected revisit the questions to ensure they are set up correctly. If all questions are correct please submit a support ticket to the Flourish Team.
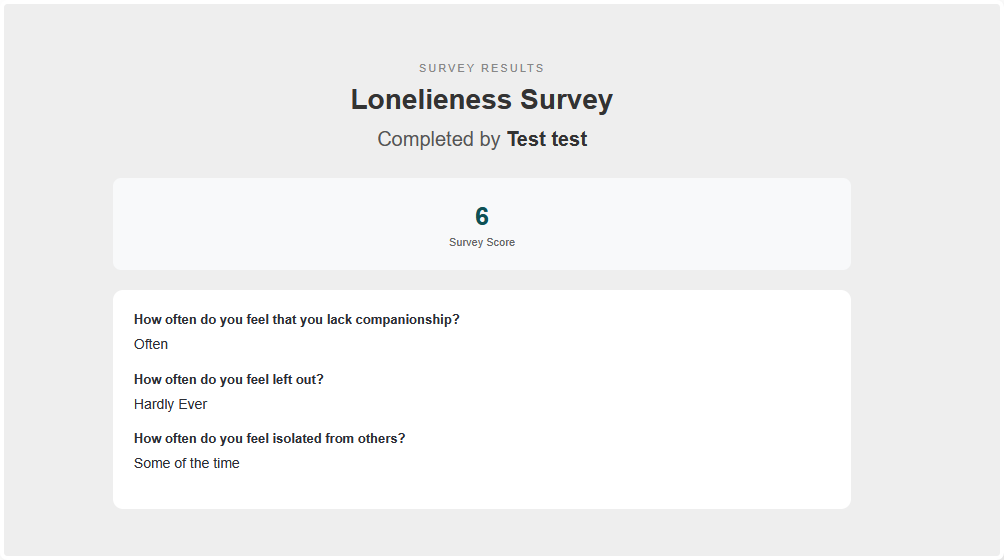
Note: Only surveys that use the following question types will generate a Survey Score
- Scored Response
- Rating
Finalizing the Survey #
Before administering the survey make sure to change it from Development Mode to Production Mode

Generating Unique Survey Links for Existing Contacts #
To generate a custom link for an existing contact begin by expanding the Member Participants sub-panel and clicking Select
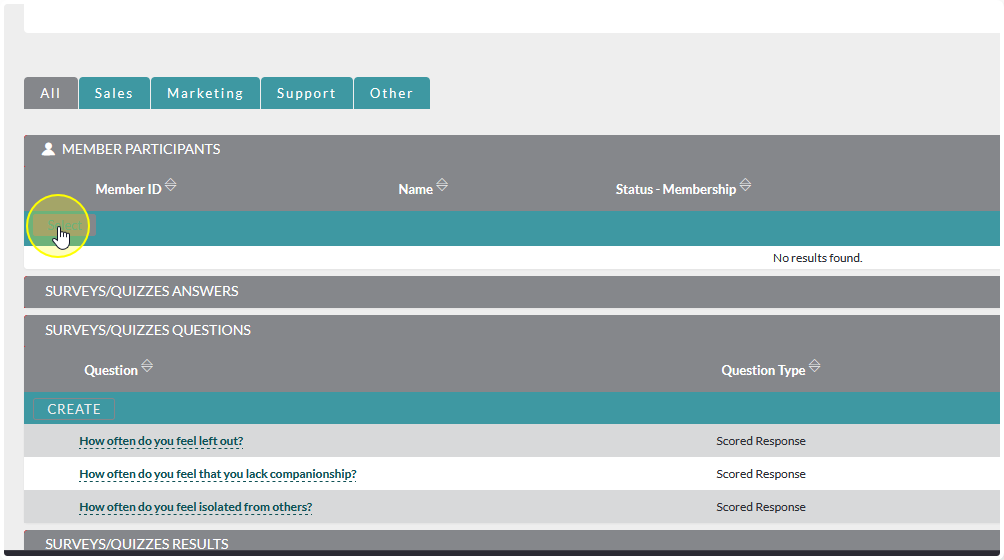
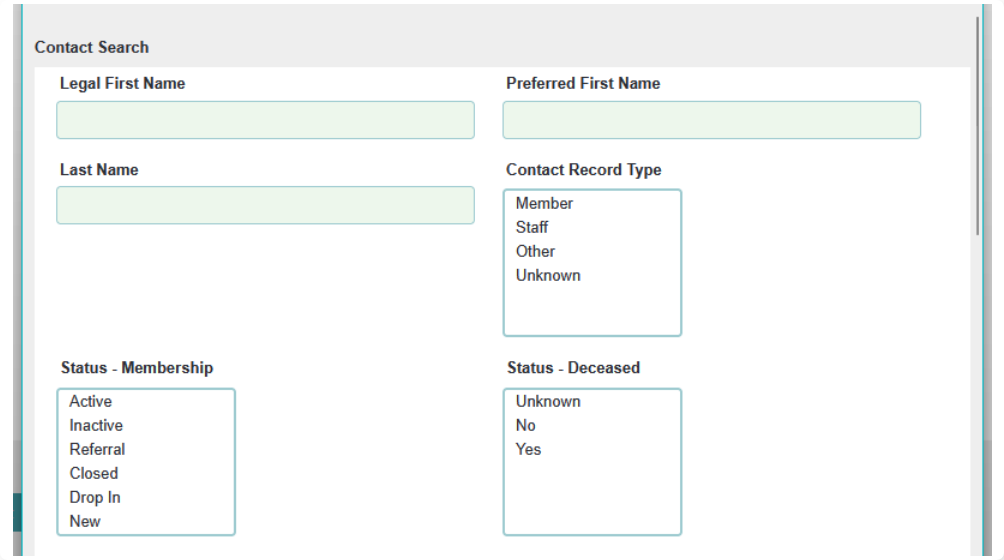
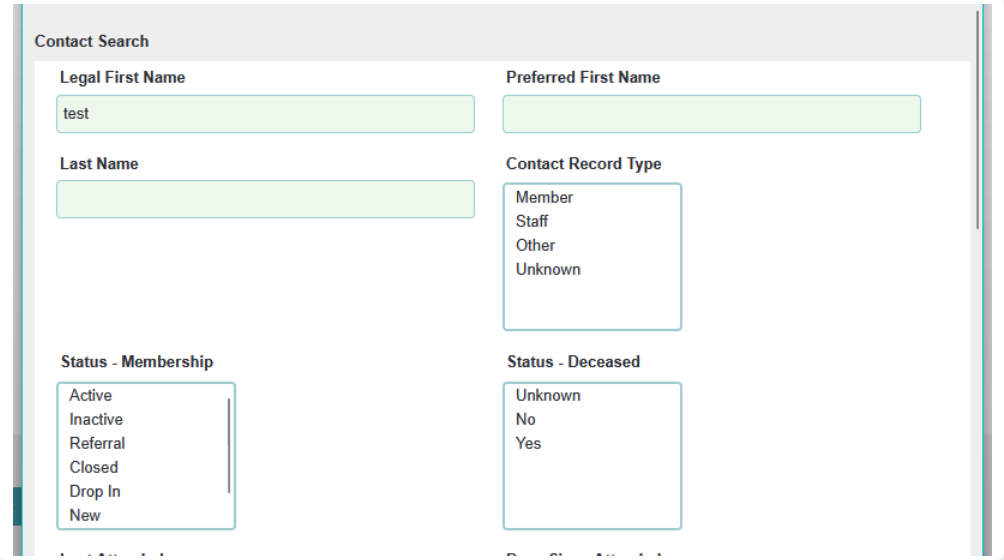
Enter your search criteria and click Search
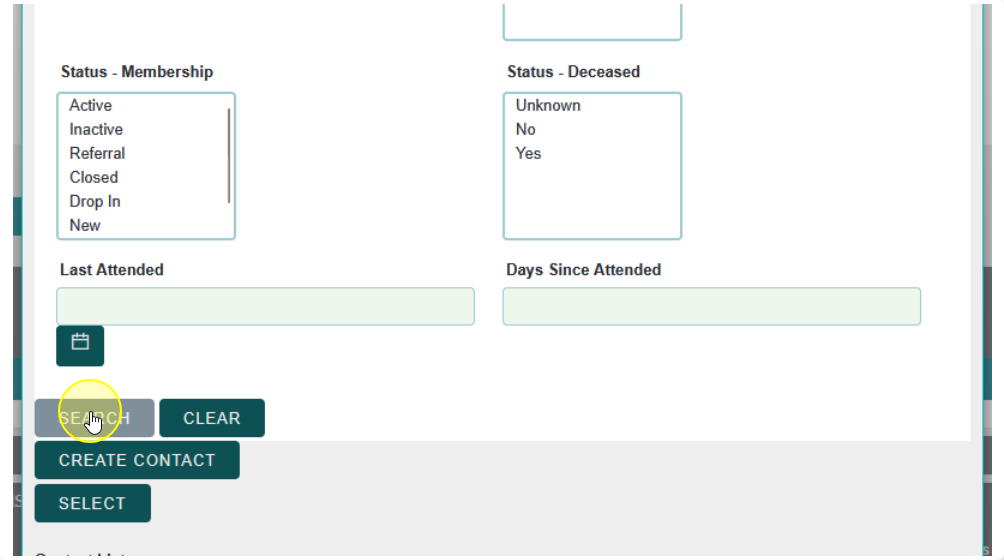
Choose the contact you would like to add and then cliekc Select

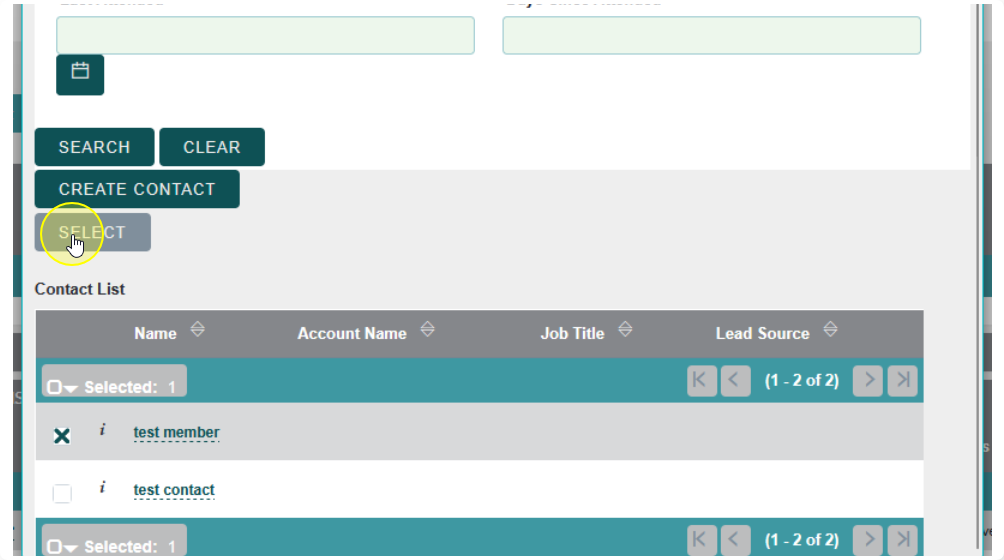
A link that is unique to that contact will be generated. You can copy it to your clipboard by using the Copy button under Invite Link
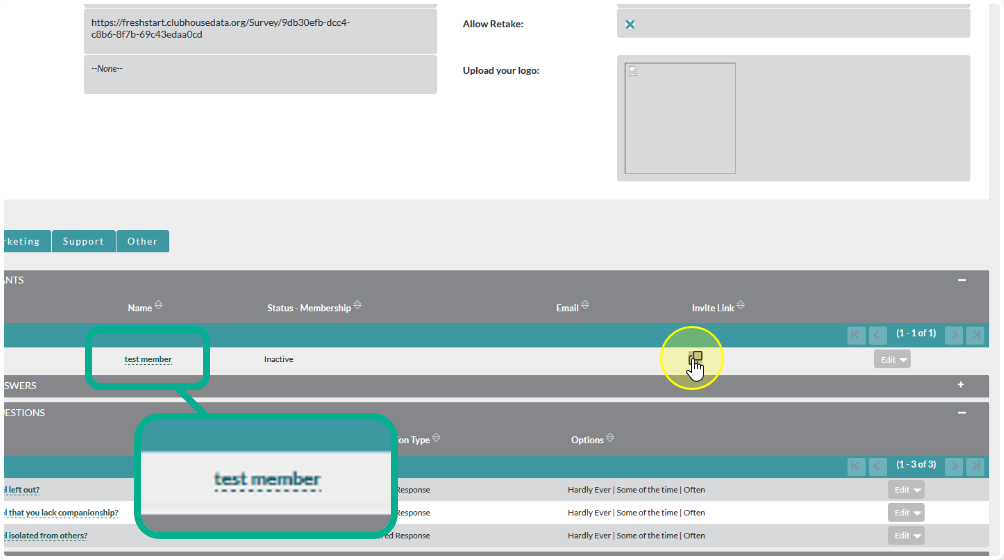
Note: Surveys that are not linked to Contacts will generate a Lead that can be converted to a Contact.