Flourish is designed to be highly customizable on the user end. One way to customize your user experience is to edit your module layouts. Do this to remove fields you don’t want, re-order the fields, etc.
Navigation #
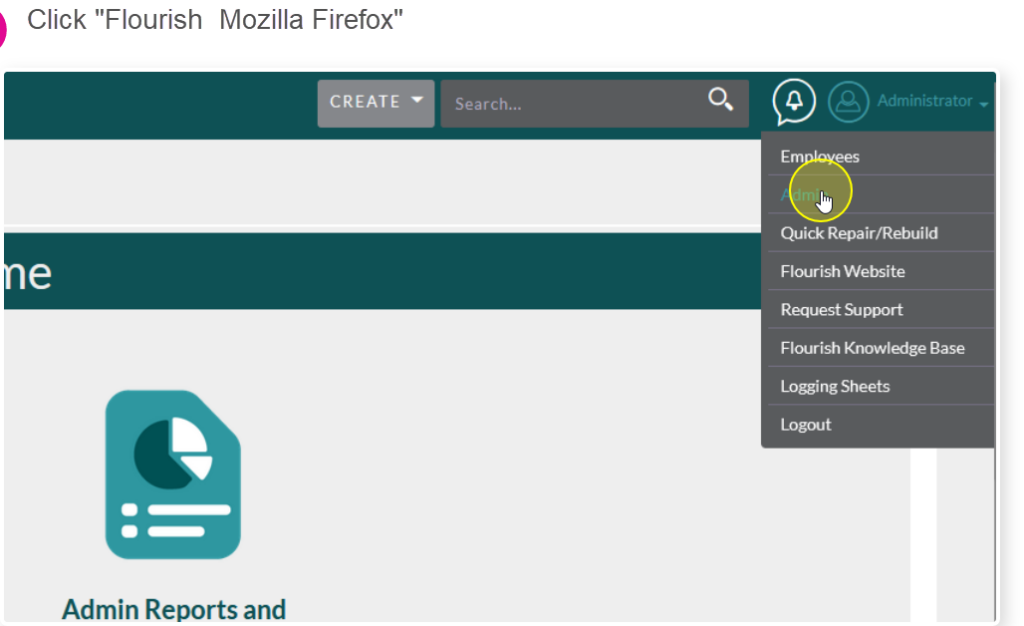
Hover over your username in the upper right hand corner and then click Admin

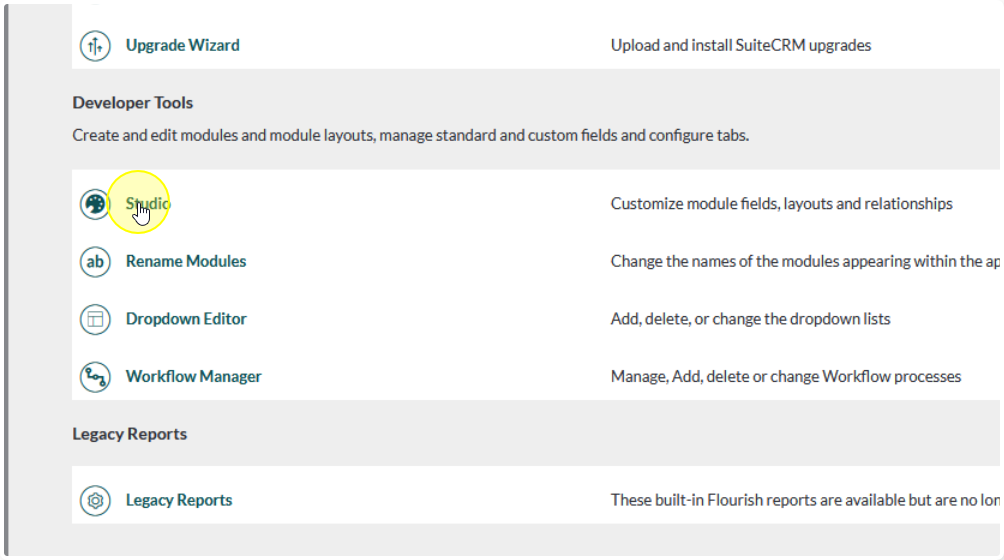
Scroll all the way to the bottom of the Admin Panel to Developer Tools
Click Studio
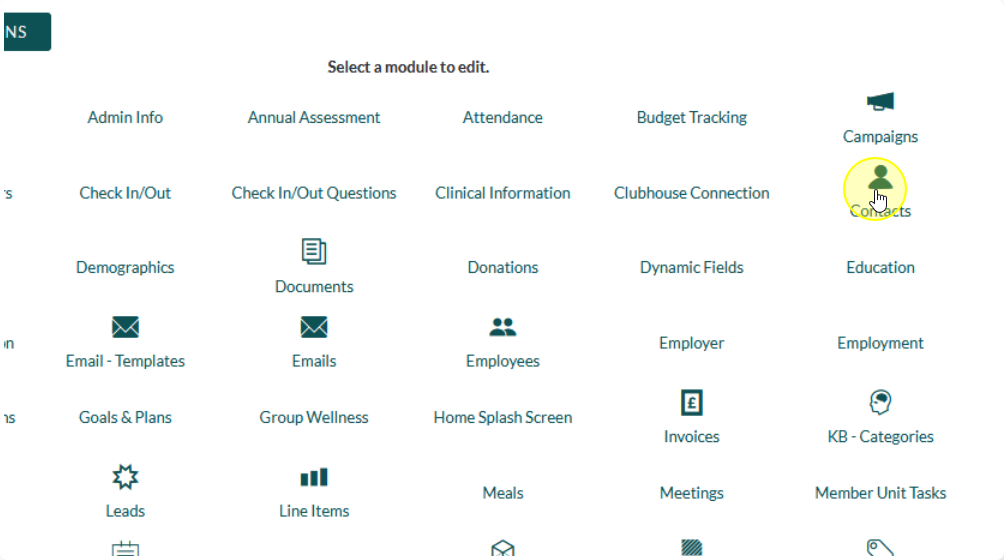
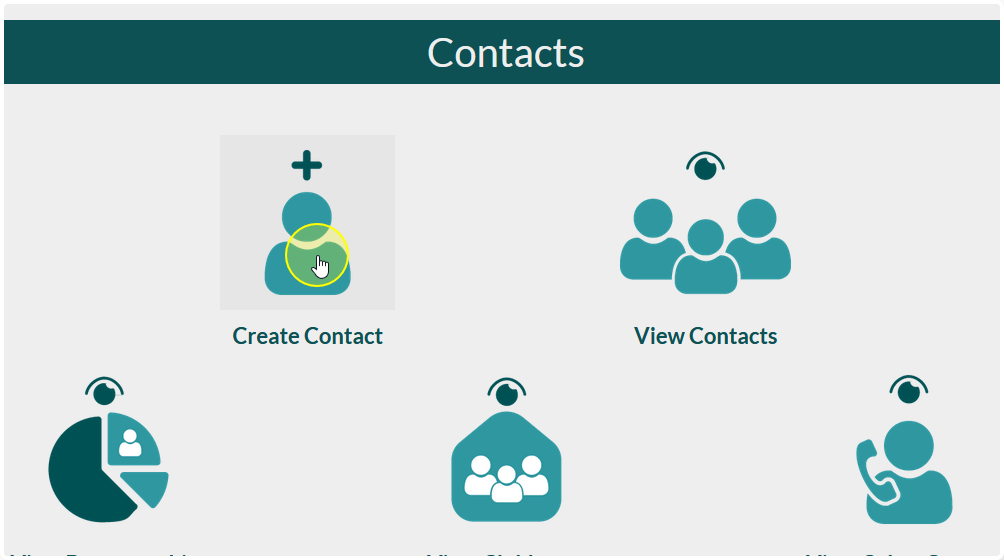
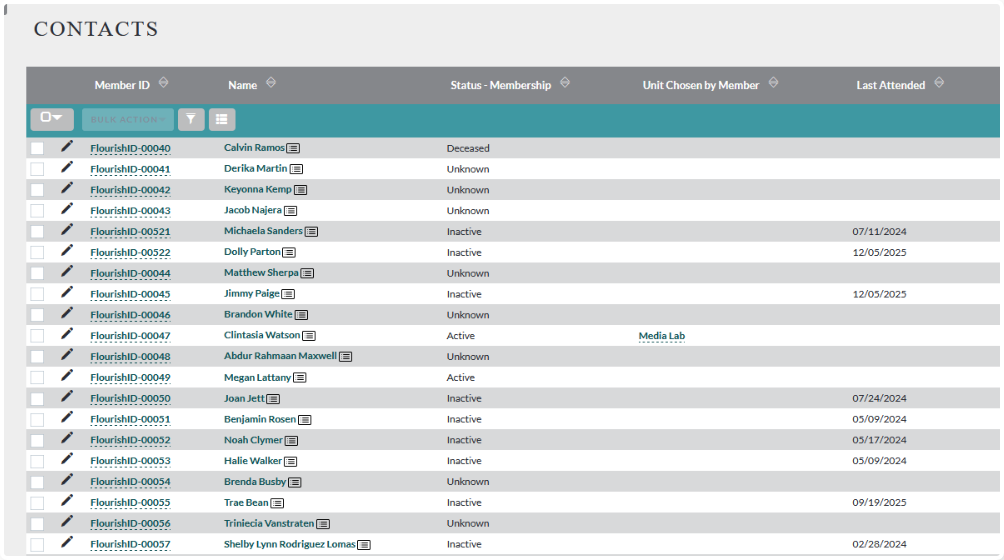
Find the module you would like to customize. For this example we’re using Contacts
Click Layouts
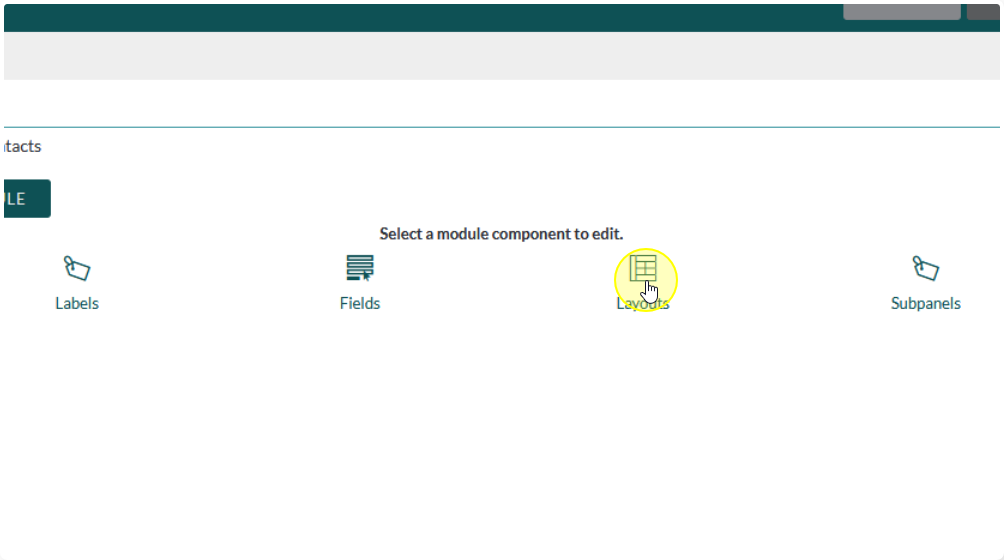
Choose the type of layout you would like to edit

View Types #
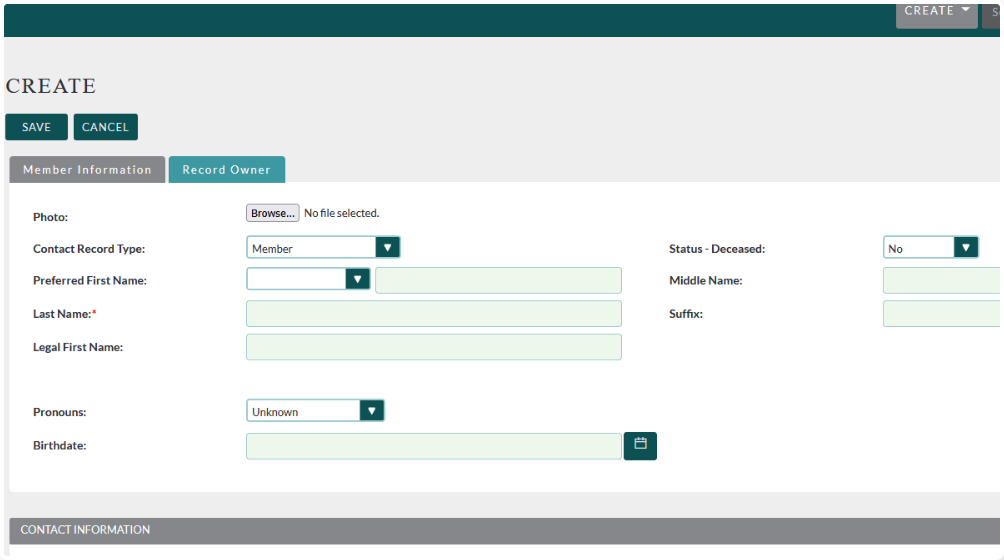
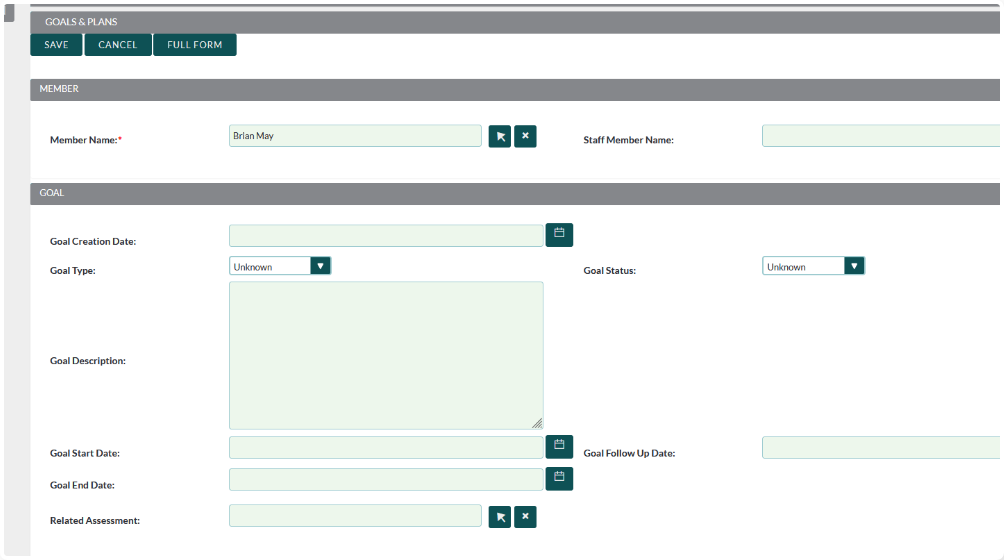
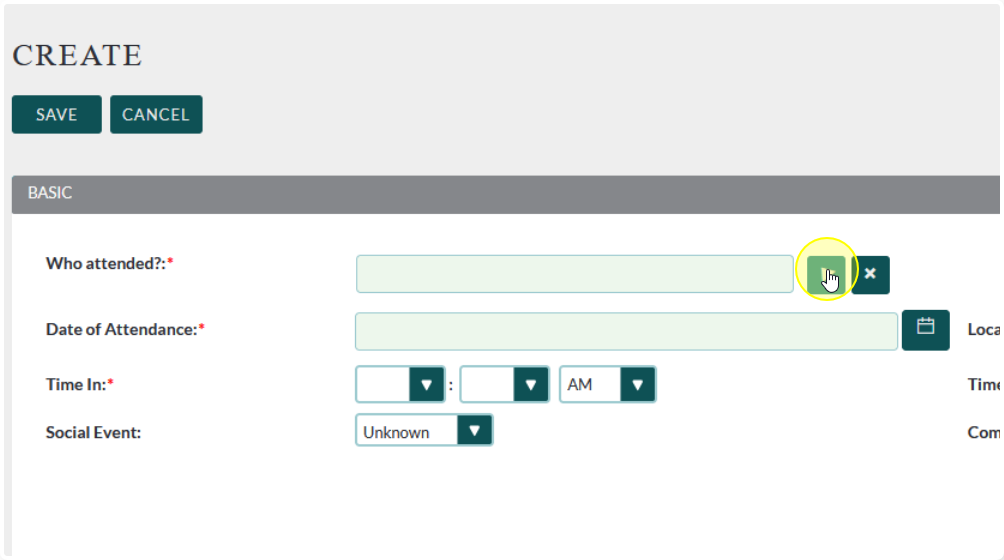
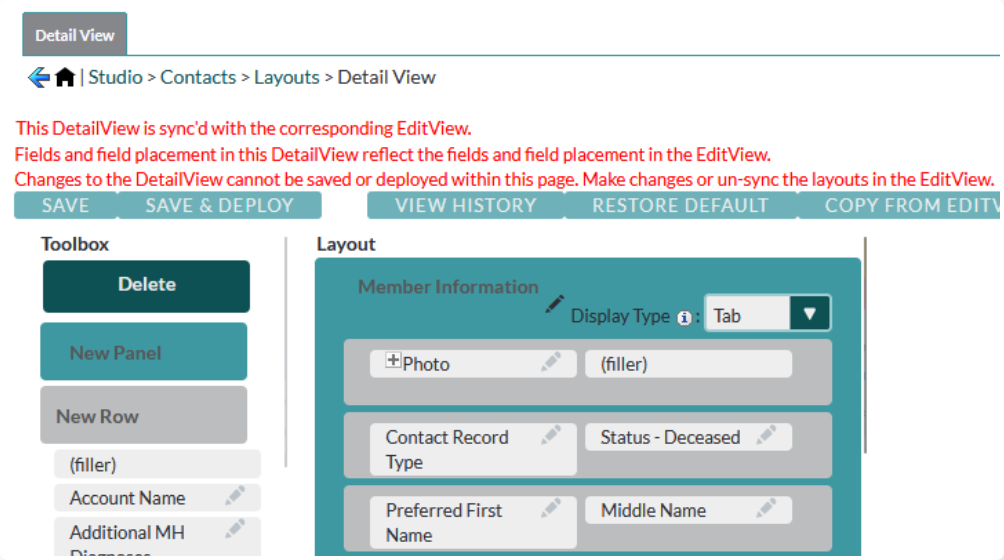
The Edit View is the view you see when you are creating a single record
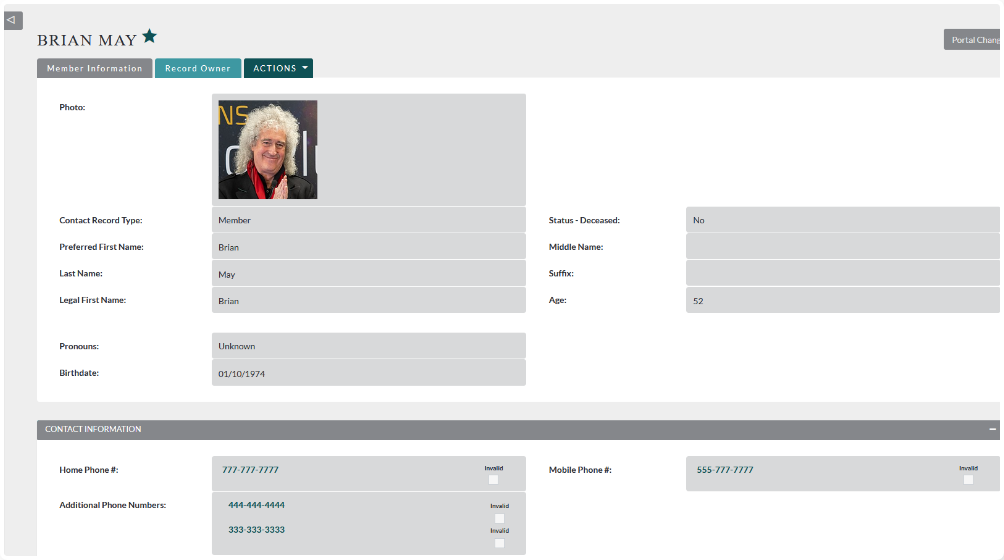
The Detail View is the view you see when you open up and individual record

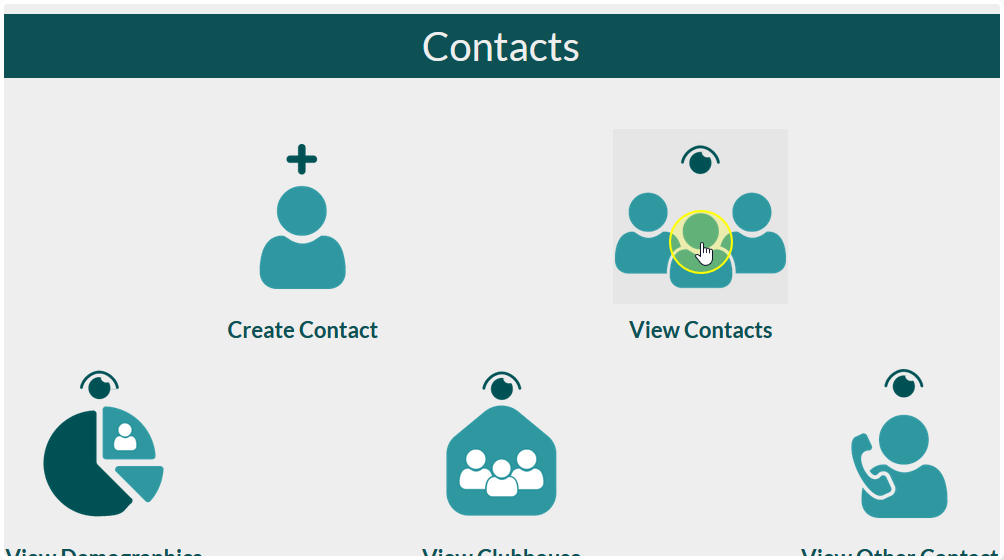
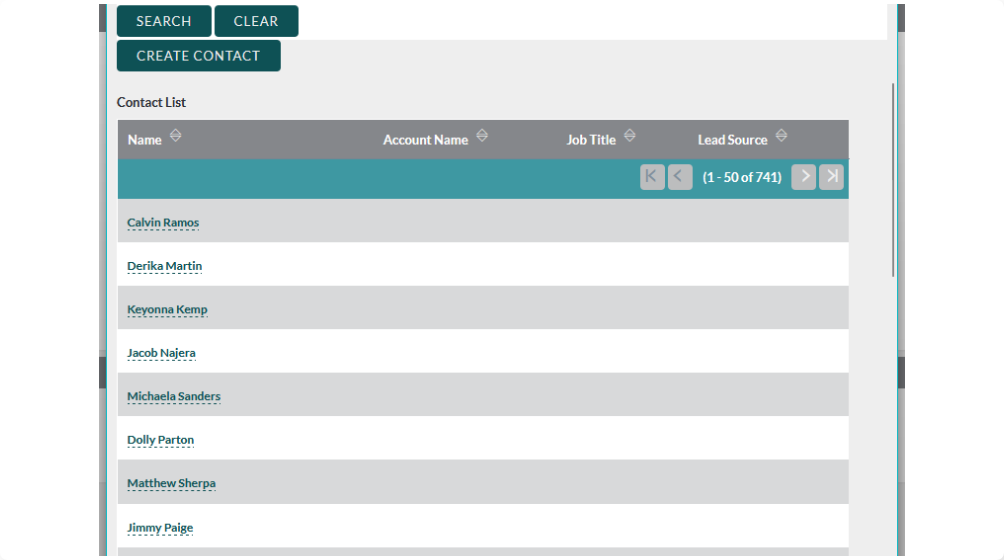
The List View is the view you see when you click “View [Module Name]”
It is a list of records with a small snippet of details
The Quick Create View is the view you see when you edit or create a record from within a sub-panel in another module.
The Popup View is the view you see when you search for a record from another module using a Relate Field
The Popup List View Is the list you see after clicking “Search” and looks similar to a regular List View
The Popup Search Is the layout of fields you use to search and looks similar to an Edit View

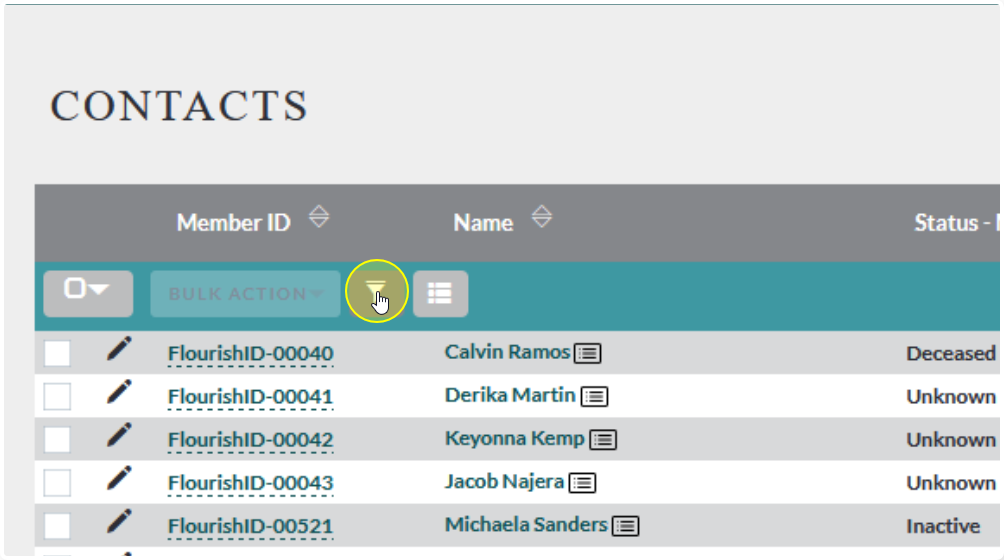
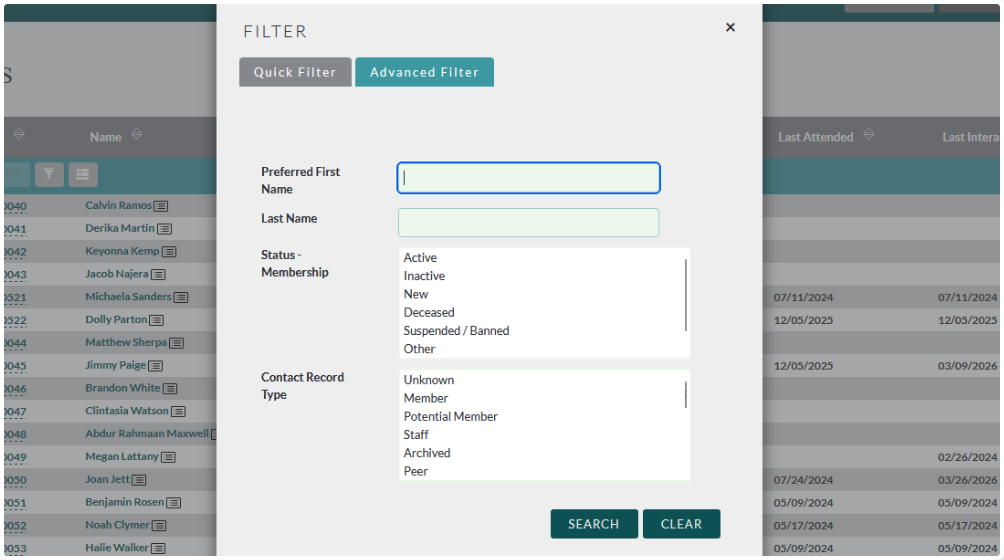
Filter sets the layout of the List View filters. There are 2 different filters you can set up. Technically they can be configured to have the exact same fields, but we recommend keeping them different.
Quick Filter should be set up with no more the 2-3 fields that make it easy to find a broad selection of records
Advanced Filter should be set up with as many fields as you need to be able to find very specific records. This will narrow the results considerably.

Edit View, Detail View, & Quick Create #
To remove fields:
Drag the field from the layout to the Delete button
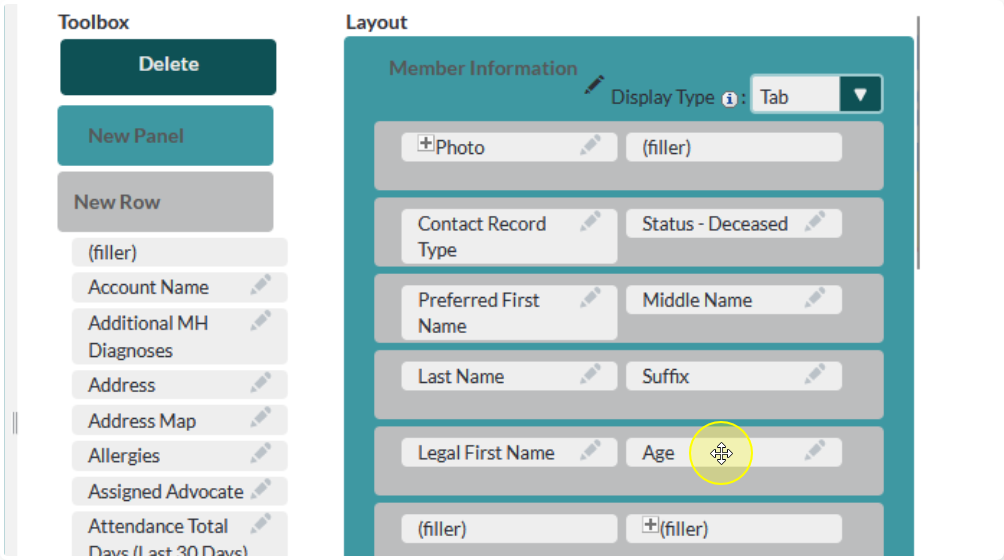
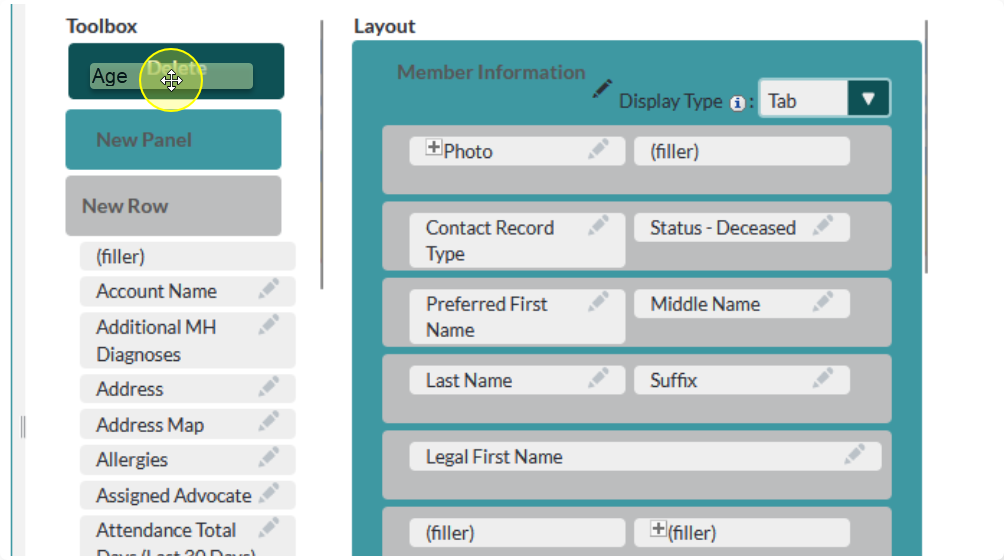

If there were previously 2 fields on that row the remaining field will expand to fill the row, creating a single column.
To reset the row to 2 columns click the “-” in front of the field name
You can click on the “+” to expand it back to a single column

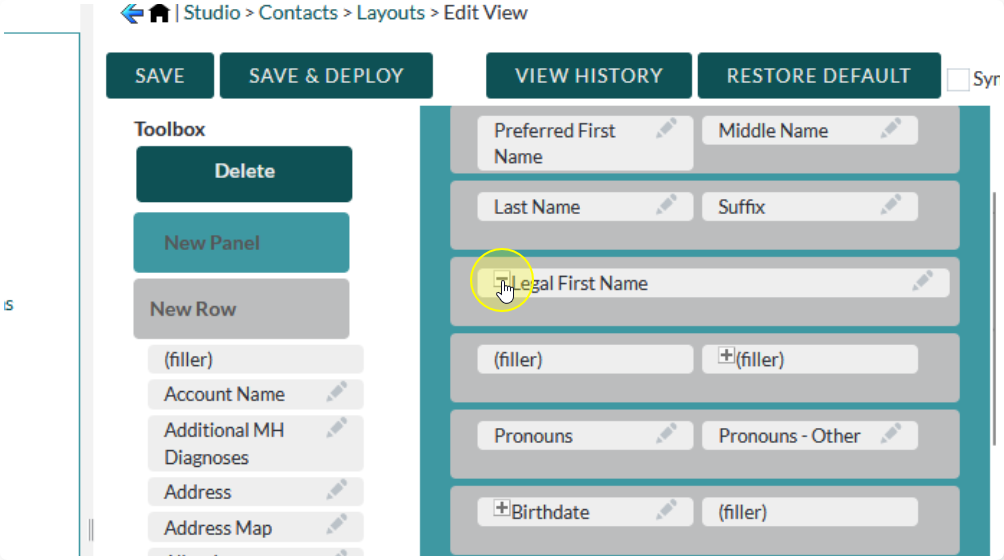
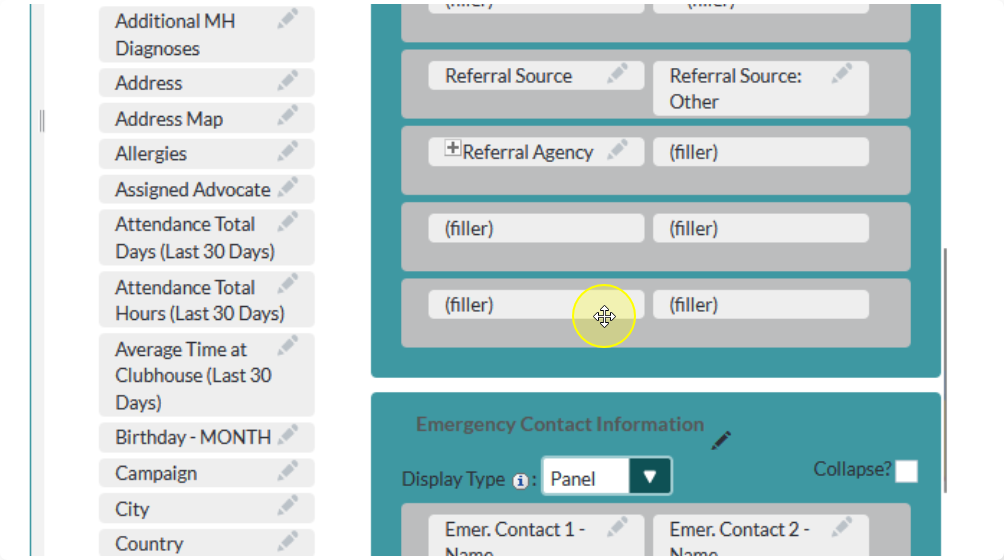
To delete an entire row:
Drag the whole row to the Delete button
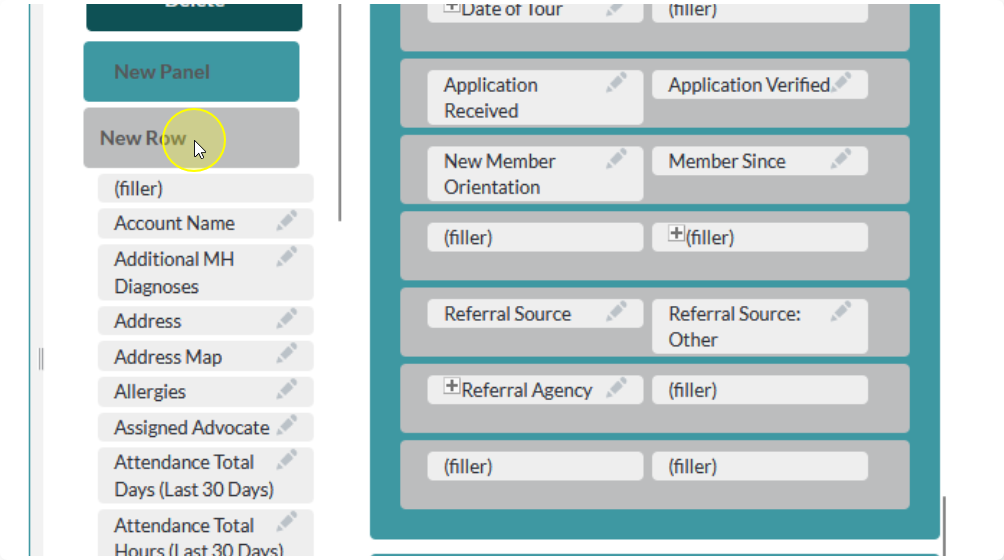
To add a new row:
Drag the New Row button to the place in the layout where you would like it to be
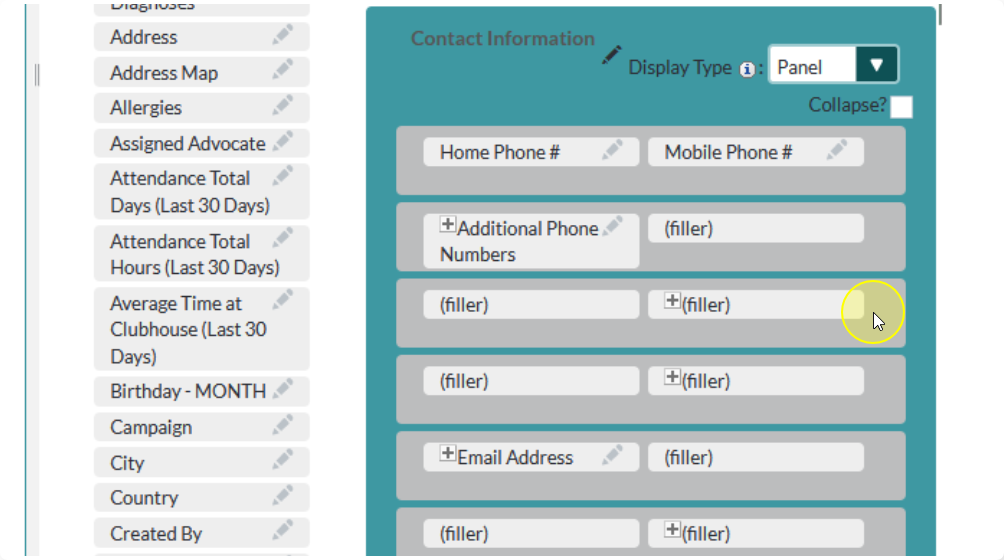
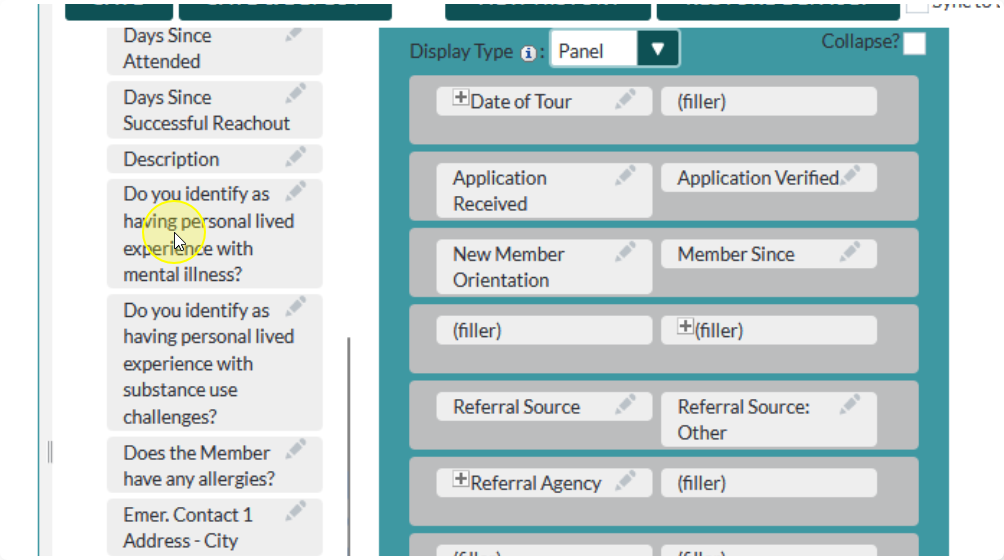
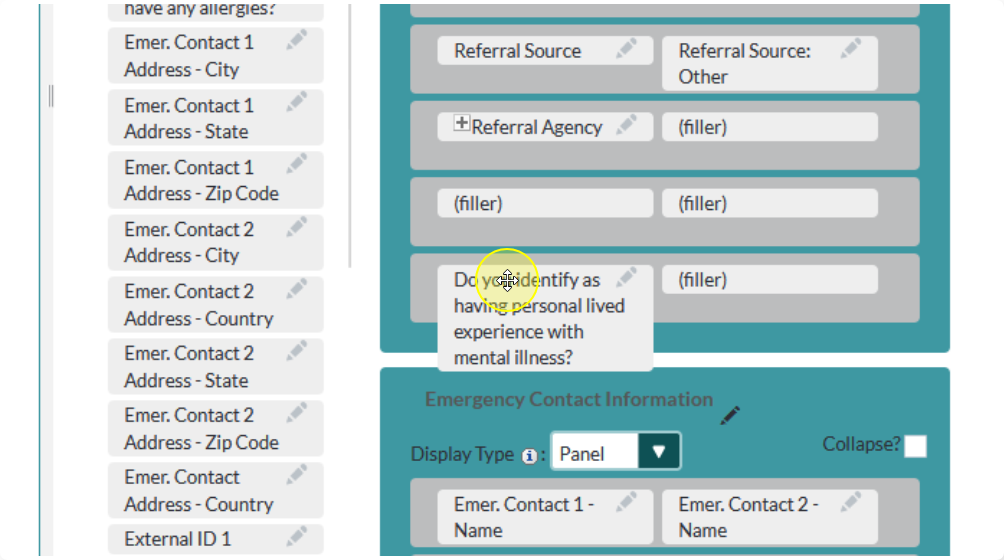
To add a new field:
Drag the field from the sidebar to the cell where you would like to place it.
You can place it over an existing field to replace it, or you can place it over a “filler” cell to add it fresh
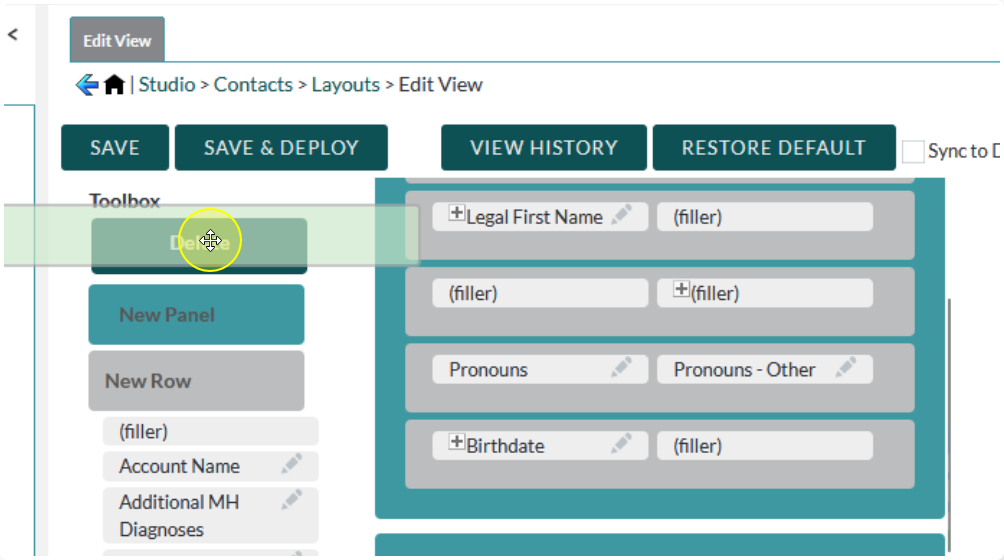
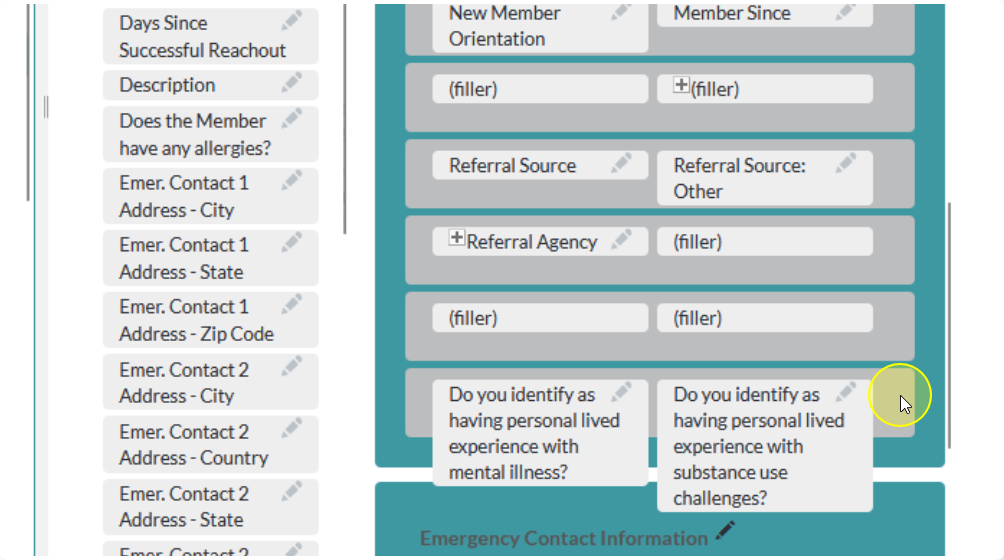
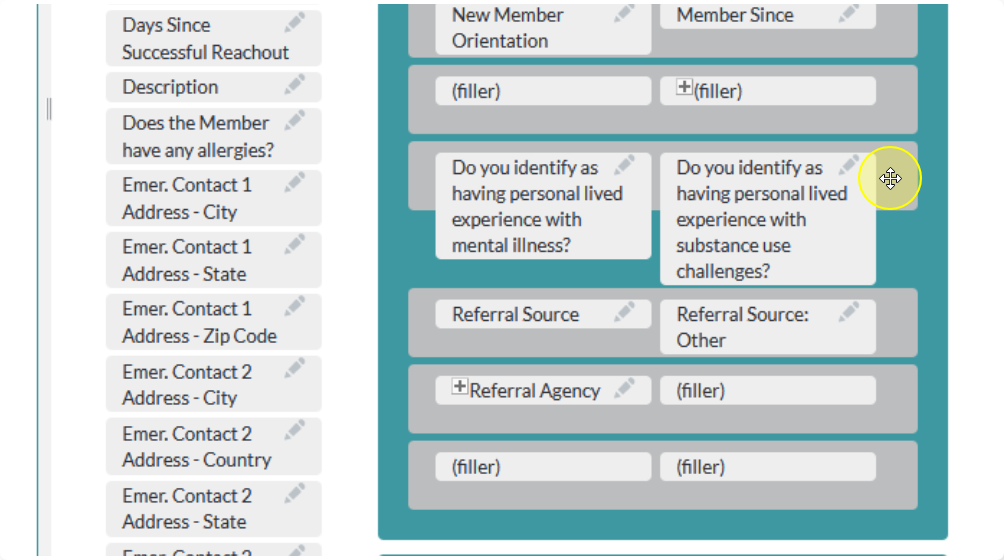
You can rearrange rows by dragging and dropping them within the layout.
Tip:
You can move rows between panels!
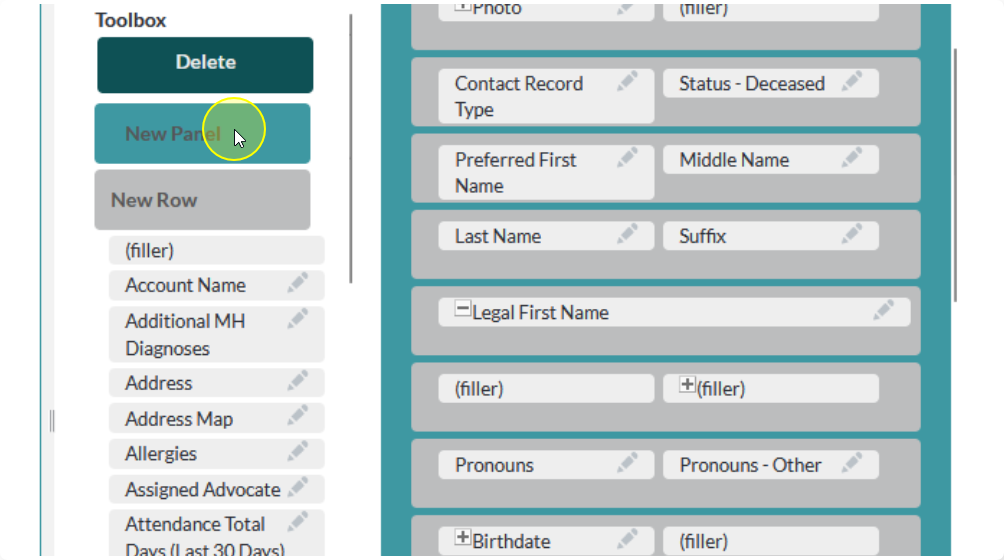
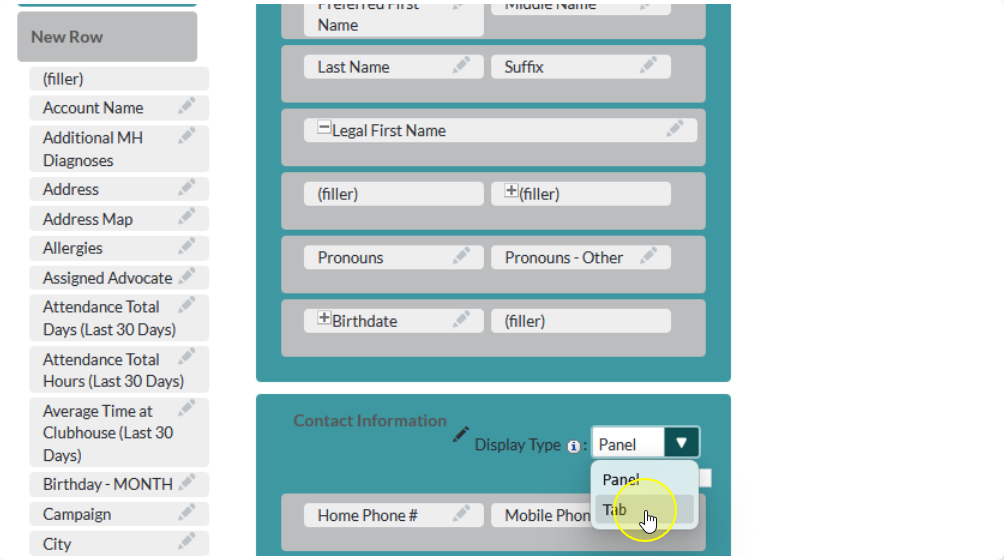
You can add, remove, and arrange new sections in a similar manner to how you work with rows.
To add a new panel drag the New Panel button into the layout
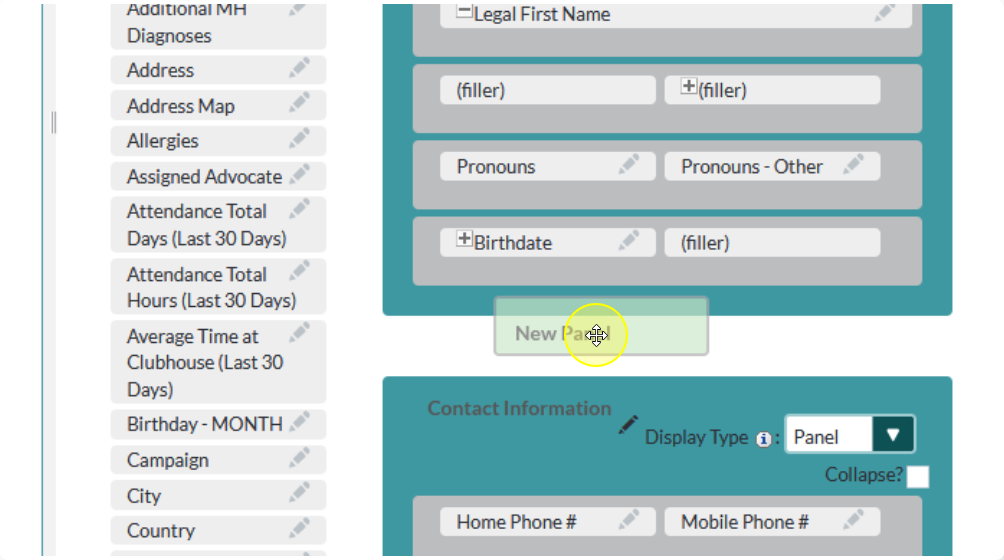
Panels can be set to display as a Panel or Tab.
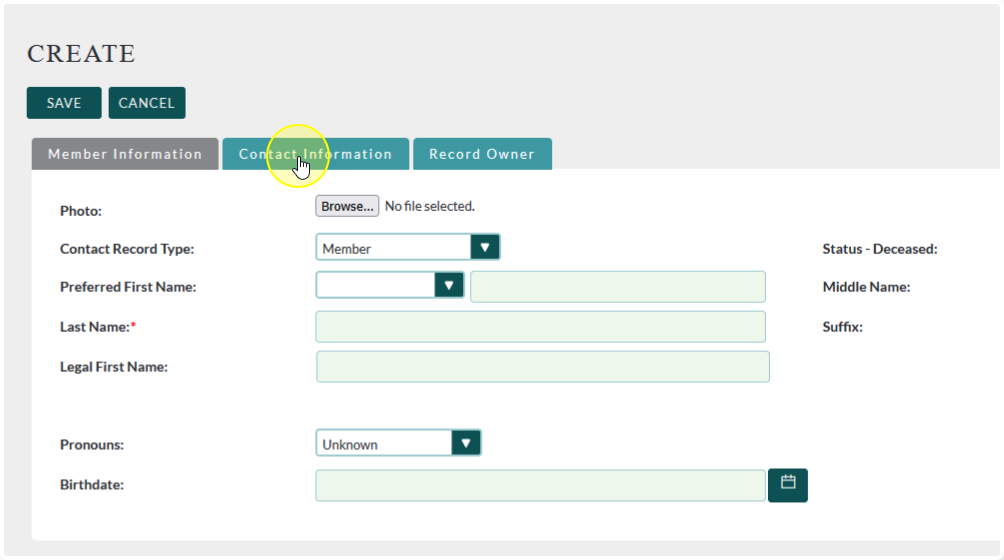
Panels all appear on the same page, one after the other
Tabs will be added at the top and must be manually clicked between
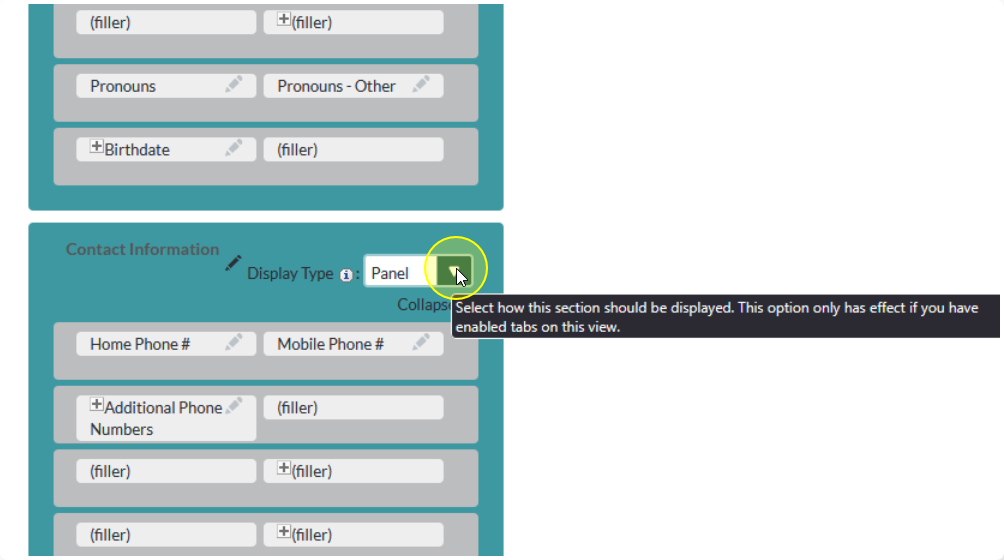
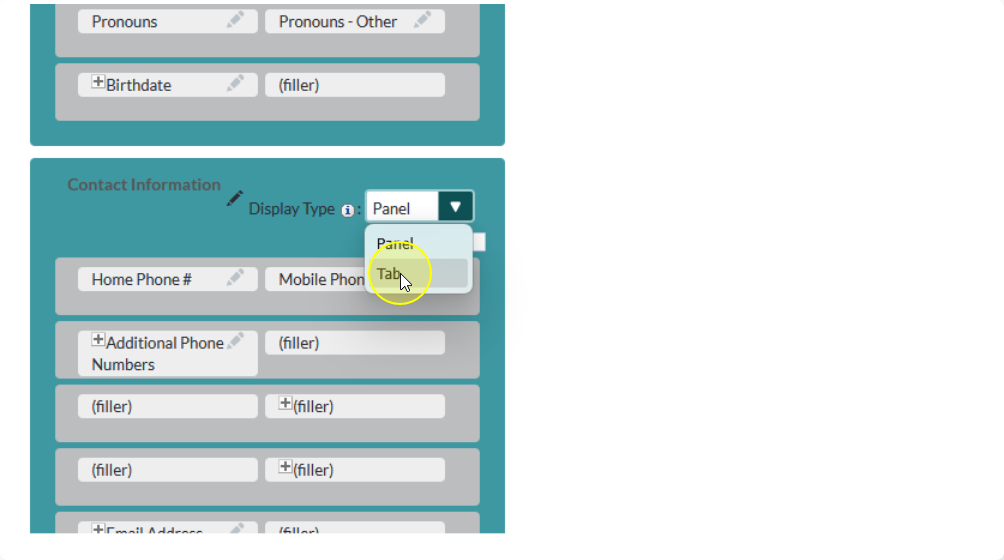
Any panels that are in the layout following a tab section will appear on the same page as that tab
In other words, tab sections are what determine a page break in the layout

Delete sections in the same way you remove fields and rows

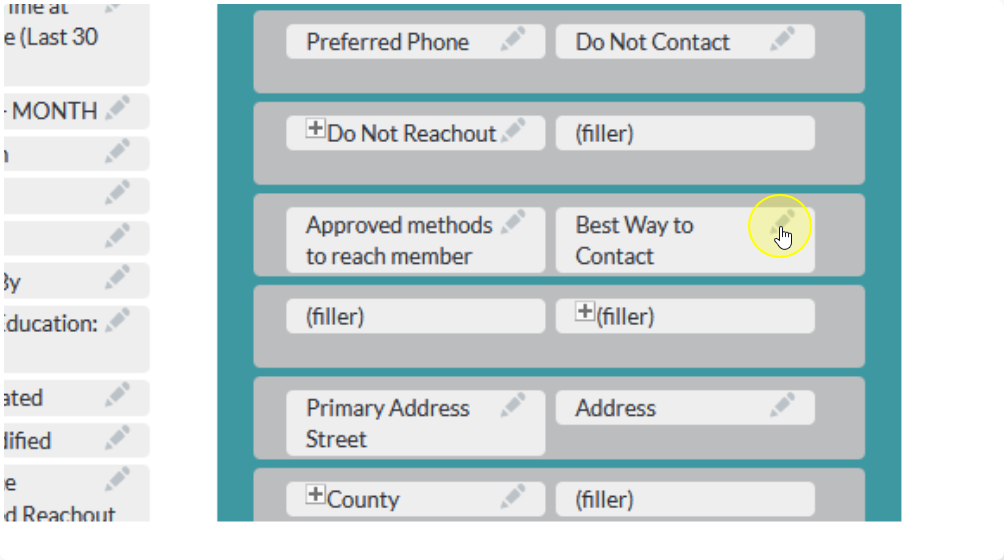
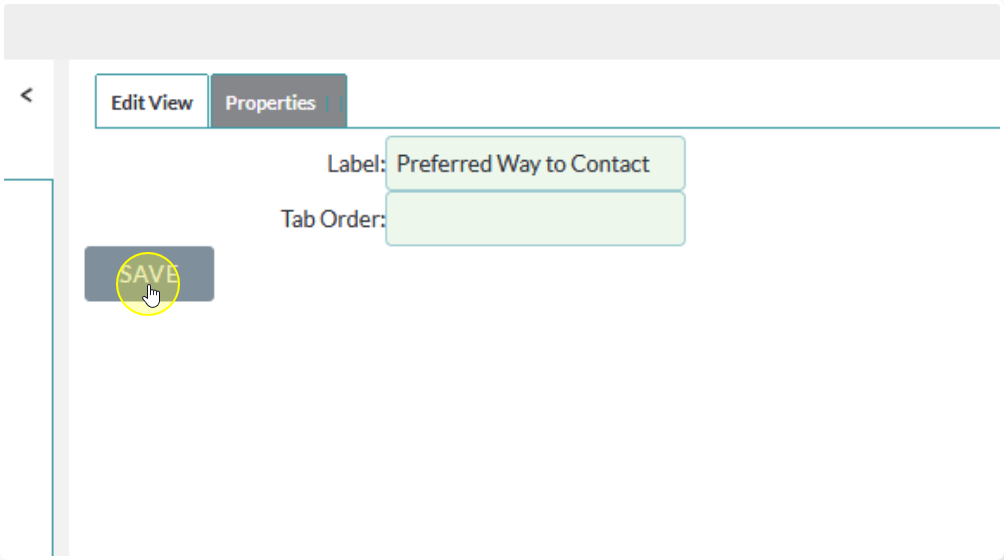
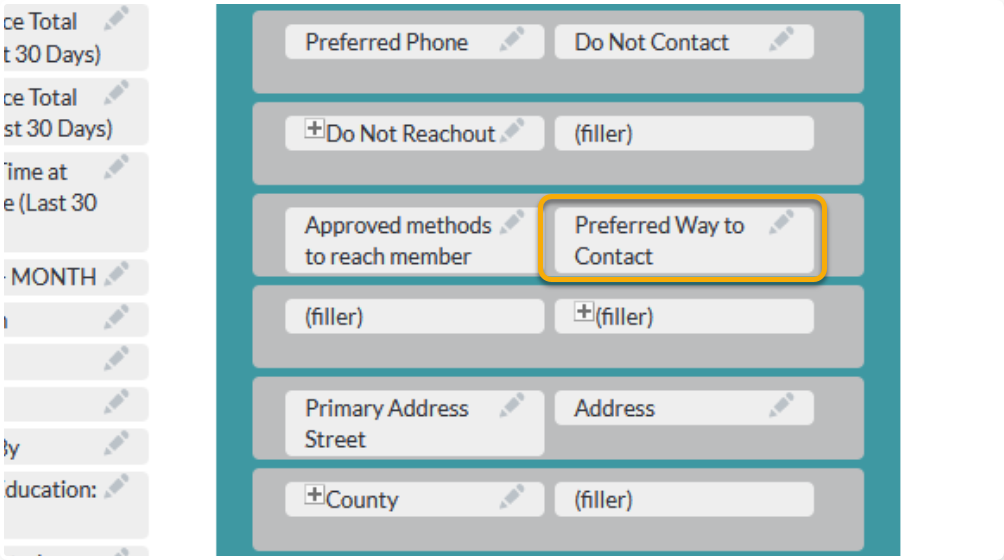
You can change field and panel labels by clicking the Edit Button next to the label
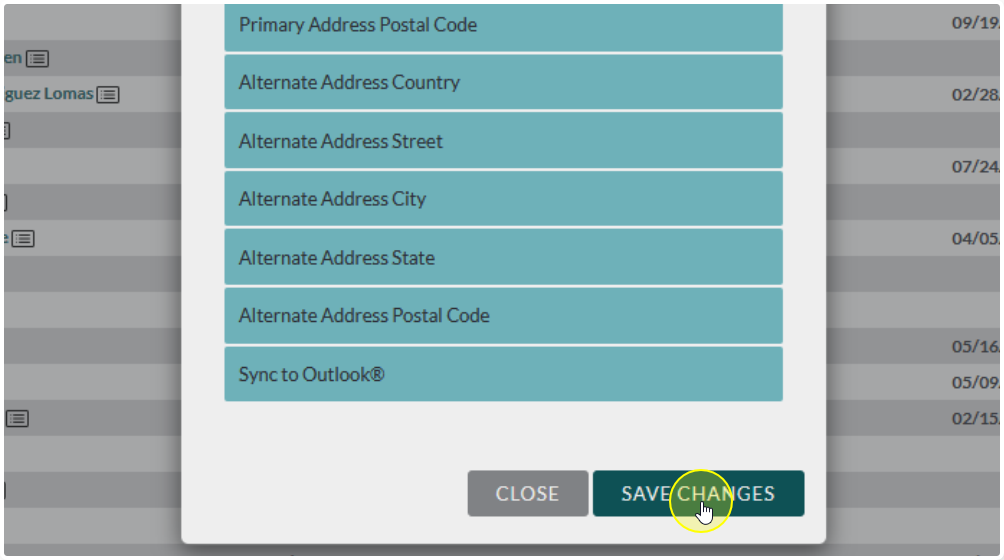
Once you are done setting your layout, click Save and Deploy

Note:
To get the layout to show in Flourish you must use Save and Deploy. Just clicking Save will save your progress, but it won’t display the new layout that you’ve set.
Only use Save if you would like to save incomplete work.
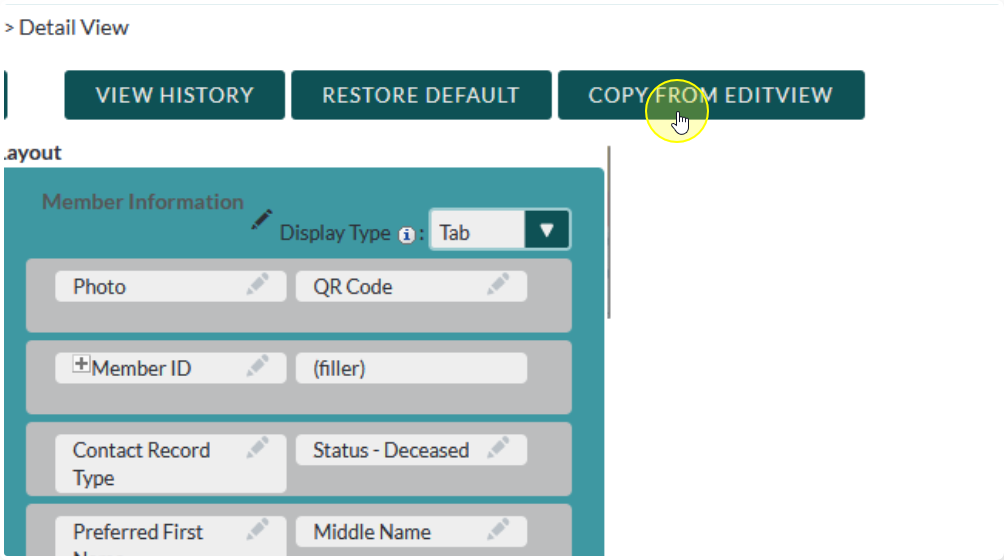
A note on Sync to Detail View:
This is a convenient option to save time, but in most cases we do not recommend using it.
This is because Flourish has a lot of automated fields that shouldn’t be edited in the Edit View, but you still may want to display them in the Detail View. Turning this setting on prevents editing the Detail View entirely.
If you would like to save time by re-using the Edit View layout as a starting point we recommend using Copy from Edit View instead. From there you can edit the Detail View as needed.

List View #
The list view is a little different from the other views. It gives you the option to choose what is displayed by default, what is available for the user to add on their own, and what is hidden entirely.

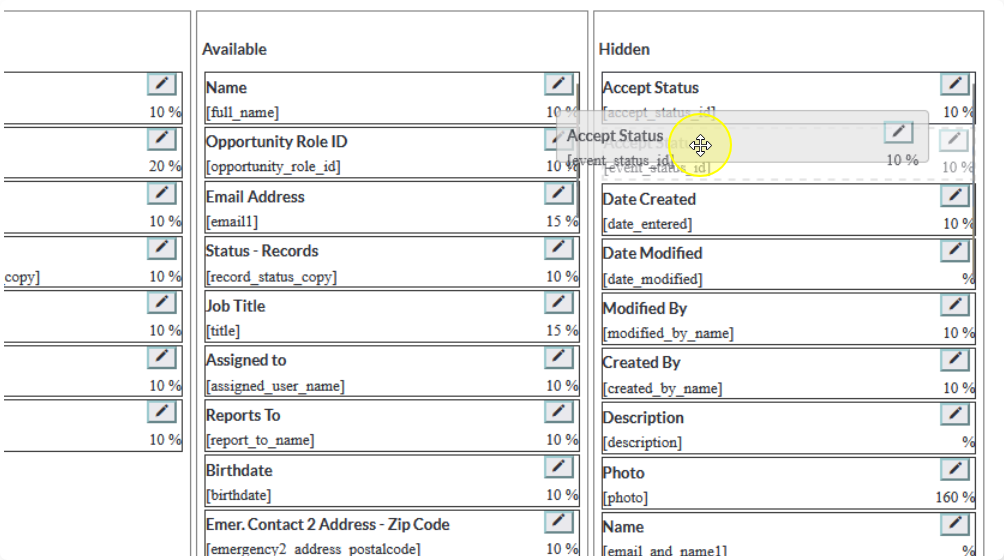
You can drag and drop items between the columns as needed.
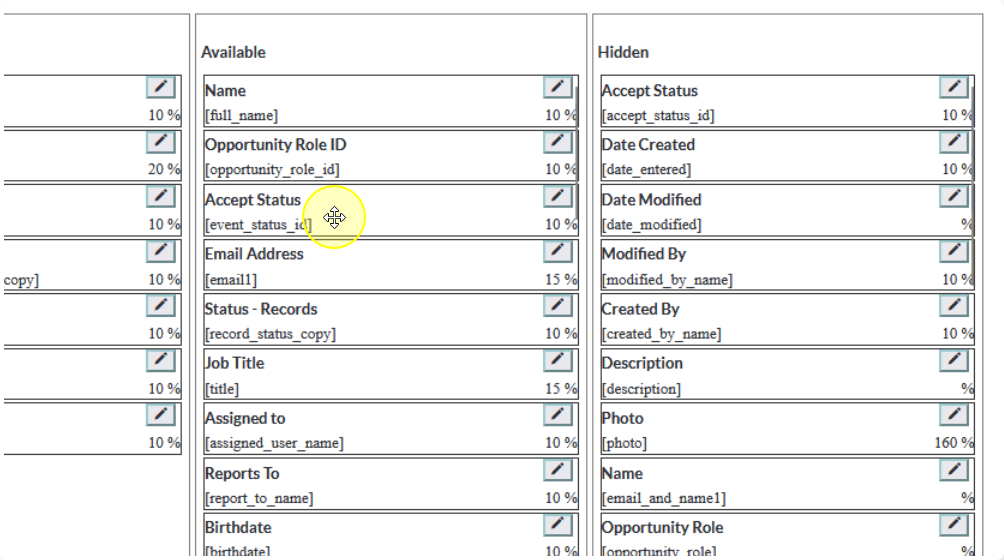

You can also re-arrange items within the columns
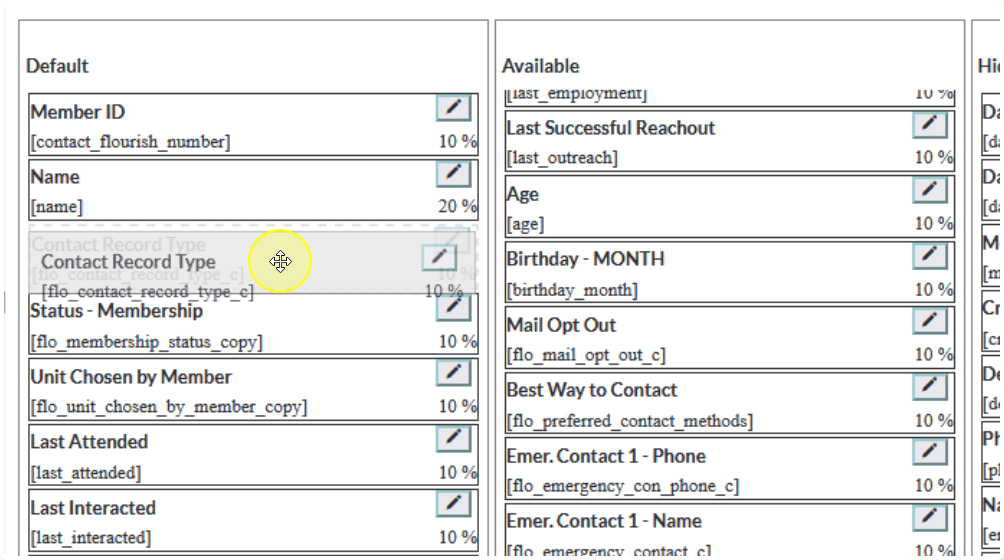
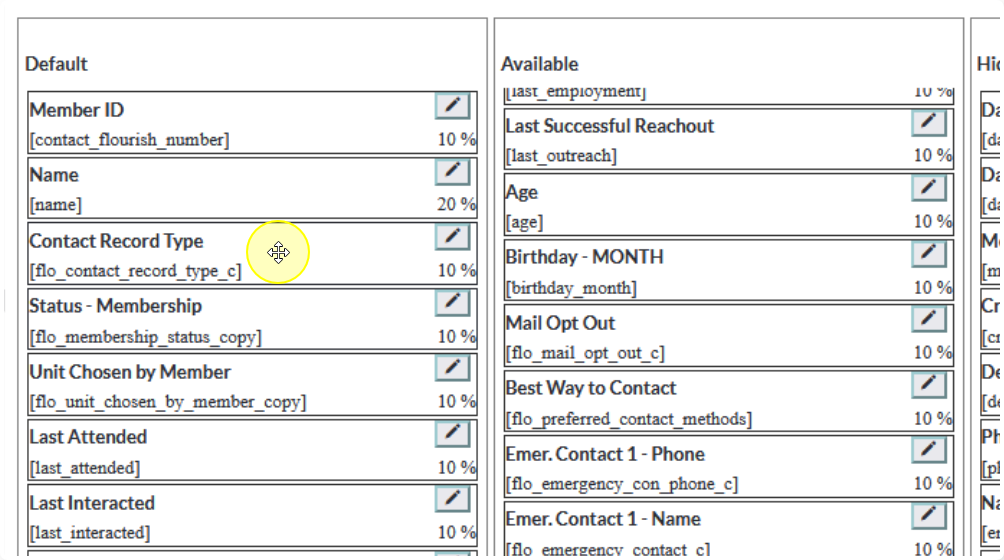
You can also edit the labels by clicking on the pencil icon, similar to how it was done in the previous views
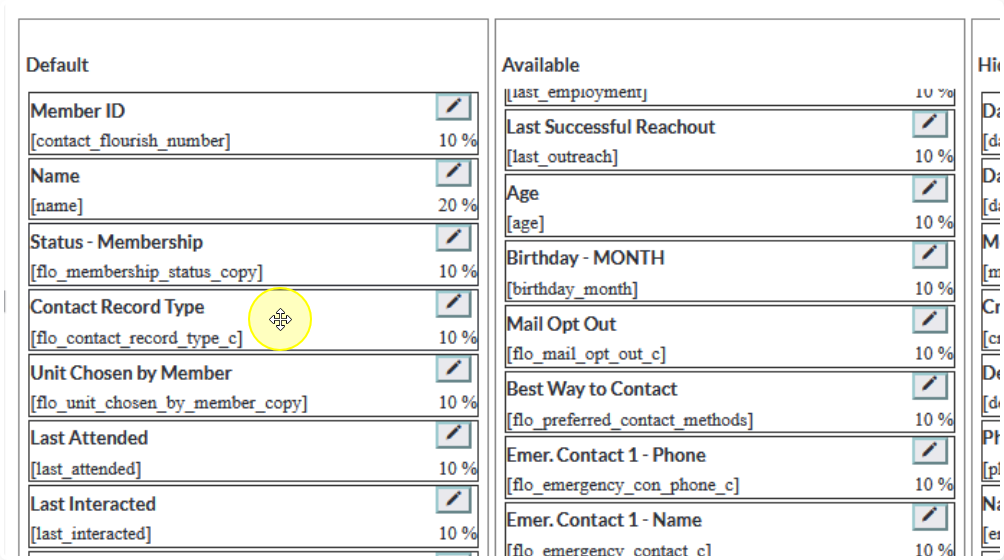
Be careful not to add too many fields to the Default view, or it will negatively impact load times and/or be more than can fit on the page.
We recommend no more than 5 or 6 items in this view.
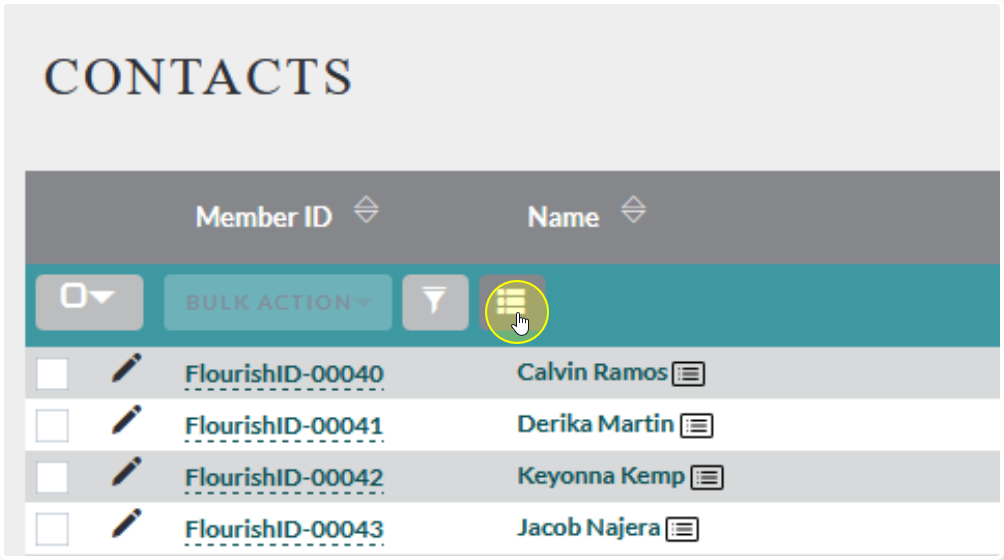
The Available fields can be added to the view by users by clicking on the “hamburger button” in the list view
Drag and drop items from Hidden to Displayed (or vise-versa)
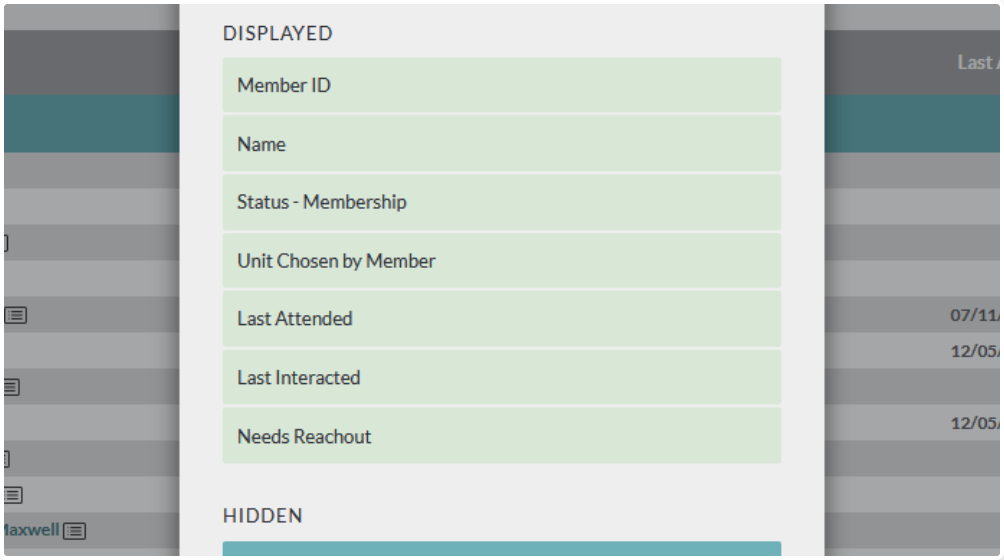
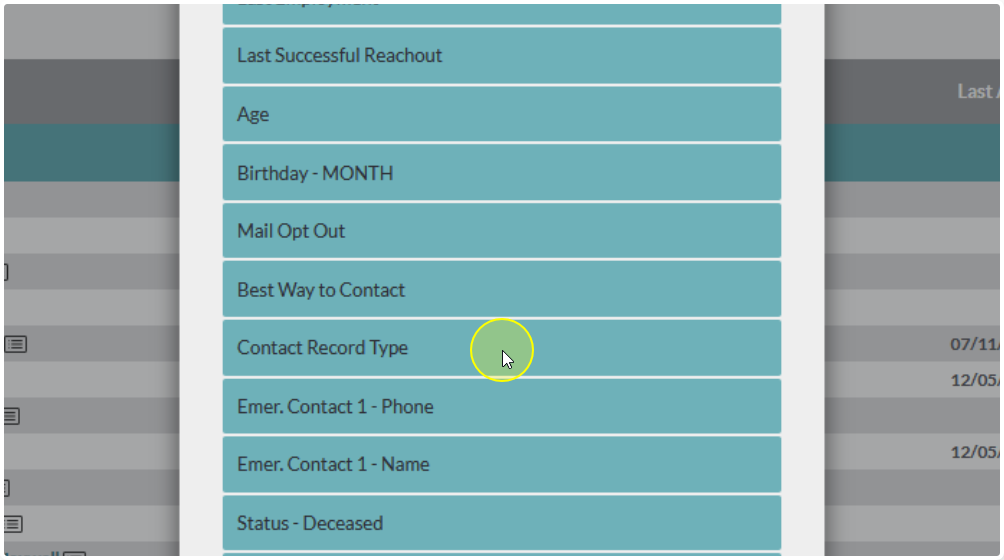
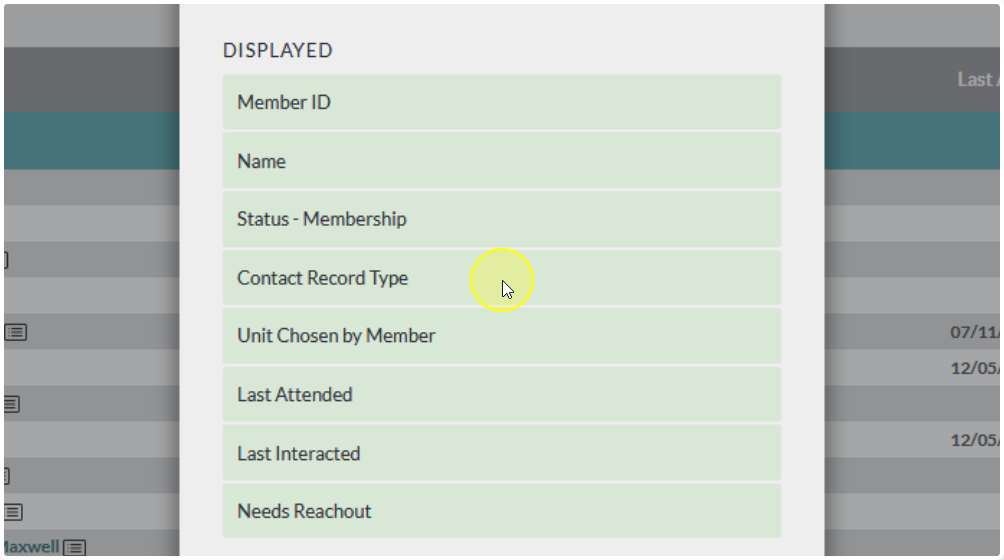
Then click Save
Important!
These settings will remain set at the User Level. They will not change the layout for the entire system.
The good news is that each user can quickly set their own custom view at that suits their individual needs without needing admin level permissions.
The downside to this is that individual user settings override the default settings. Changes to what is displayed in the default layout may not appear for all users. The only way to ensure that all users see your changes by default is to make reset User Preferences after making the changes. This will revert ALL List View layouts to their default settings. It may be preferable to have the user update their custom layouts after changes are made.
Note: Changes to what is Available and/or Hidden should be updated in the user’s list. It is only what is Displayed that may not update. Moving items from Displayed to Hidden may reset the user’s layout to default though.
Other Views #
Other views work very similar to a list view, with one exception.
They don’t have the “Available” option

Note: This tutorial does not cover Multi-Entry Screen layouts.
To customize your Multi-Entry Screen layouts please use the following tutorial: