
Note: Some drop-down lists are used across multiple fields in Flourish.
Before you start editing a drop-down, make sure that you ensure the list is unique to this specific field.
A common drop-down used across multiple fields is flourish_boolean_list. This is the list that typically gives you the options of:
- Yes
- No
- Unknown
If you’re not sure if the list is used in multiple places, A good rule of thumb is to look at the list name. If it matches or is close to the field name it’s likely only used for that field.
When in doubt you can always add a new drop-down list (choose “add” in lieu of “edit” as you follow this tutorial) or you can reach out to Flourish Support at support@clubhousedata.org if you’re unsure on whether or not you should change a drop-down list.
Navigation #
From anywhere in Flourish:
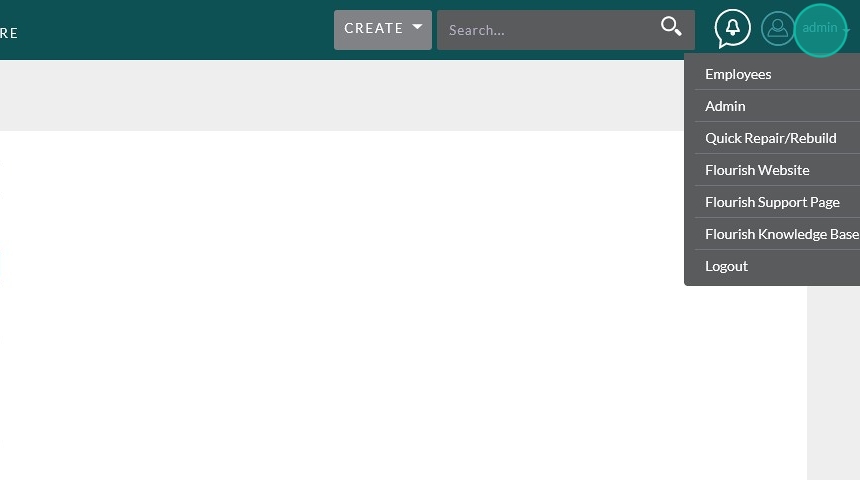
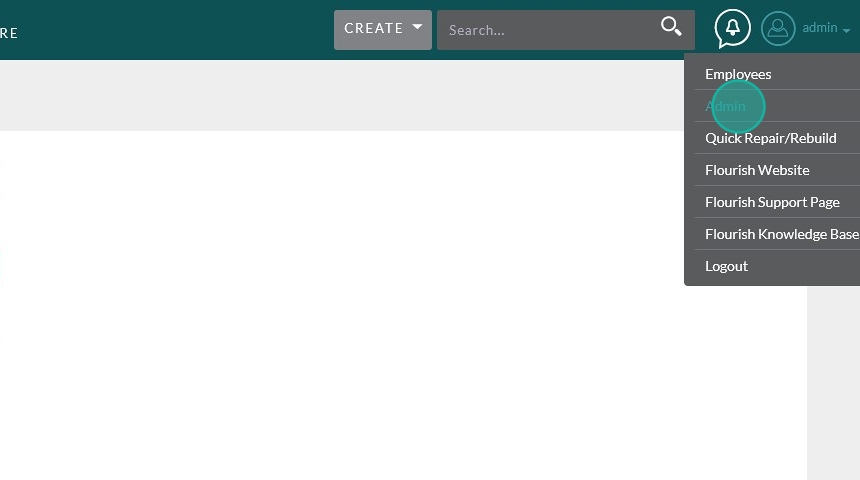
Click on your username in the upper right corner, then choose “Admin” from the drop-down.
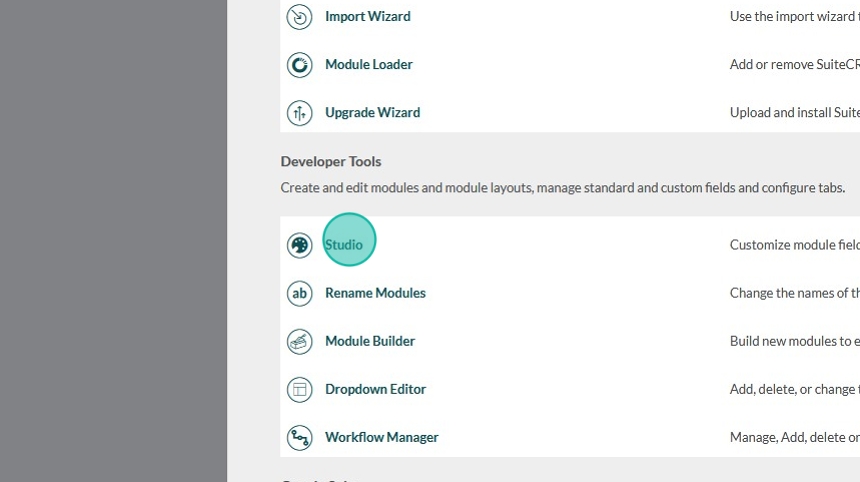
Scroll down to Developer Tools and click “Studio”
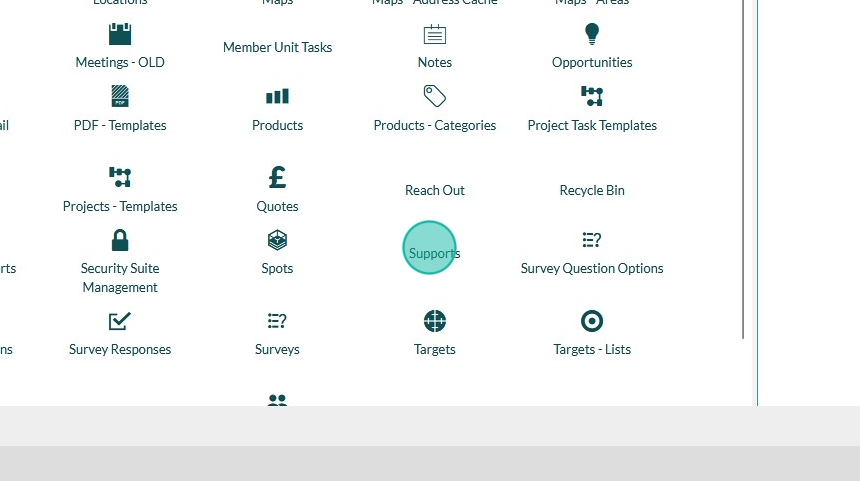
Once in the Studio, choose the module where you would like to change the label.
Click “Fields”
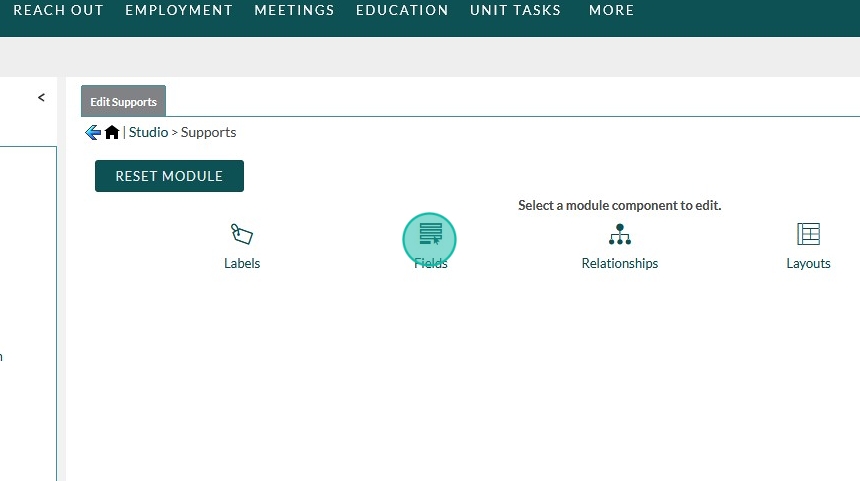
Click the Field containing the drop-down you would like to edit

Adding and Removing Options from the List #
Tip: This section goes over adding and removing entire items from the drop-down. If you would only like to change a label skip to the next section, Changing Drop-Down Labels
To create a list, click on the “Add” button found under the Drop Down List field.
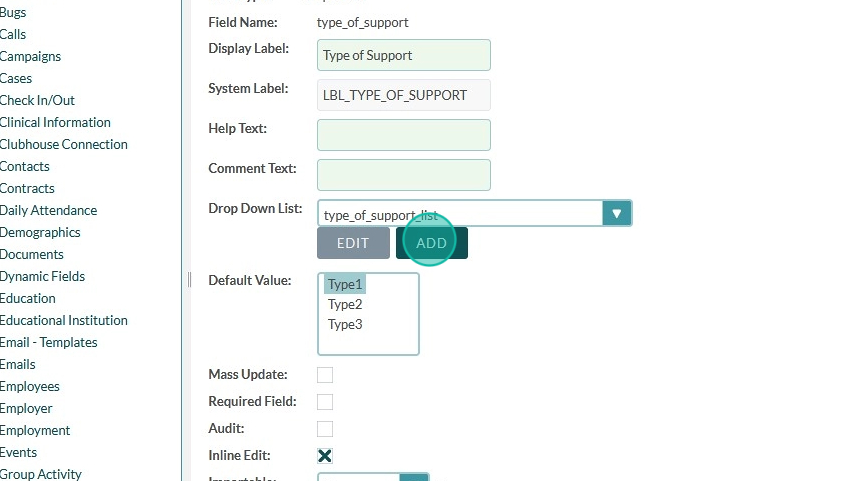
To make updates on an existing list, click on the “Edit” button found under the desired Drop Down List.
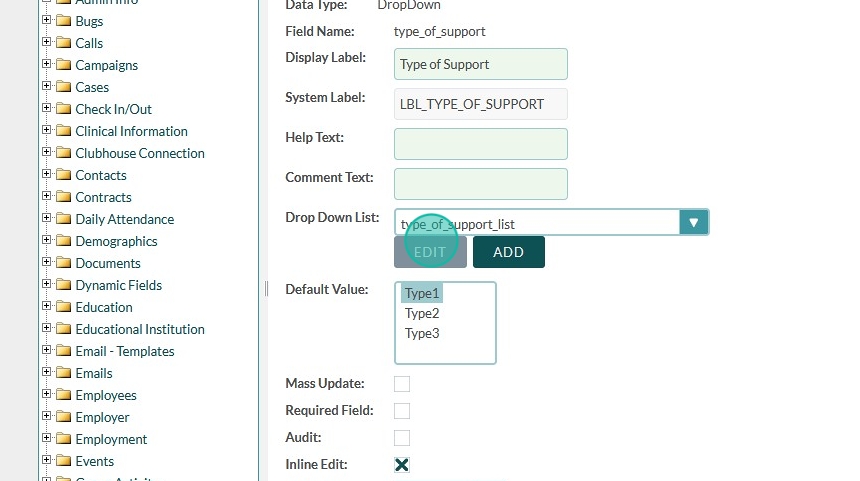
Note: Never change the “flourish_boolean_list” list. If you need to add an option, create a new one instead. The “flourish_boolean_list” list is used across several different fields, so it would change many fields beyond what you are intending to change.
Optional:
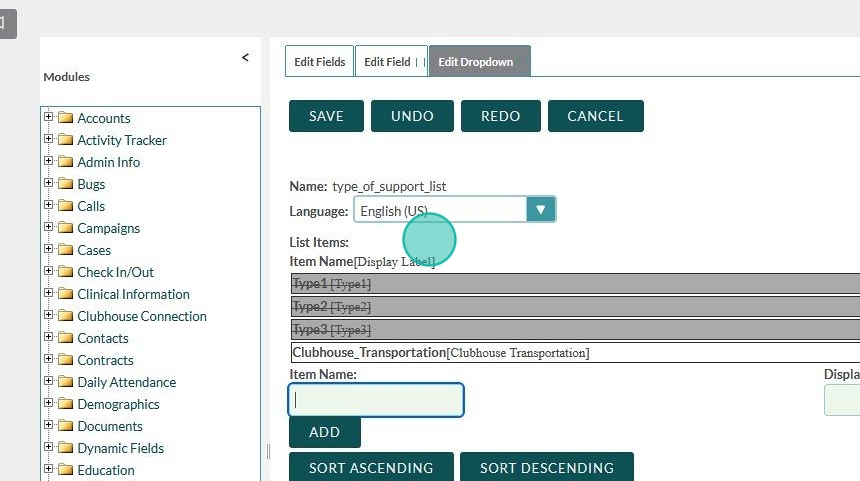
You can delete existing entries by clicking the trash can button on the right side of the list option.
This will not immediately remove the item from the list. Instead it will be grayed out until you save the list. This allows you to revert any deletions you might have accidentally made.
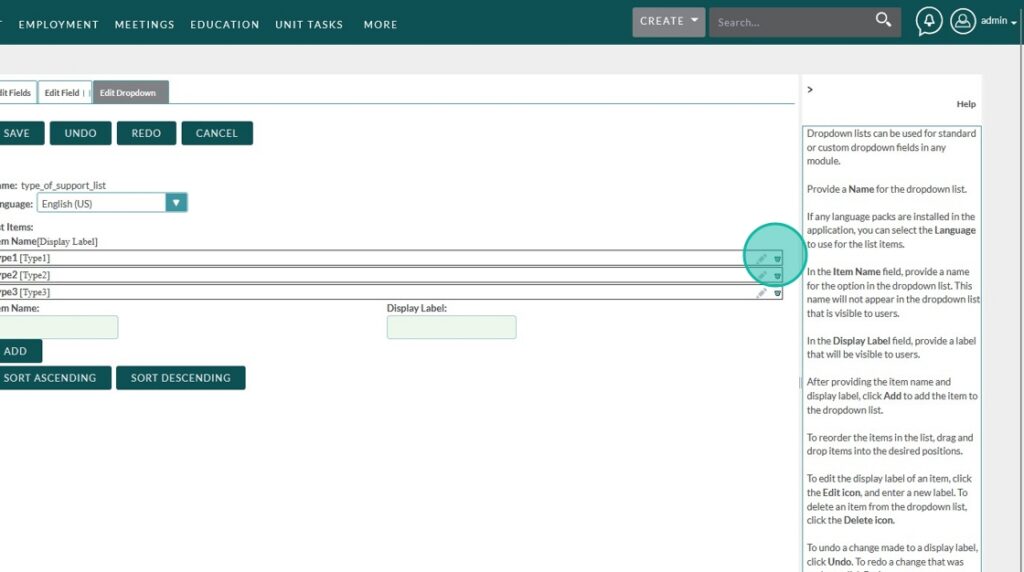
Note: Alert!
Some reports are based on drop-down lists having certain items. Try not to delete anything from the lists unless you’re sure it’s not going to break anything.
If you’re unsure, try moving the items down to the bottom of the list and reaching out to Flourish Support at support@clubhousedata.org
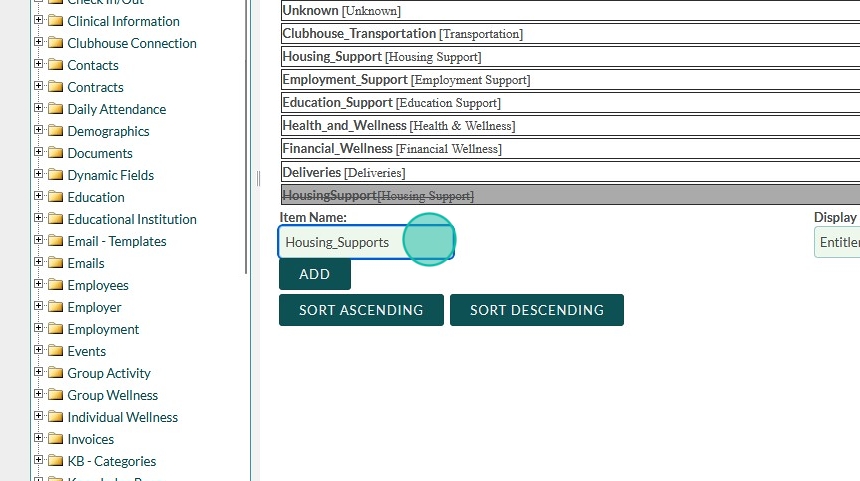
Item Name:
The item name box is for the system key. We recommend keeping it short, but it should be representative of your intended option. This box cannot contain spaces or special characters (except underscores). Instead separate words with underscores or Capital Letters.
Examples:
Housing_Support
HousingSupport
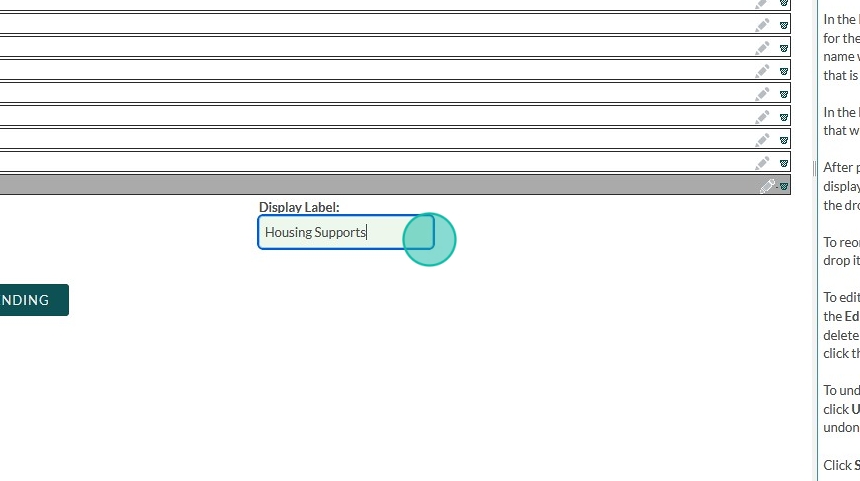
Display Label:
The display label is how users will see the list option displayed in Flourish. This can contain spaces and other special characters. Feel free to make this as long as you need it.
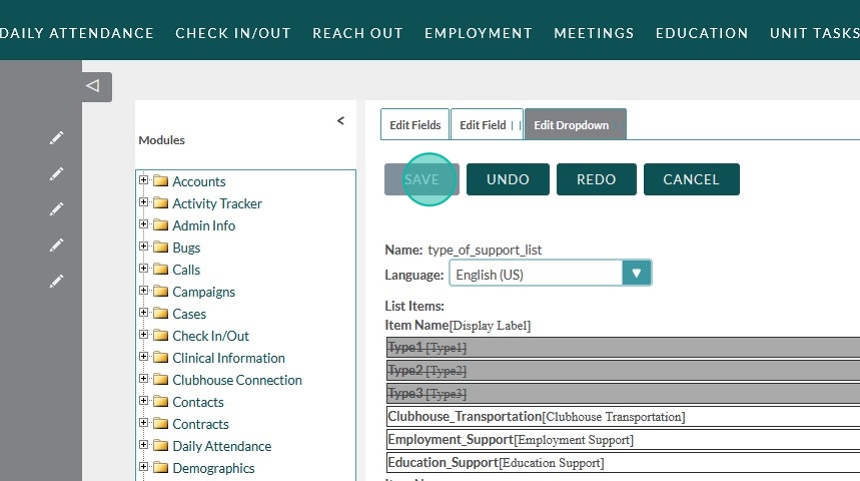
When you’re finished making changes to the list, scroll back up to the top and click “Save”
Note:
Sometimes longer lists can make this button scroll off of the page. Make sure to remember this save step and look for the button, or your changes will not be stored.
If you’re deleting entries this dialog might pop up. If it does, and you’re sure you want to make those deletions, click “OK”

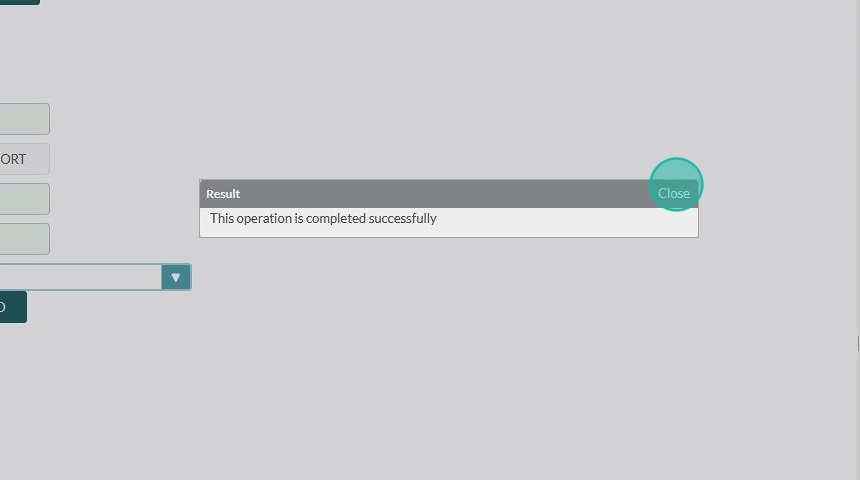
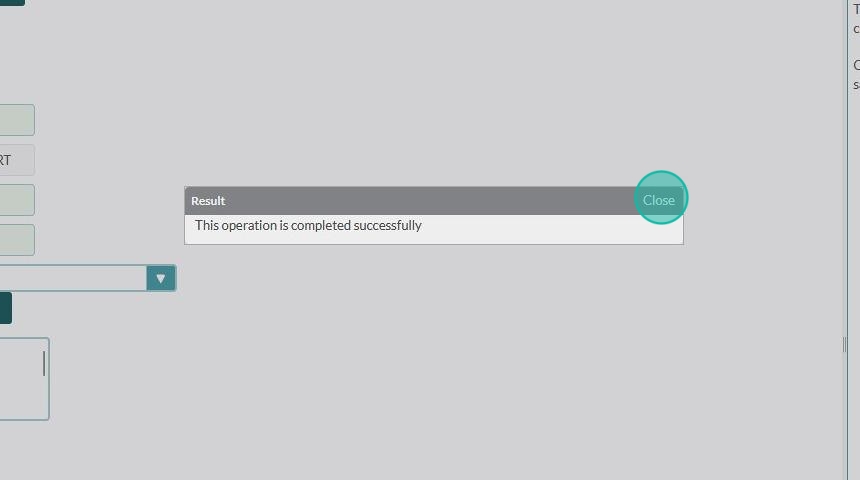
If you see this box, your changes should be saved successfully!
Click on “Close”
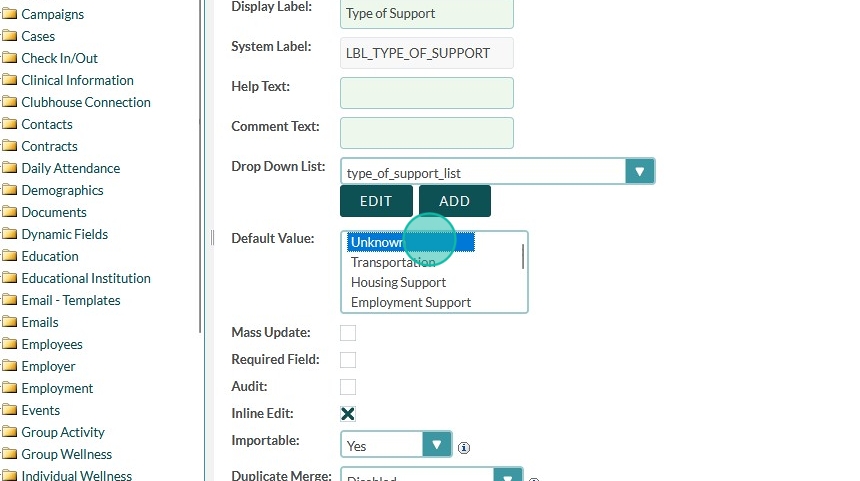
Make sure to set your desired default value

Tip: We recommend that all lists contain and default to “Unknown”
This allows us to build reports that can show you missing data.
It also maintains data integrity, because you know that when the option is anything other than “Unknown” then it was likely changed to that answer intentionally.
To navigate to the environment where you can change dropdown labels, follow Steps 1-5
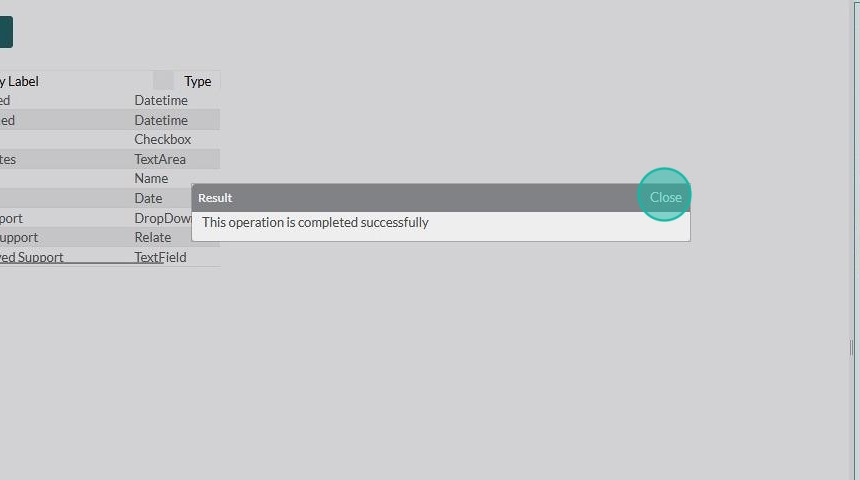
You should see this box pop up again on a successful save
Changing Drop-Down Labels #
Tip: A lot of times you may only want to change the words displayed in a drop-down, but not the overall meaning of the option.
For example, in the Clubhouse Connection module we have a field called, “Assigned Staff Member,” but many clubhouses call this role something different. We’ve seen “Goal Facilitator,” “Assigned Advocate,” and other variations.
This option will allow you to customize the list to your specific clubhouse, while keeping the database structure relatively uniform for reporting purposes.
To navigate to the environment where you can change drop-down labels follow Steps 1-5
Click on the field you would like to edit

Click the “Edit” button under Drop Down List
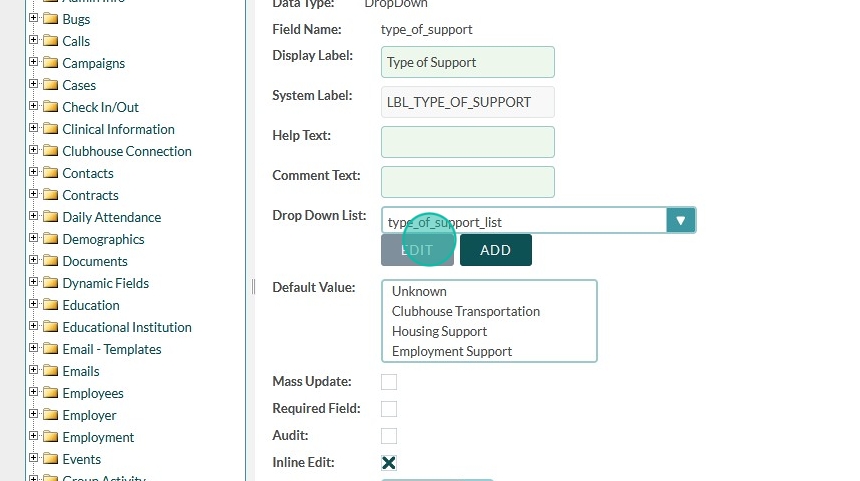
Find the item with the label you would like to change
Click on the pencil icon on the right side of that line.
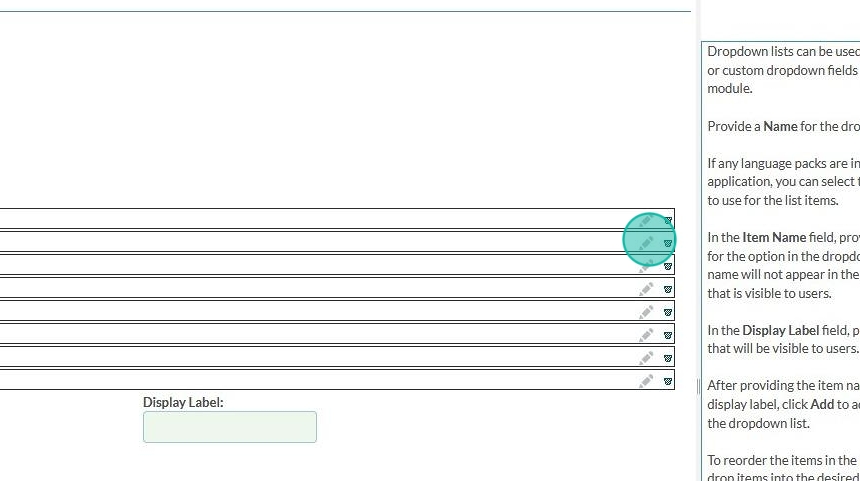
Inside of the line a dialog will open for you to edit the text of the label
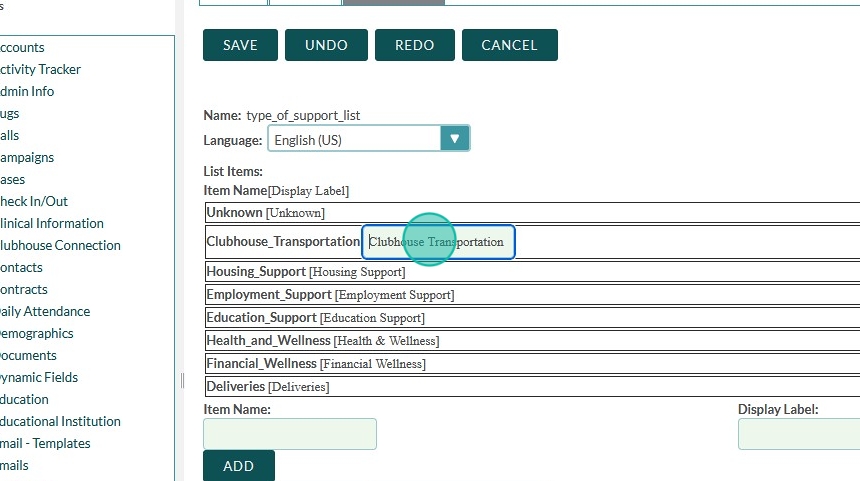
Edit your label as needed. This box will close when you click away from it.
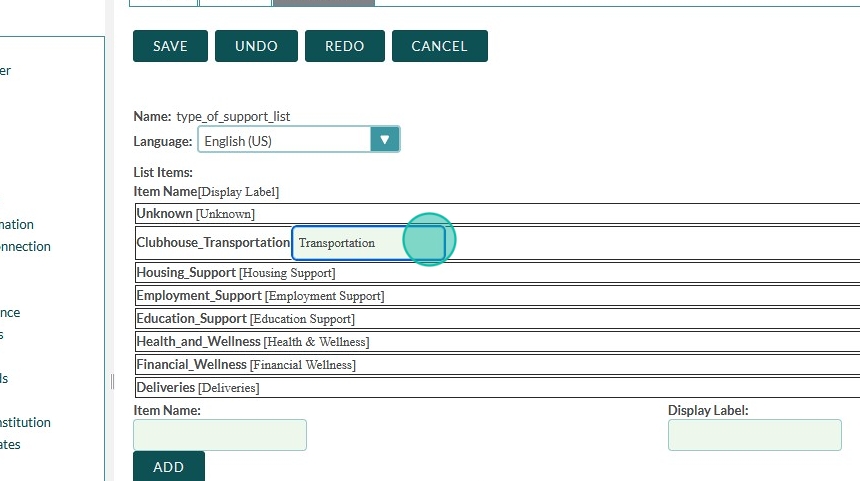
When you’re finished making your edits, scroll back up to the top and click Save
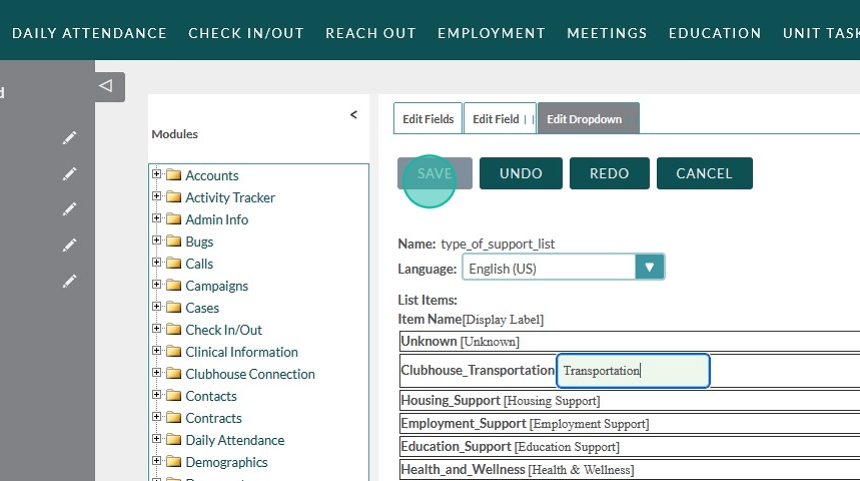
If you see this box, your changes have been saved
Close the box
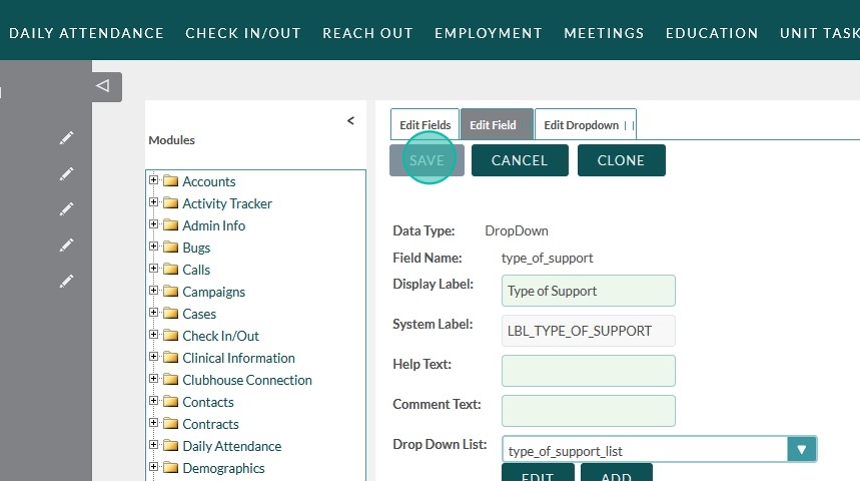
Select your default option
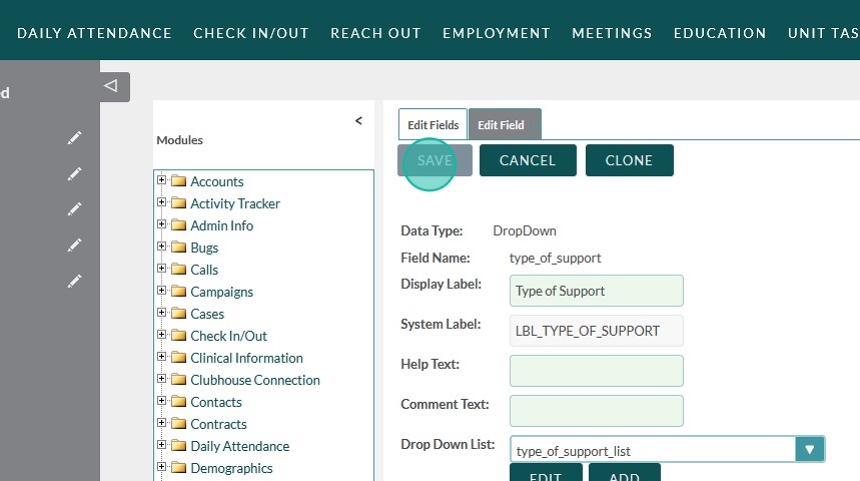
Click “SAVE”
Rearranging Drop-Down Lists #
To navigate to the environment where you can change drop-downs follow Steps 1-5
Click on the field containing the drop-down list you would like to edit
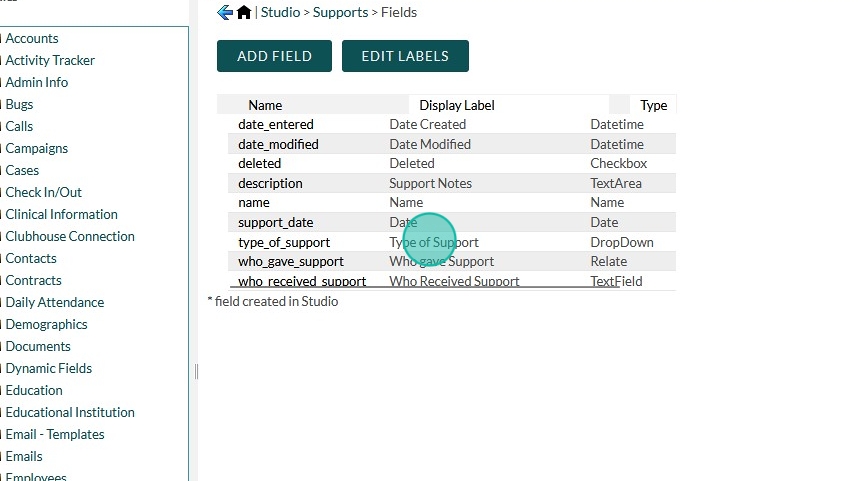
Click “Edit” under Drop Down List
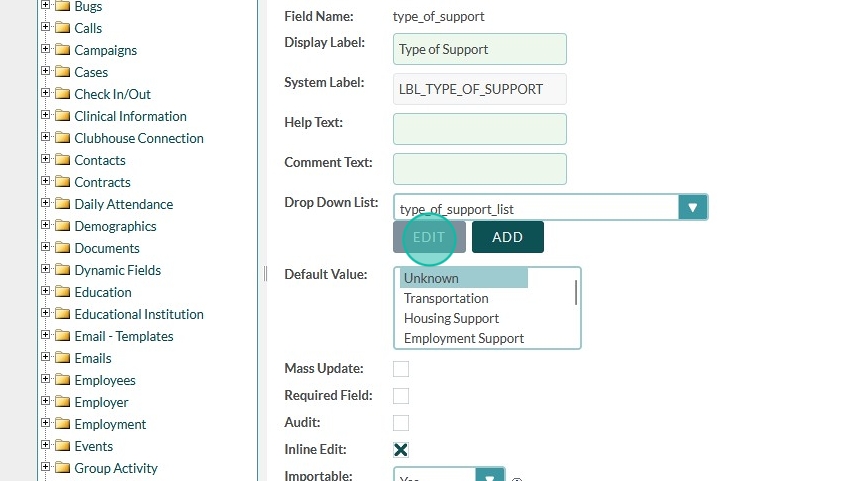
Find the item you would like to move, and drag it to the location where you would like to see it
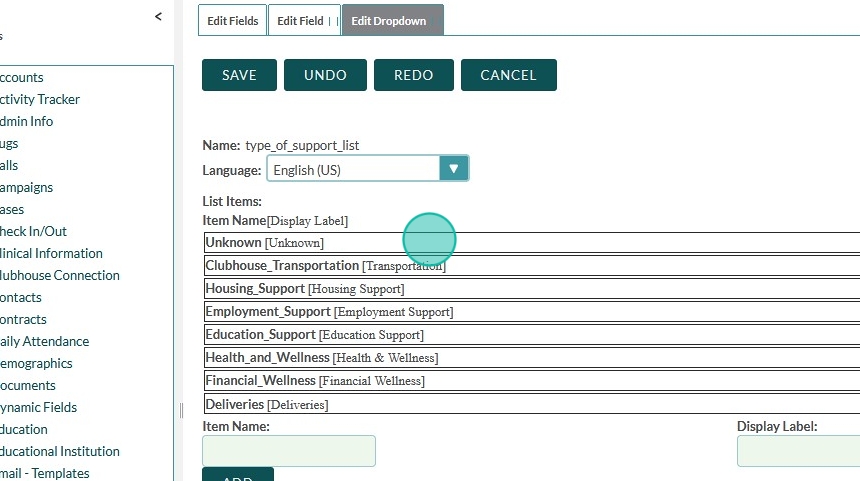
Scroll to the top and hit Save
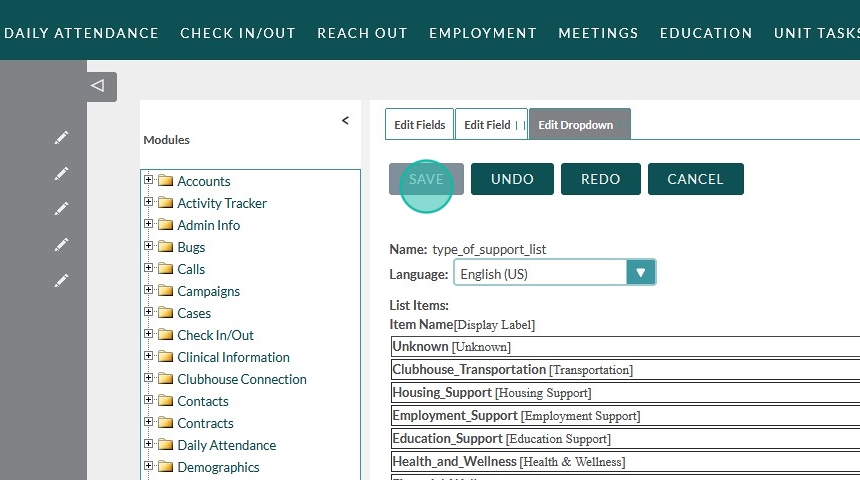
Save the field as well!
